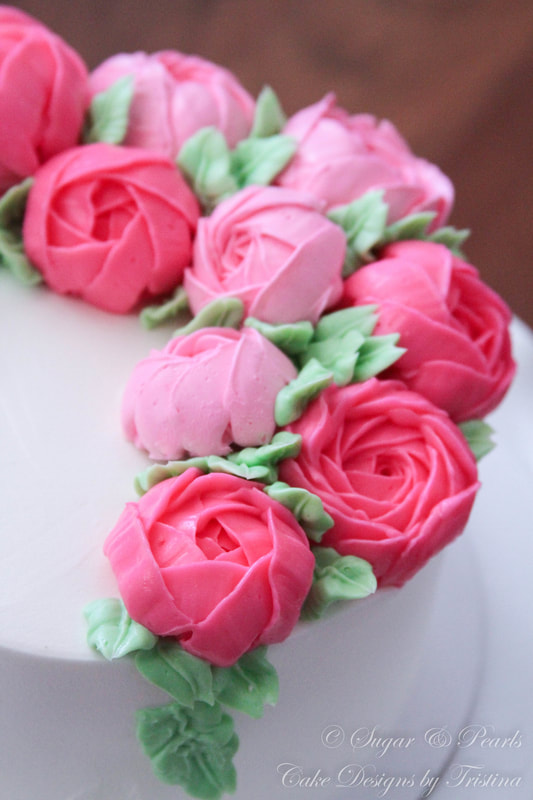
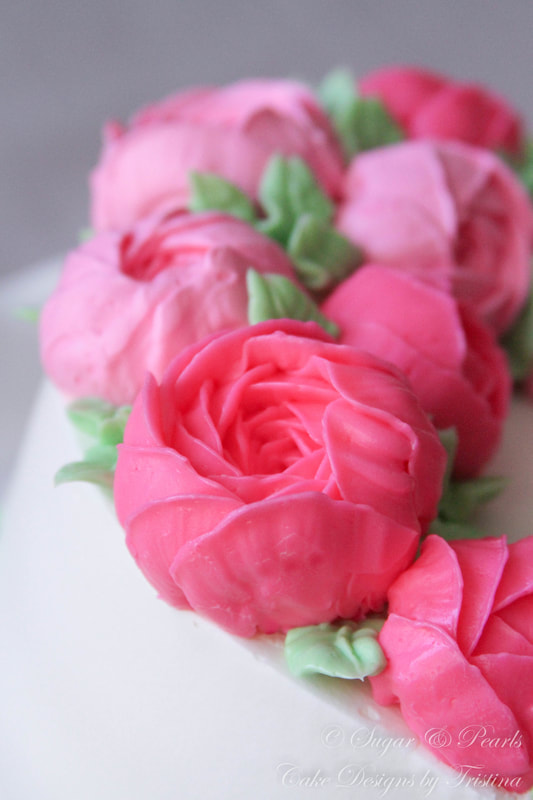
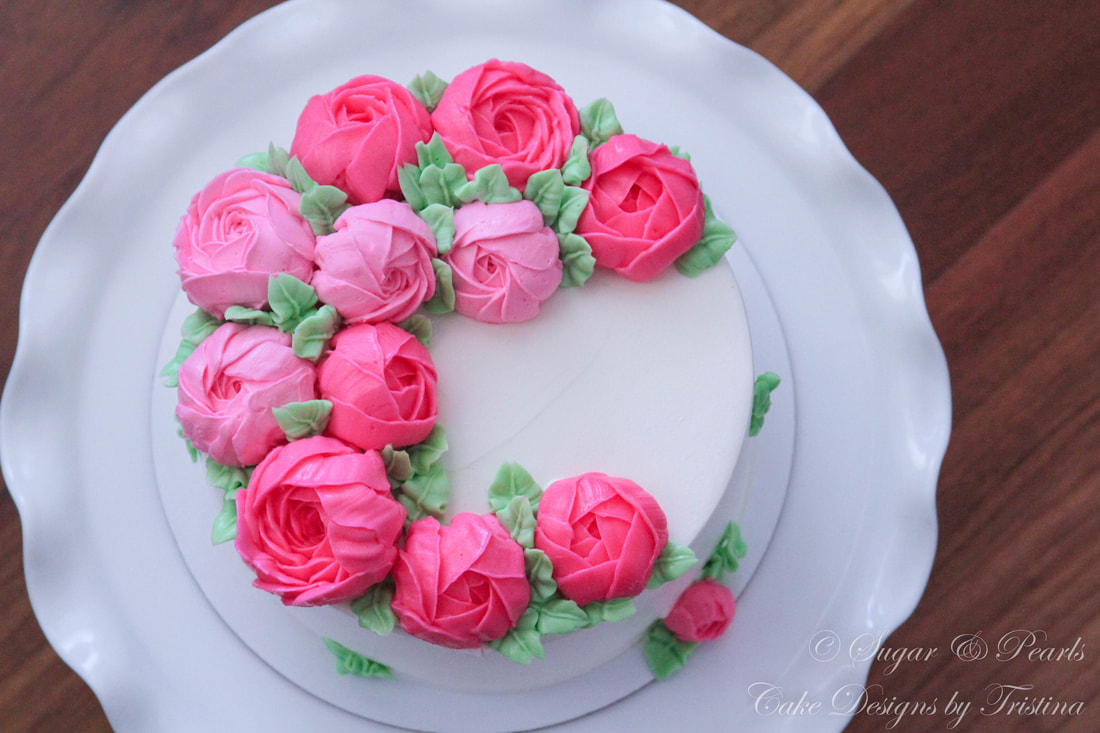
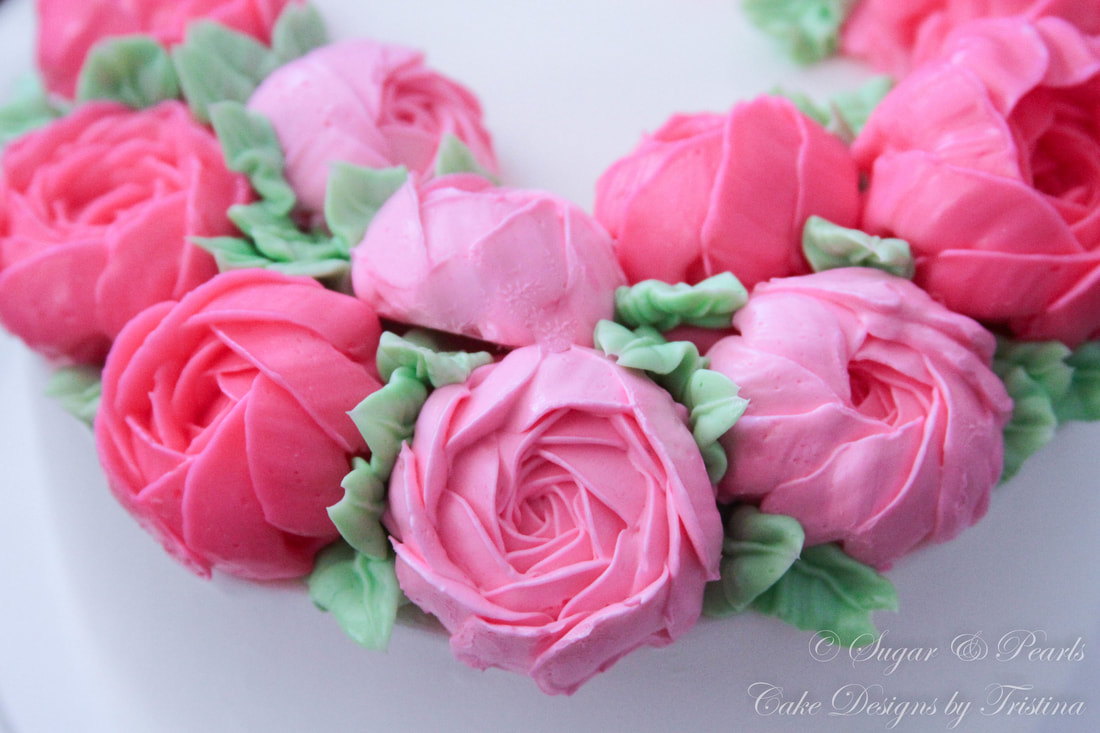
 Who would have thought that you can see peonies in the summer? And it may be even more beautiful than during the late springtime! Although this is my second post about buttercream peonies, I cannot get enough of these beautiful buttercream flowers. Piping these peonies have become an addiction for me. I love the way these light and dark shades of pink blended together to bring out the beauty of this cake. I also like the green leaves encircling the flowers in all of the right places. And of course, the flowing summer sunlight has made capturing these amazing photos possible. In this post, I just wanted to show you how I approached decorating the whipped cream cake. You can prepare the buttercream peonies one week in advance, then putting the cake together is going to take less than 30 minutes on the event day. Here, I did not start putting the cake together until the morning of the day the cake was asked to be picked up on and still had plenty of time to go shopping with my family afterward. 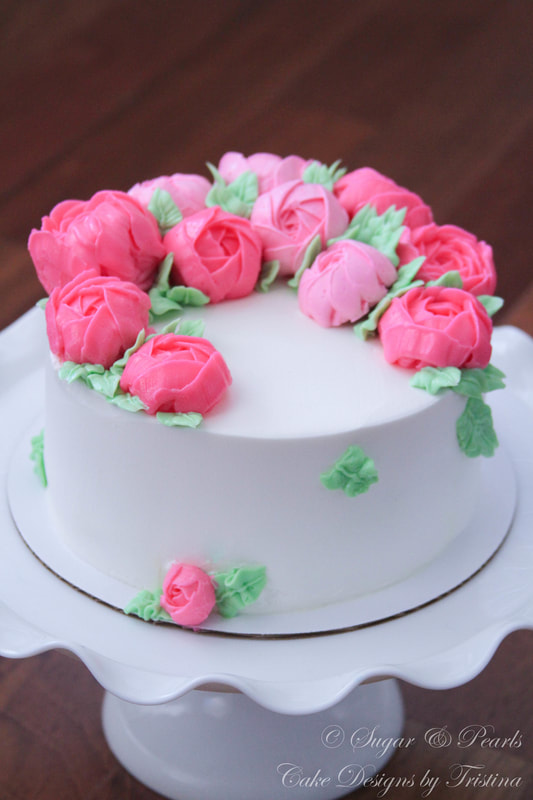 First, I did not make this cake. I received the request three days before it was needed, and as a full-time working mom of two preschoolers, that is almost impossible for me to deliver a tasty cake without compromising its appearance. Perfection is my middle name when it comes to cake decorating. I want to make sure my cake is delicious as well as beautiful before I can actually send it out the door, and it does not matter if it an order or a gift. 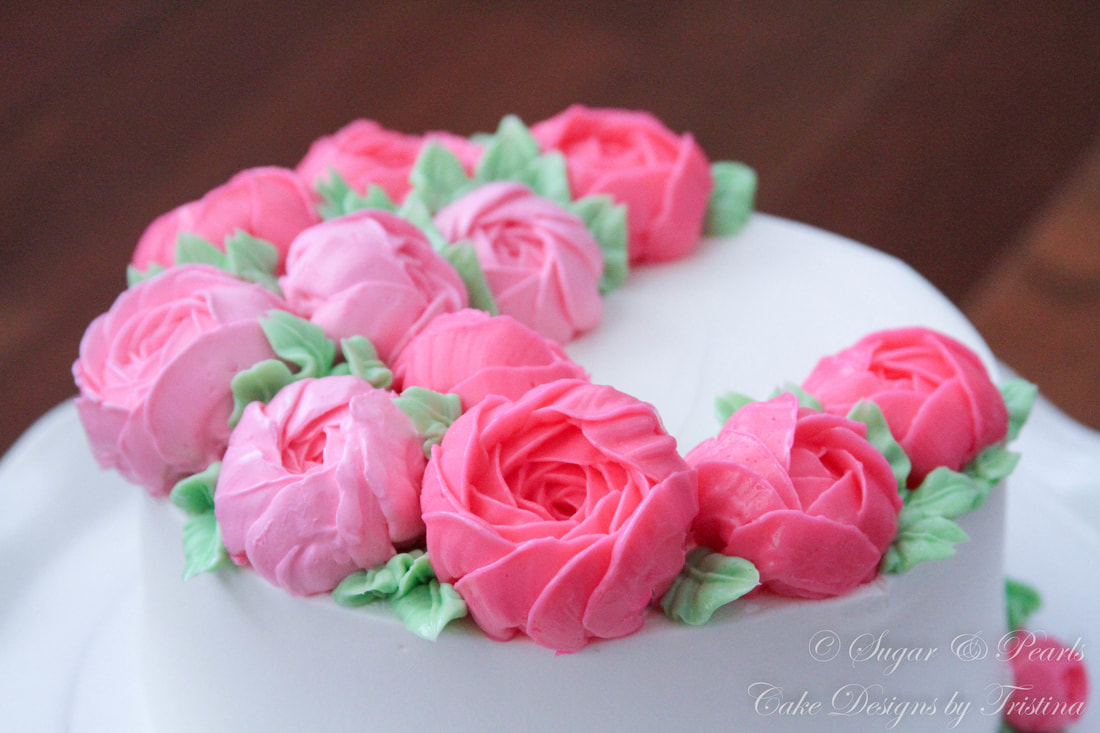 DECORATING THE CAKE I made these beautiful peonies using the basic vanilla whipped buttercream frosting recipe. You can find a detailed recipe of this butter cream as well as a step-to-step tutorial, here. Once I'm happy with the texture of my buttercream frosting, I scooped them out in to three bowls and color them in: 1) light pink, 2) dark pink and 3) green. 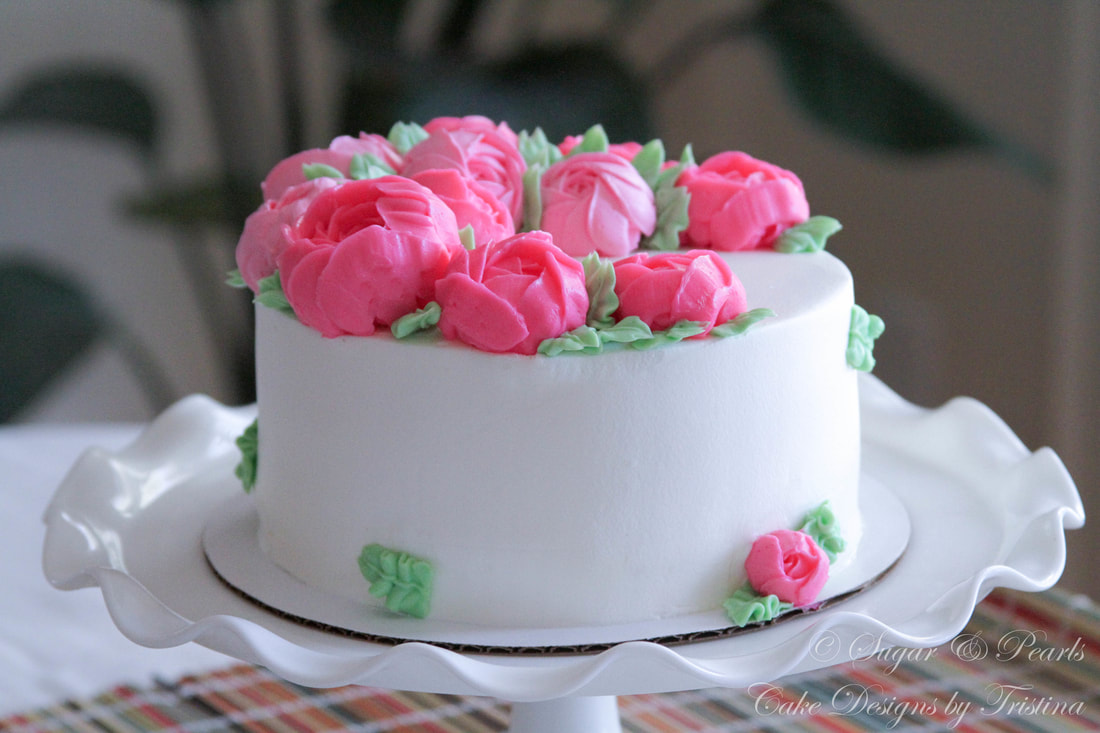 For the peonies, I prepared some light pink and dark pink buttercream, each in a separate pastry bag fitted with a Wilton tip #127. For the leaves, I prepared some green buttercream in a pastry bag fitted with Wilton tip #352. To pipe budded peonies, I start out with a small dab of pink buttercream in the center and create "petals" on top of each other. Make sure you line these petals closely together and facing more horizontal then vertical to create that "close budded" look. I repeat this motion until I achieve the desired size of flower. For the bloomed peonies, you would repeat the same step at first, but as you add more petals to the flower, you can line the petal slightly more vertical to create the blooming look. Aren't these peonies beautiful? I just love the bunches of light and dark pink peonies. I am starting to think about making yellow and purple buttercream flowers. So many options to explore...
 This is another successful buttercream cake in the book! I hope after two posting of peonies, you would have the inspiration to start whisking up those buttercream frosting. xoxo, Tristina COPYRIGHT © 2017 - SUGAR & PEARLS ~ CAKE DESIGNS BY TRISTINA
0 Comments
Your comment will be posted after it is approved.
Leave a Reply. |

AboutTristina TiepNhu Nguyen is a pharmacist by weekday and a baker by weekend. She is also a wife and a mother of two children. Free Cake Tutorials!Sign up for my newsletter and you will be the first to know about my new recipes and cake tutorials!
Recent Posts
August 2020
RecipesTutorials |
|
|
sugar & pearls |