Bûche de Noël Cake
January 2, 2018
After about two weeks off, I am ready to head back to work tomorrow. But, I want to make use of my last non-working day wisely and that is to finishing up this posting before the kids wake up (yep, it is pretty darn early right now). I need to get this done just in time because I have a day filled of activities to do with them before they return to school as well. Well, here it is.
One of the holiday cakes I made for Christmas was a bûche de Noël cake. I'm going to be fancy and named this posting in French, but it is really a well-known Yule Log cake. I have been wanting to create this cake for quite some times, but I never had a chance until this past Christmas. It was a very simple cake to make that combines with both buttercream, chocolate and fondant decorations. It is simple enough to bake and decorate the entire cake within 2-3 hours, and this is including all the wait time throughout the process.
A little history of the Yule Log Cake that I just learned while researching for this posting. This cake came about in 19th century, originated from Belgium, France, Switzerland and other former French colonies as a traditional Christmas dessert made out of sponge cake.
DECORATING THE CAKE
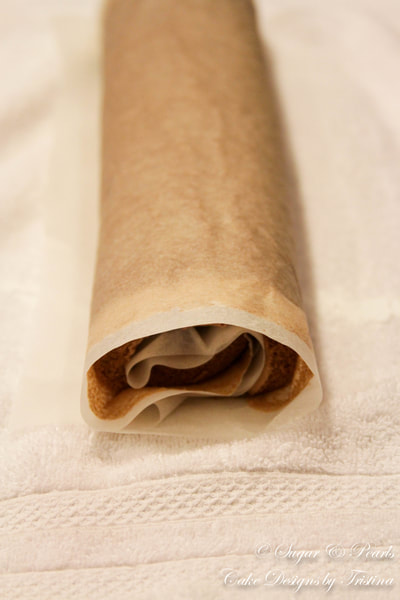
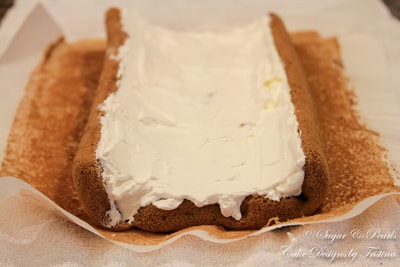
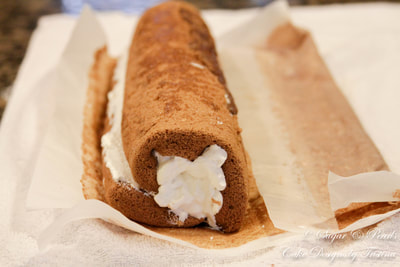
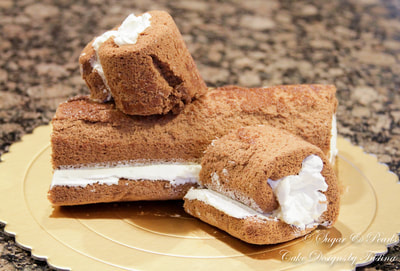
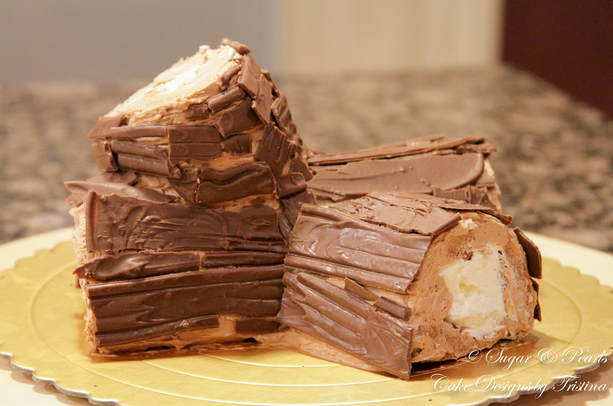
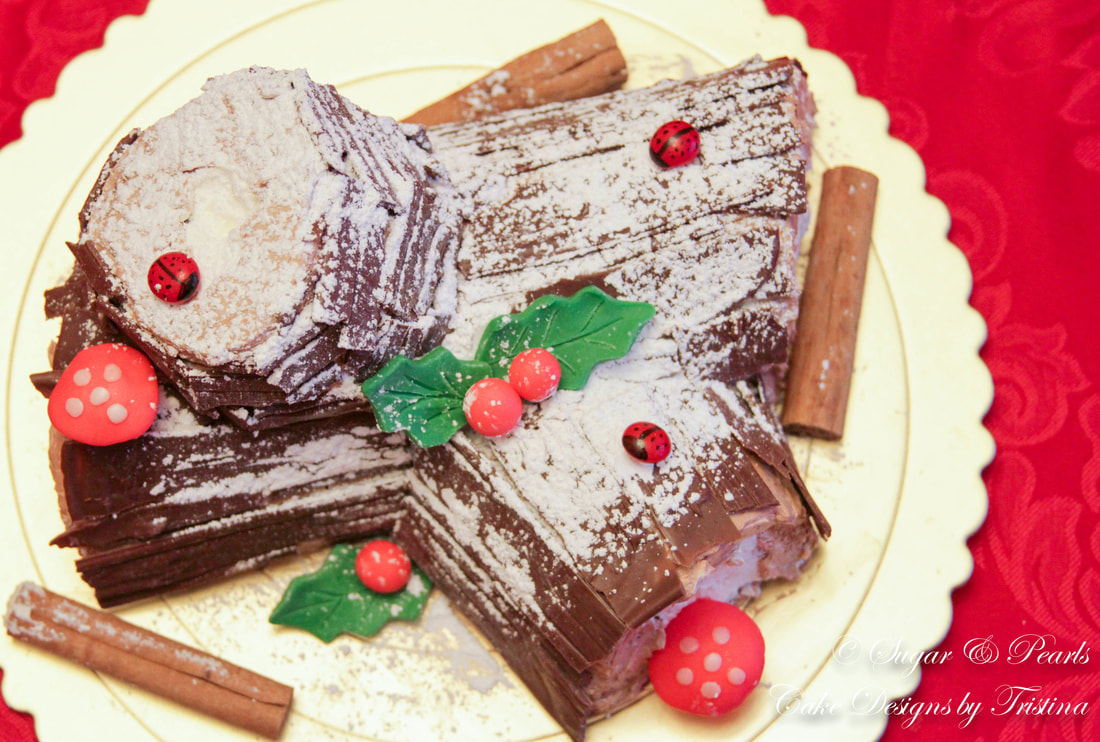
I made this cake using my Chocolate Sponge Cake recipe as a roll cake and filled it with vanilla whipped cream filling. To give a "Yule look," I sliced the two ends of the cake diagonally and set one atop branch and one protruding from its side to resemble a chopped off branch.
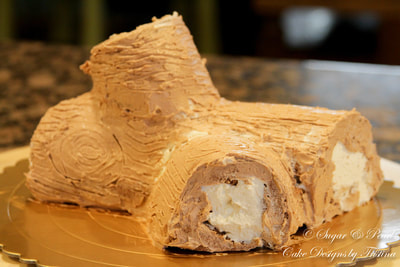
I covered the cake with a crumb coat using American Chocolate Buttercream, chilled the cake for about 30 minutes before I applied a second, heavier coat on top of the "Log" again. I created the swirls and growth rings, with a use of a fork, around the log to create a more realistic look. Then, I placed the cake back into the refrigerator while I made the outer bark layer.
I made this cake using my Chocolate Sponge Cake recipe as a roll cake and filled it with vanilla whipped cream filling. To give a "Yule look," I sliced the two ends of the cake diagonally and set one atop branch and one protruding from its side to resemble a chopped off branch.
I covered the cake with a crumb coat using American Chocolate Buttercream, chilled the cake for about 30 minutes before I applied a second, heavier coat on top of the "Log" again. I created the swirls and growth rings, with a use of a fork, around the log to create a more realistic look. Then, I placed the cake back into the refrigerator while I made the outer bark layer.

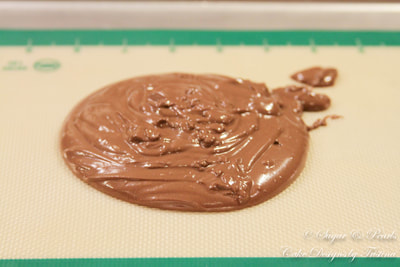
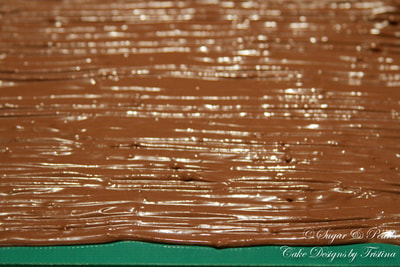
I melted 1/2 of the bag of salted caramel candy melts in the microwave for about 90 seconds, in three 30-second increments, or until the chocolate is completely melted and clump-free. I spread the chocolate melt over a silicone mat into a large rectangular shape. Using the same fork, I made the swirls and growth rings again and set aside for the chocolate to dry. You need to do this step fairly quick as the candy melts are fast at drying up. It literally took me less than 1 minute to complete this step.
Once the chocolate was completely set, I broke them into smaller pieces in a variety of length, and stick them onto the cake. I did not follow any pattern. I used the longest pieces for the large areas, and stuck the smaller pieces in the curved areas.
PREPARING FOR THE DECORATIONS
I usually made the cake decorations at least 1-2 days before baking the cake. However, these decorations were relatively easy so I made them immediately after I decorated the cake. First, I hand molded these cute red mushrooms using fondant. I rolled out a thick round, white fondant and shape it into a short rectangular shape for the mushroom stem. Then, I rolled out a round, red fondant and flattened it using my finger knuckle to make a mushroom head. I used water to glue the two pieces together. For a fun touch, I used a round Wilton tip to punch out 5-6 thin white fondant circles and placed them on the top of the mushroom heads. My daughter actually helped me made the second smaller mushroom (on the left here).
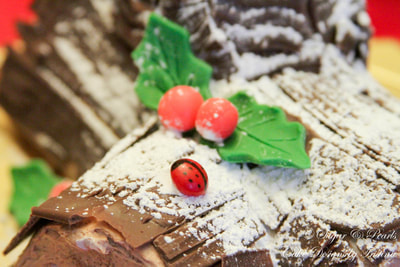
Next, I made the cranberries using red fondant and just rolled them up in a variety of sizes. I used green chocolate molding to create the cranberry leaves with a leaf cookie cutter and imprint the veins using a toothpick.
Finally, the easiest ladybugs to make on earth! I used red Skittles and drew the line, dots and the head using the black edible pen. They turned out super cute, don't you think? I think these Skittle Ladybugs are my all time favorite decorations as they are adorable and can be done within 60 seconds.
I usually made the cake decorations at least 1-2 days before baking the cake. However, these decorations were relatively easy so I made them immediately after I decorated the cake. First, I hand molded these cute red mushrooms using fondant. I rolled out a thick round, white fondant and shape it into a short rectangular shape for the mushroom stem. Then, I rolled out a round, red fondant and flattened it using my finger knuckle to make a mushroom head. I used water to glue the two pieces together. For a fun touch, I used a round Wilton tip to punch out 5-6 thin white fondant circles and placed them on the top of the mushroom heads. My daughter actually helped me made the second smaller mushroom (on the left here).
Next, I made the cranberries using red fondant and just rolled them up in a variety of sizes. I used green chocolate molding to create the cranberry leaves with a leaf cookie cutter and imprint the veins using a toothpick.
Finally, the easiest ladybugs to make on earth! I used red Skittles and drew the line, dots and the head using the black edible pen. They turned out super cute, don't you think? I think these Skittle Ladybugs are my all time favorite decorations as they are adorable and can be done within 60 seconds.
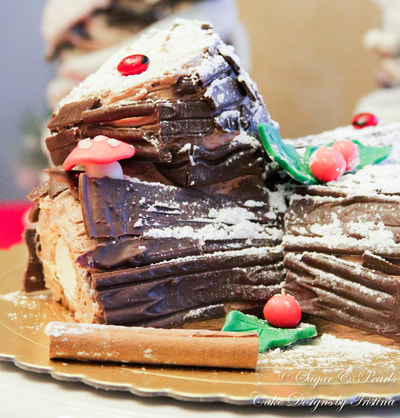
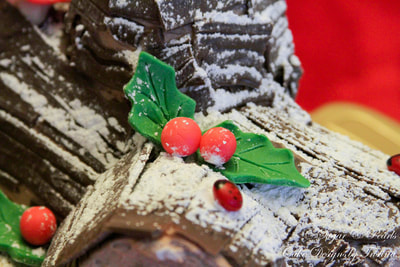
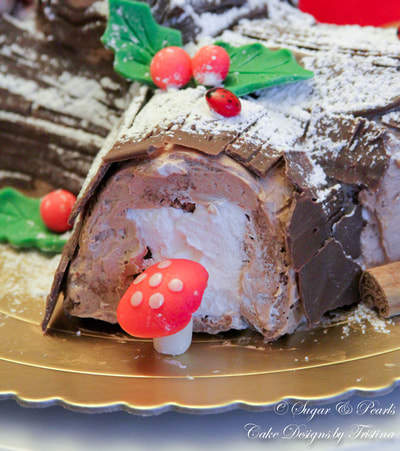
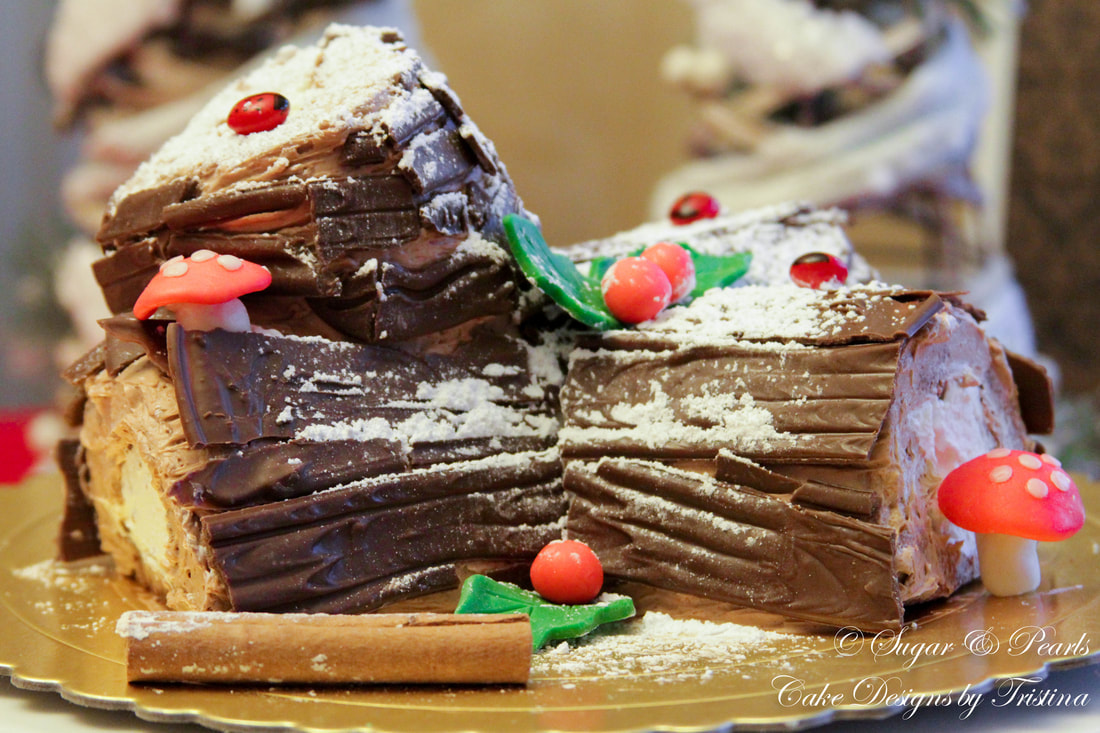
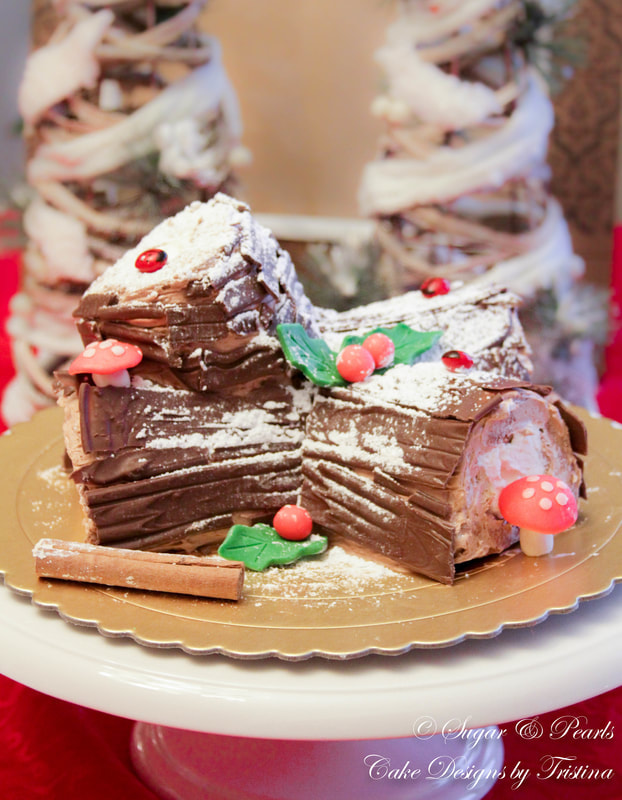
I placed some cranberries and leaves on top of the protruding branch and scattered the ladybugs along the three branches of the Log. I added one mushroom on top and one on the bottom to spread them out to balance the log. Then, I placed the cinnamon sticks across the three sides of the cake, and finished it off with a heavy dust of powdered sugar to resemble snow. I also used powdered sugar to cover some of the imperfections from the outer baker layer. See how you can't really see those imperfections anymore?

The cake was completely gone before the party was over. The kids were all over the Skittle Ladybugs and the Chocolate Outer Bark Layers. The cake was super moist and fluffy, with a rich taste of chocolate and coffee flavoring. And there you have it, a Yule log filled with mushrooms, cranberries and leaves, and cute bright red ladybugs!
xoxo,
Tristina
xoxo,
Tristina
COPYRIGHT © 2018 - SUGAR & PEARLS ~ CAKE DESIGNS BY TRISTINA
