Wishes Shopkins Cakes
October 30, 2016
Can you believe Halloween is here already? It feels like I was just typing my first September post yesterday. October started out with us celebrating my husband's birthday. I am lucky as he is a typical guy who doesn't care much about having an elaborated cake for his special day. So, we had it simple this year with a traditional home-cook Vietnamese dinner including Pineapple Sour Soup (Canh Chua), Caramelized Catfish (Cá Kho Tộ) and a tiramisu cake for dessert (which took me literally less than 30 minutes).
Then, we just celebrated my niece's 7th birthday this past weekend. It was tough to decide which cake to make for her. I think in general girls are tough to make cakes for...or at least that's how it is for my family. Ivy has been collecting Shopkins for a few years now, but after many attempts (on my end) she has finally agreed to pick Wishes as a birthday cake. After doing some research, I decided to pursue the new pink vanilla cake recipe that I have been testing out, and it turned out perfectly delicious. I will share that cake recipe on here some day with you on of these days in the near future.
DECORATIONS PREPARATION
I approach this cake by first making four candles a week in advance. I know the candles need a lot of time to dry and to keep their shapes. I use two half-inch strings about 1.5-foot long in purple and blue and then braid them together to give it a "rope" look. Then I roll the braised string slightly to blend both fondant strings into one. I cut a three-inch length piece for each candle. To make the candlelight, I use a small round yellow fondant, shape it into a teardrop, and twist the tip on one side (Photo 1). I leave these complete candles to air dry.
Then I make the three frosting, using a 6-inch white string of white fondant. I twist the string around in a swirl and make a pointy top (Photo 2). These are also left to dry over 2-3 days.
Making the Wishes' headband takes the longest time for me. I keep on changing the sizes of the strings and end up having to re-do it three times (Photo 3). Similar to the candles, I use the two identical in strings of 1.5-foot long of white fondant, and braid them together. I only leave this over a 1 hour to dry.
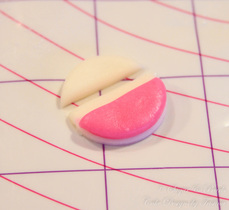
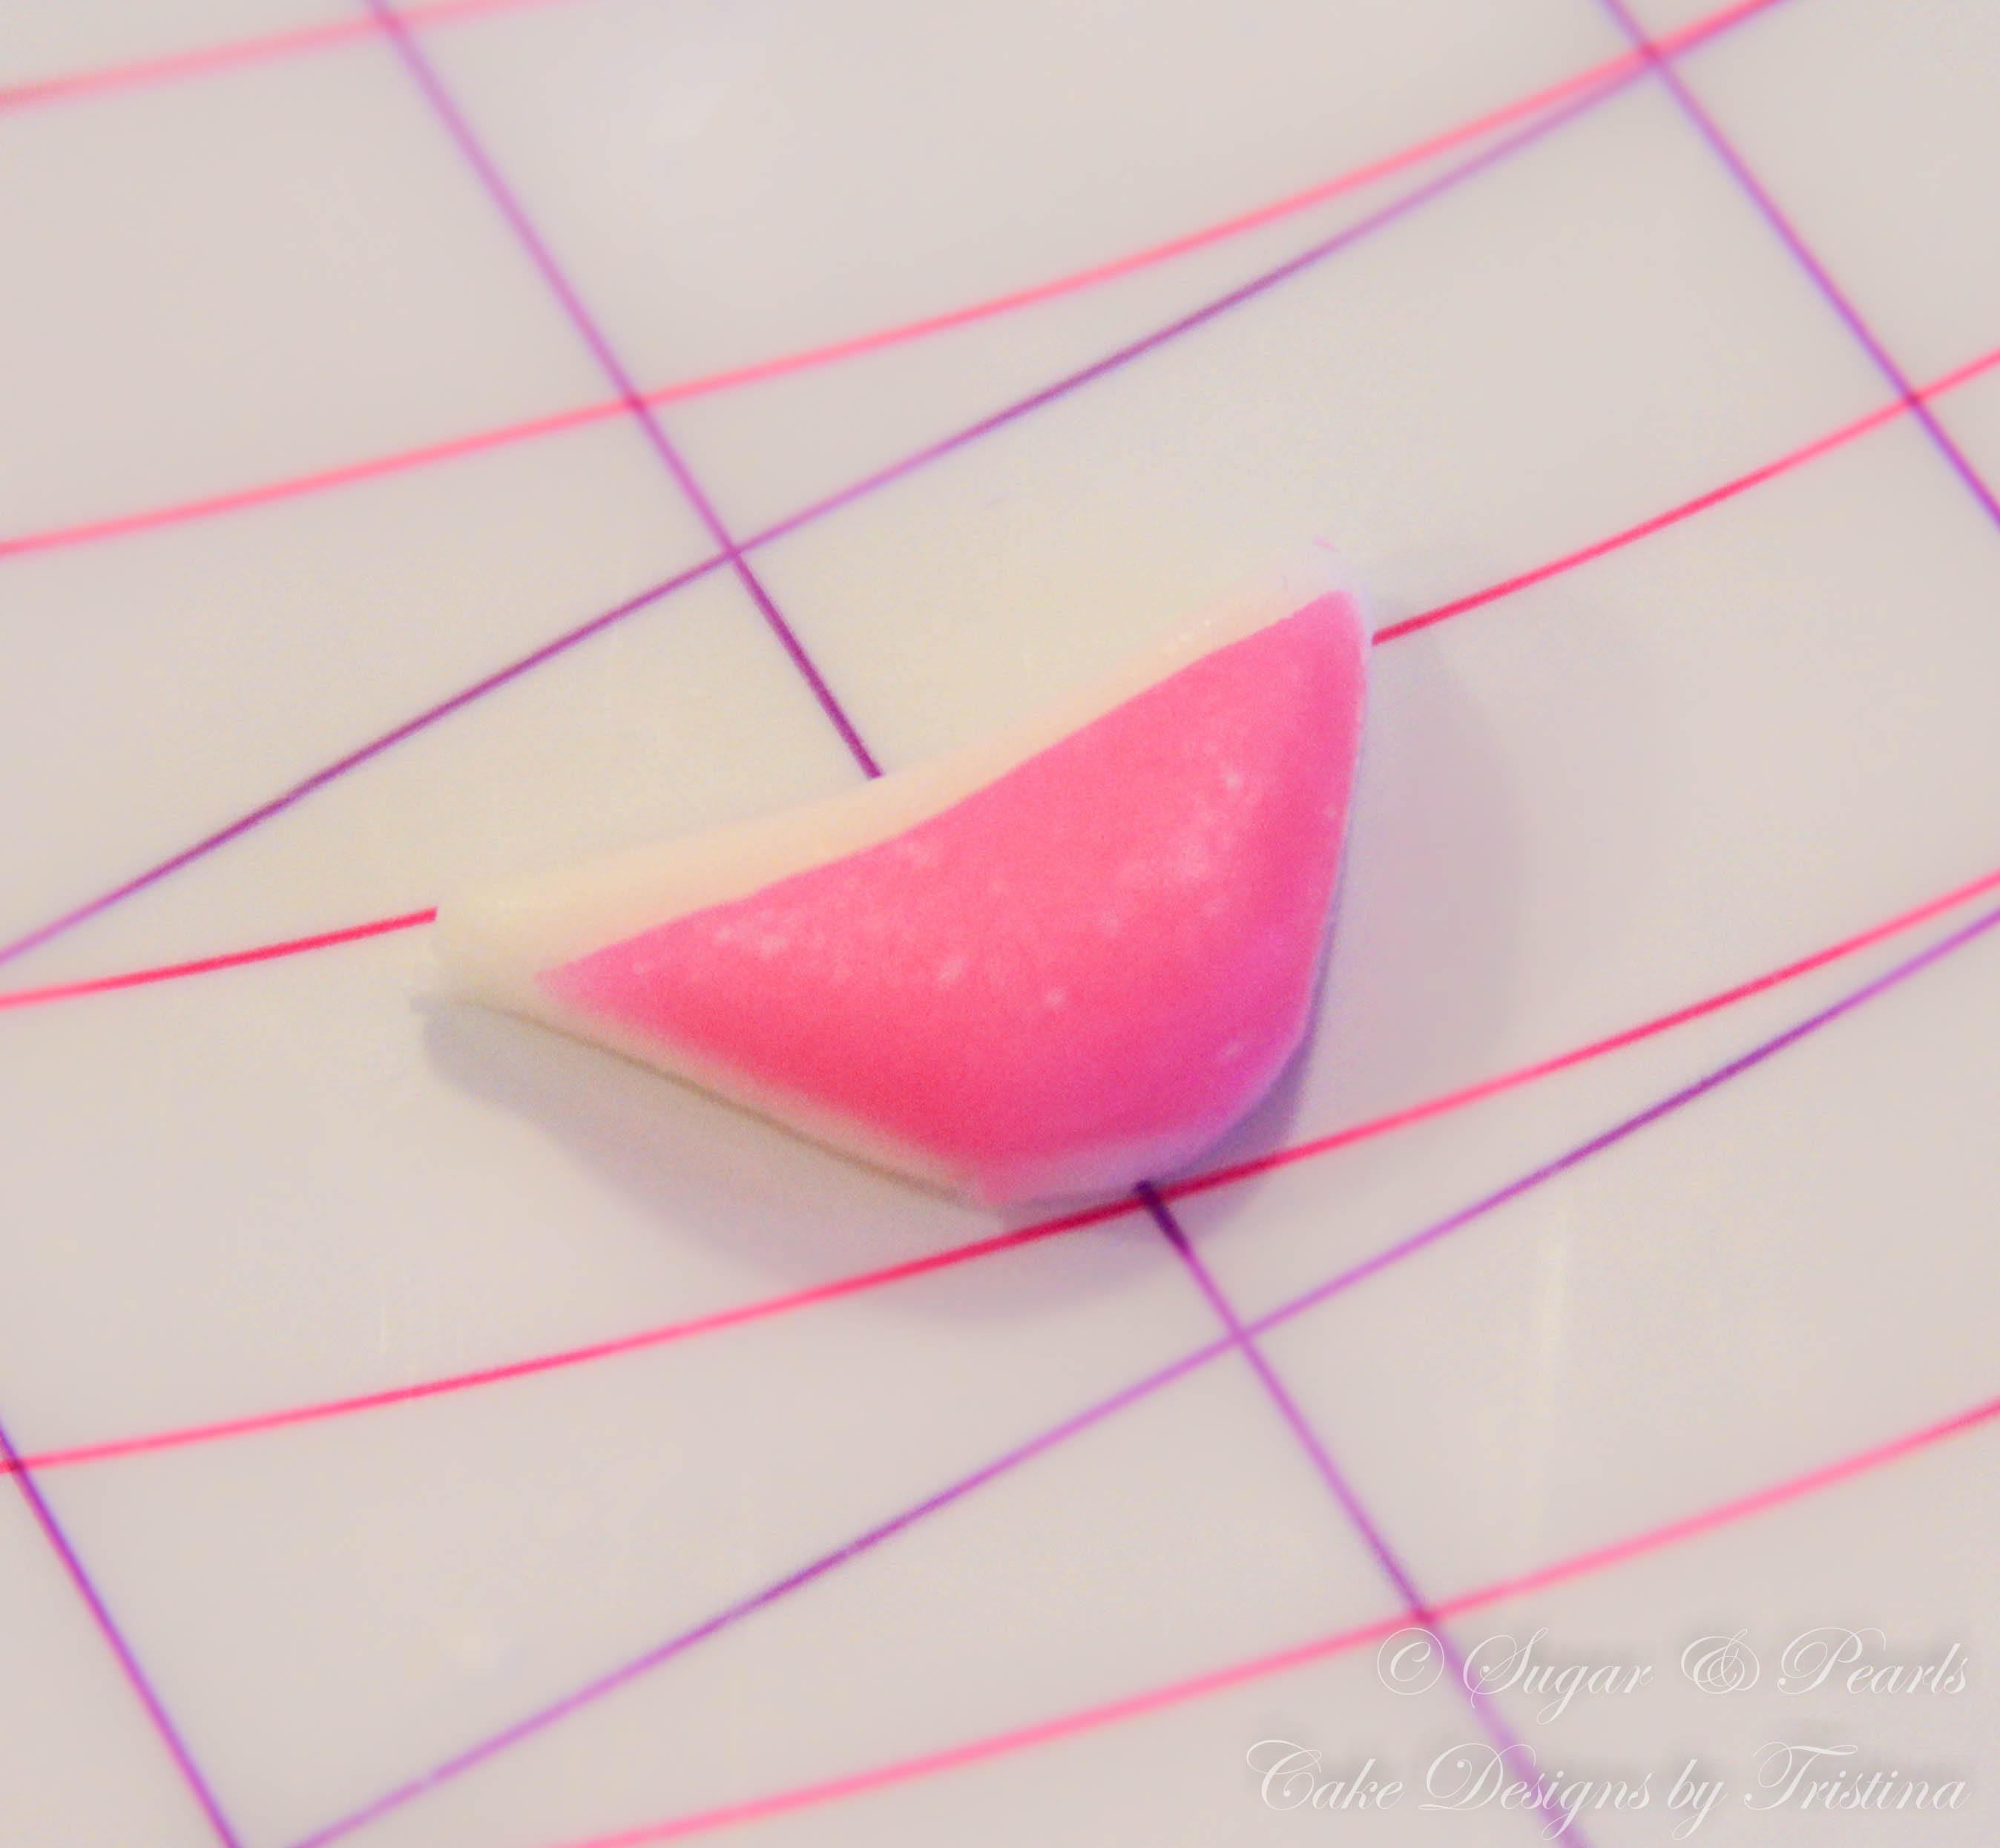
Next, I make Wishes' two hands using 2 similar size of round yellow fondant and shape it into a tear drop shape (Photo 4). Moving on the detail of her face. To make her lips, I use a round piping tip to cut out a circle on a white fondant and trim half of it off. I add a bit of pink fondant on top to create her lower lip (Photo 5). For the nose, I use a small round shape of yellow fondant. Lastly, I make her eyes and eyelashes by using a thin 2.5-inch string of black fondant. I slightly curve these strings into to make the eyes, and adding a little eyelashes at the end of each eye to create that cute look (Photo 6).
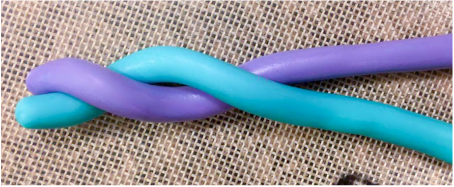
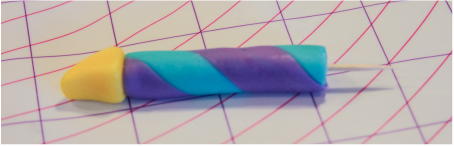
Photo 1: Candle and candelight.
|
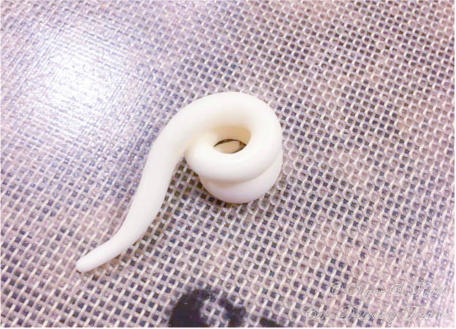
Photo 2: White frosting.
|
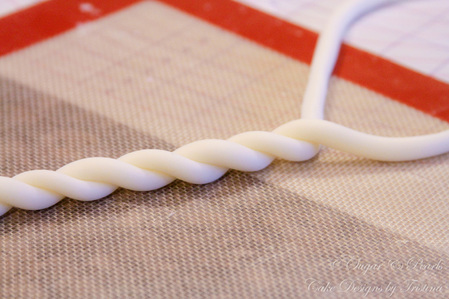
Photo 3: The headband.
|
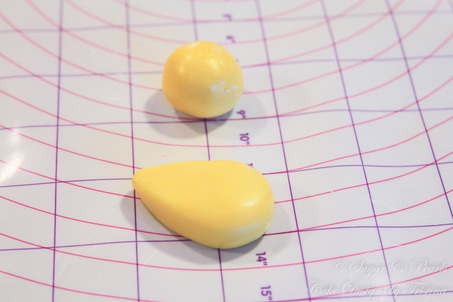
Photo 4: Wishes' hands.
|
|
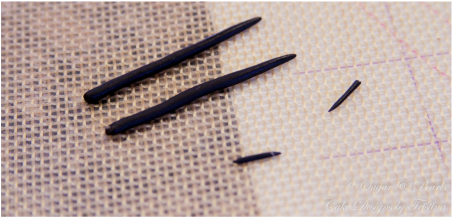
Photo 6: Wishes' eyes and eyelashes.
|
ASSEMBLE THE CAKE
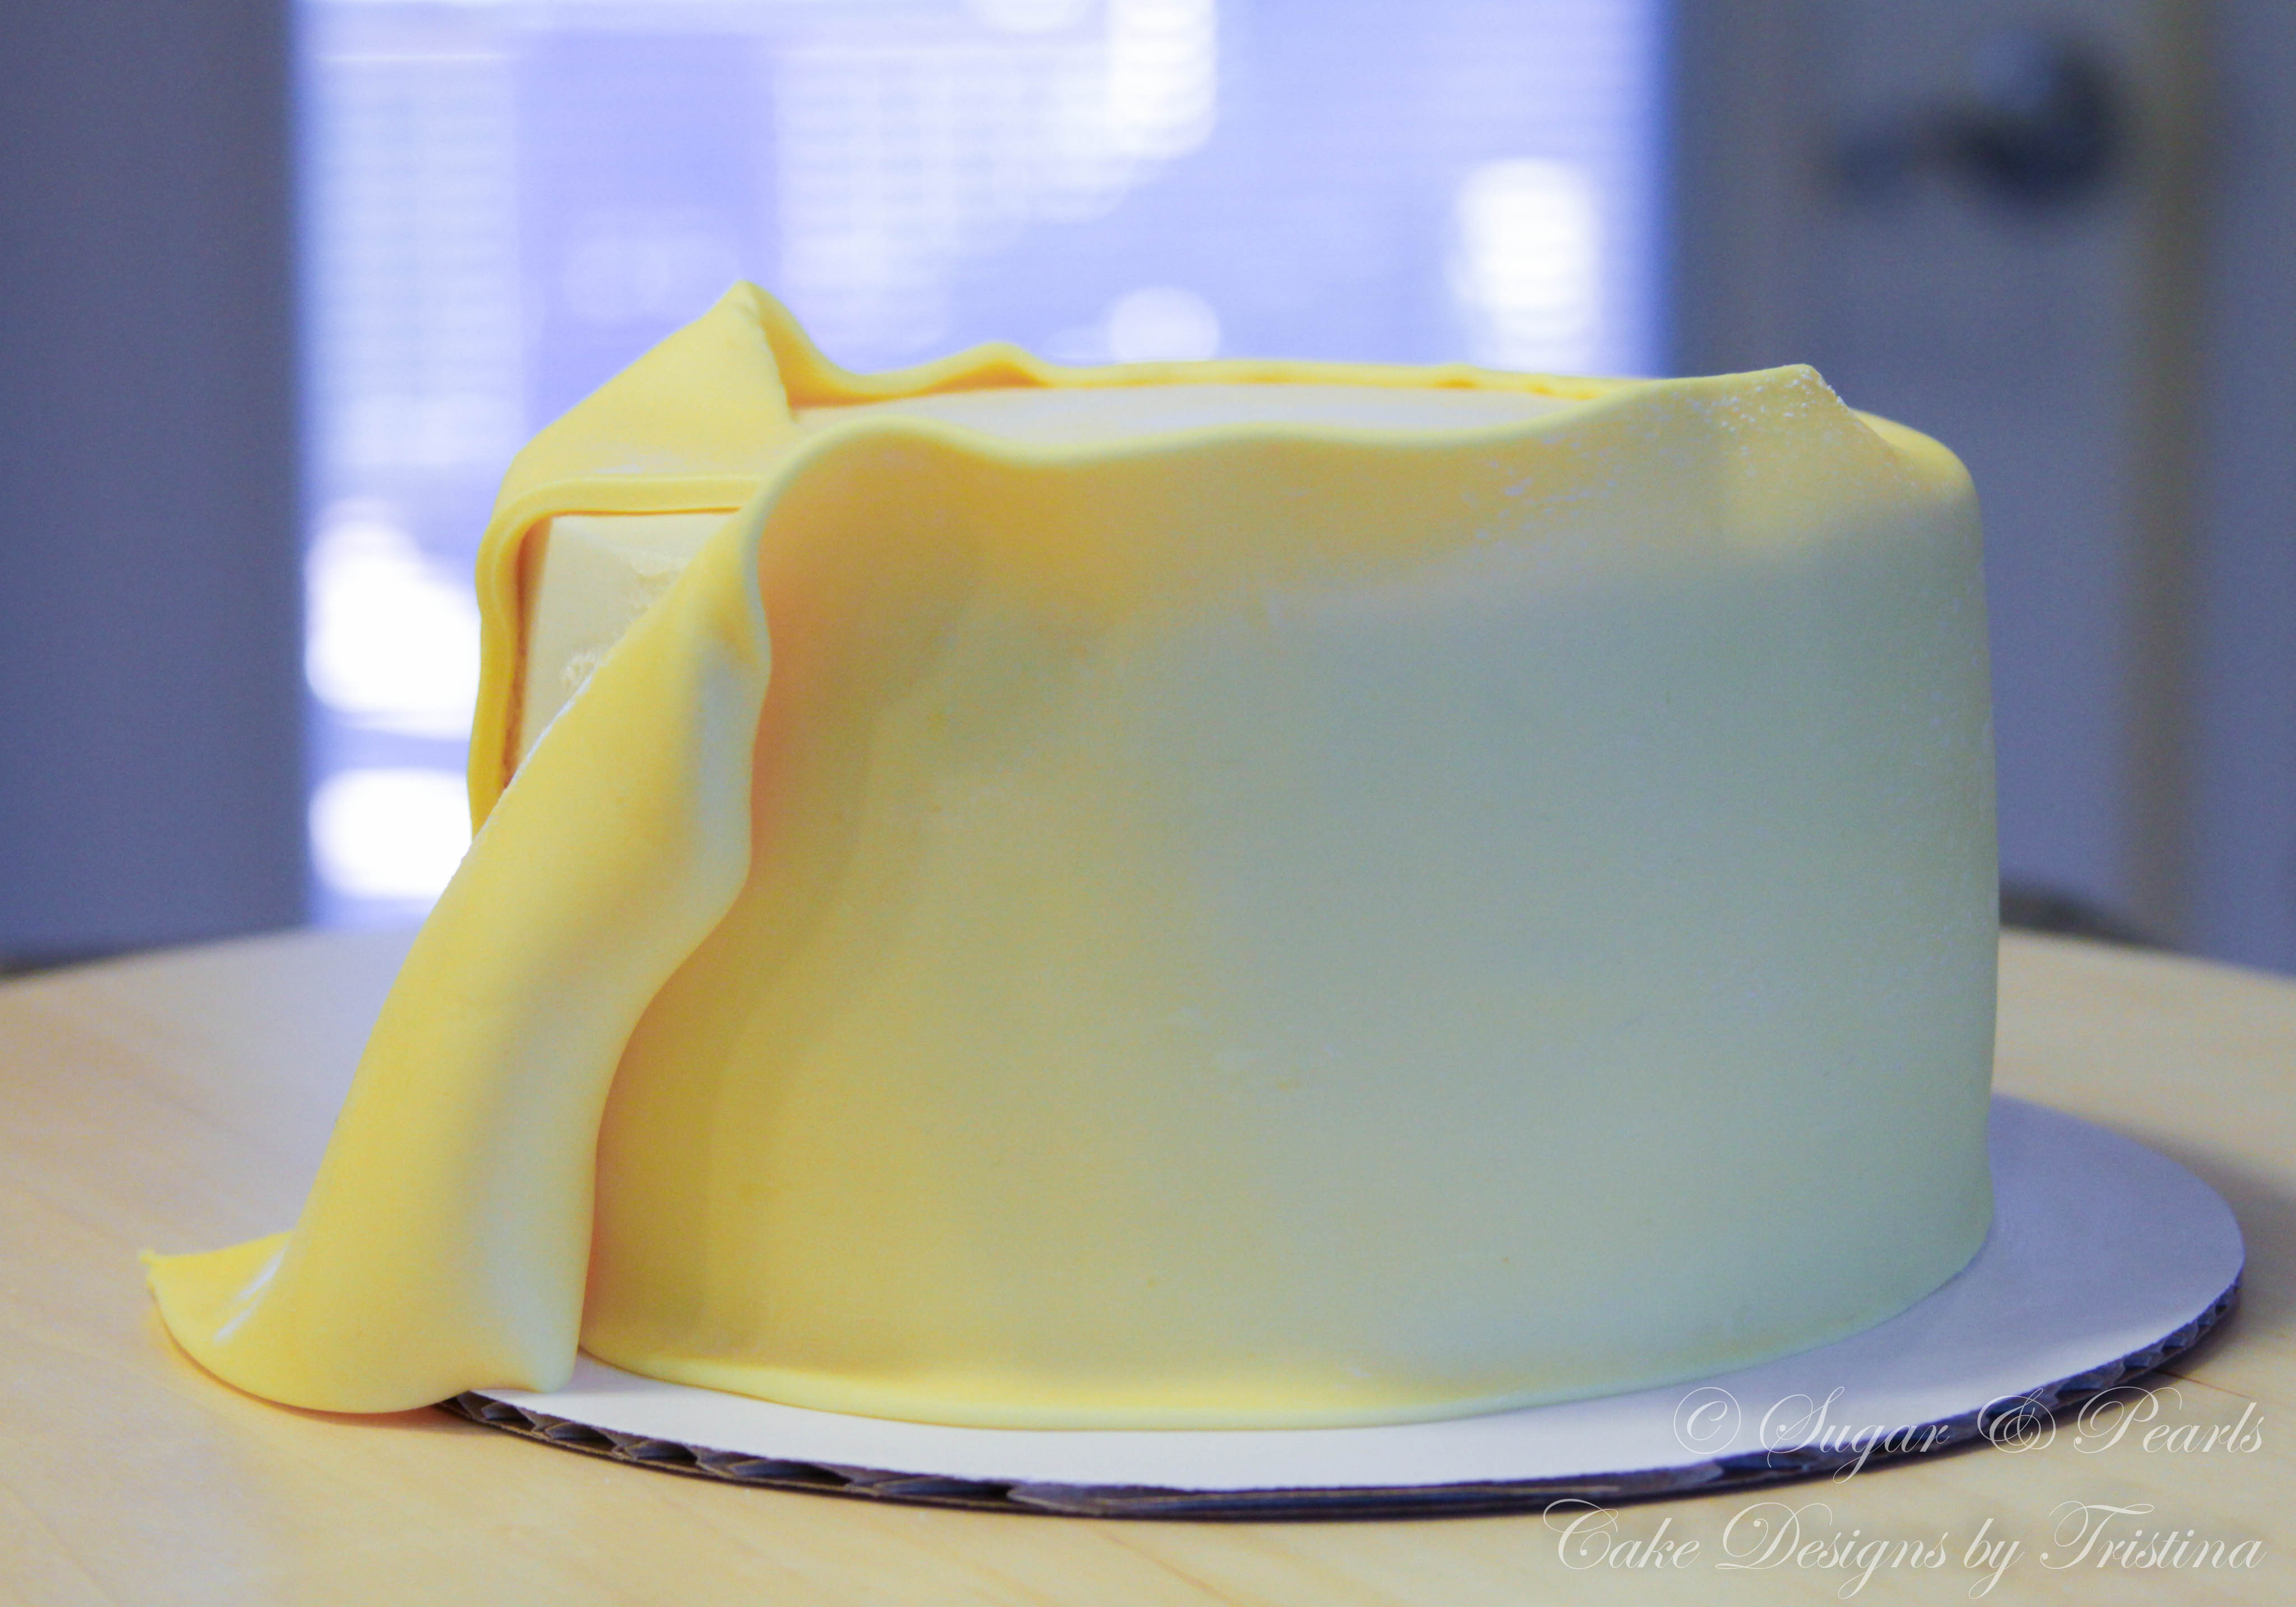
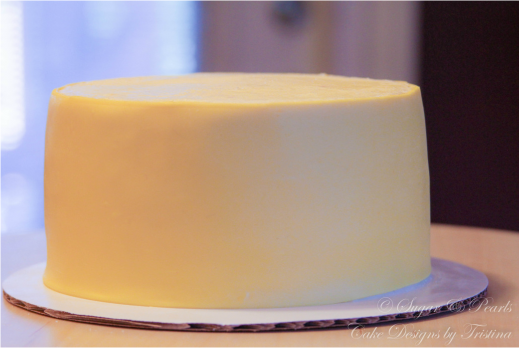
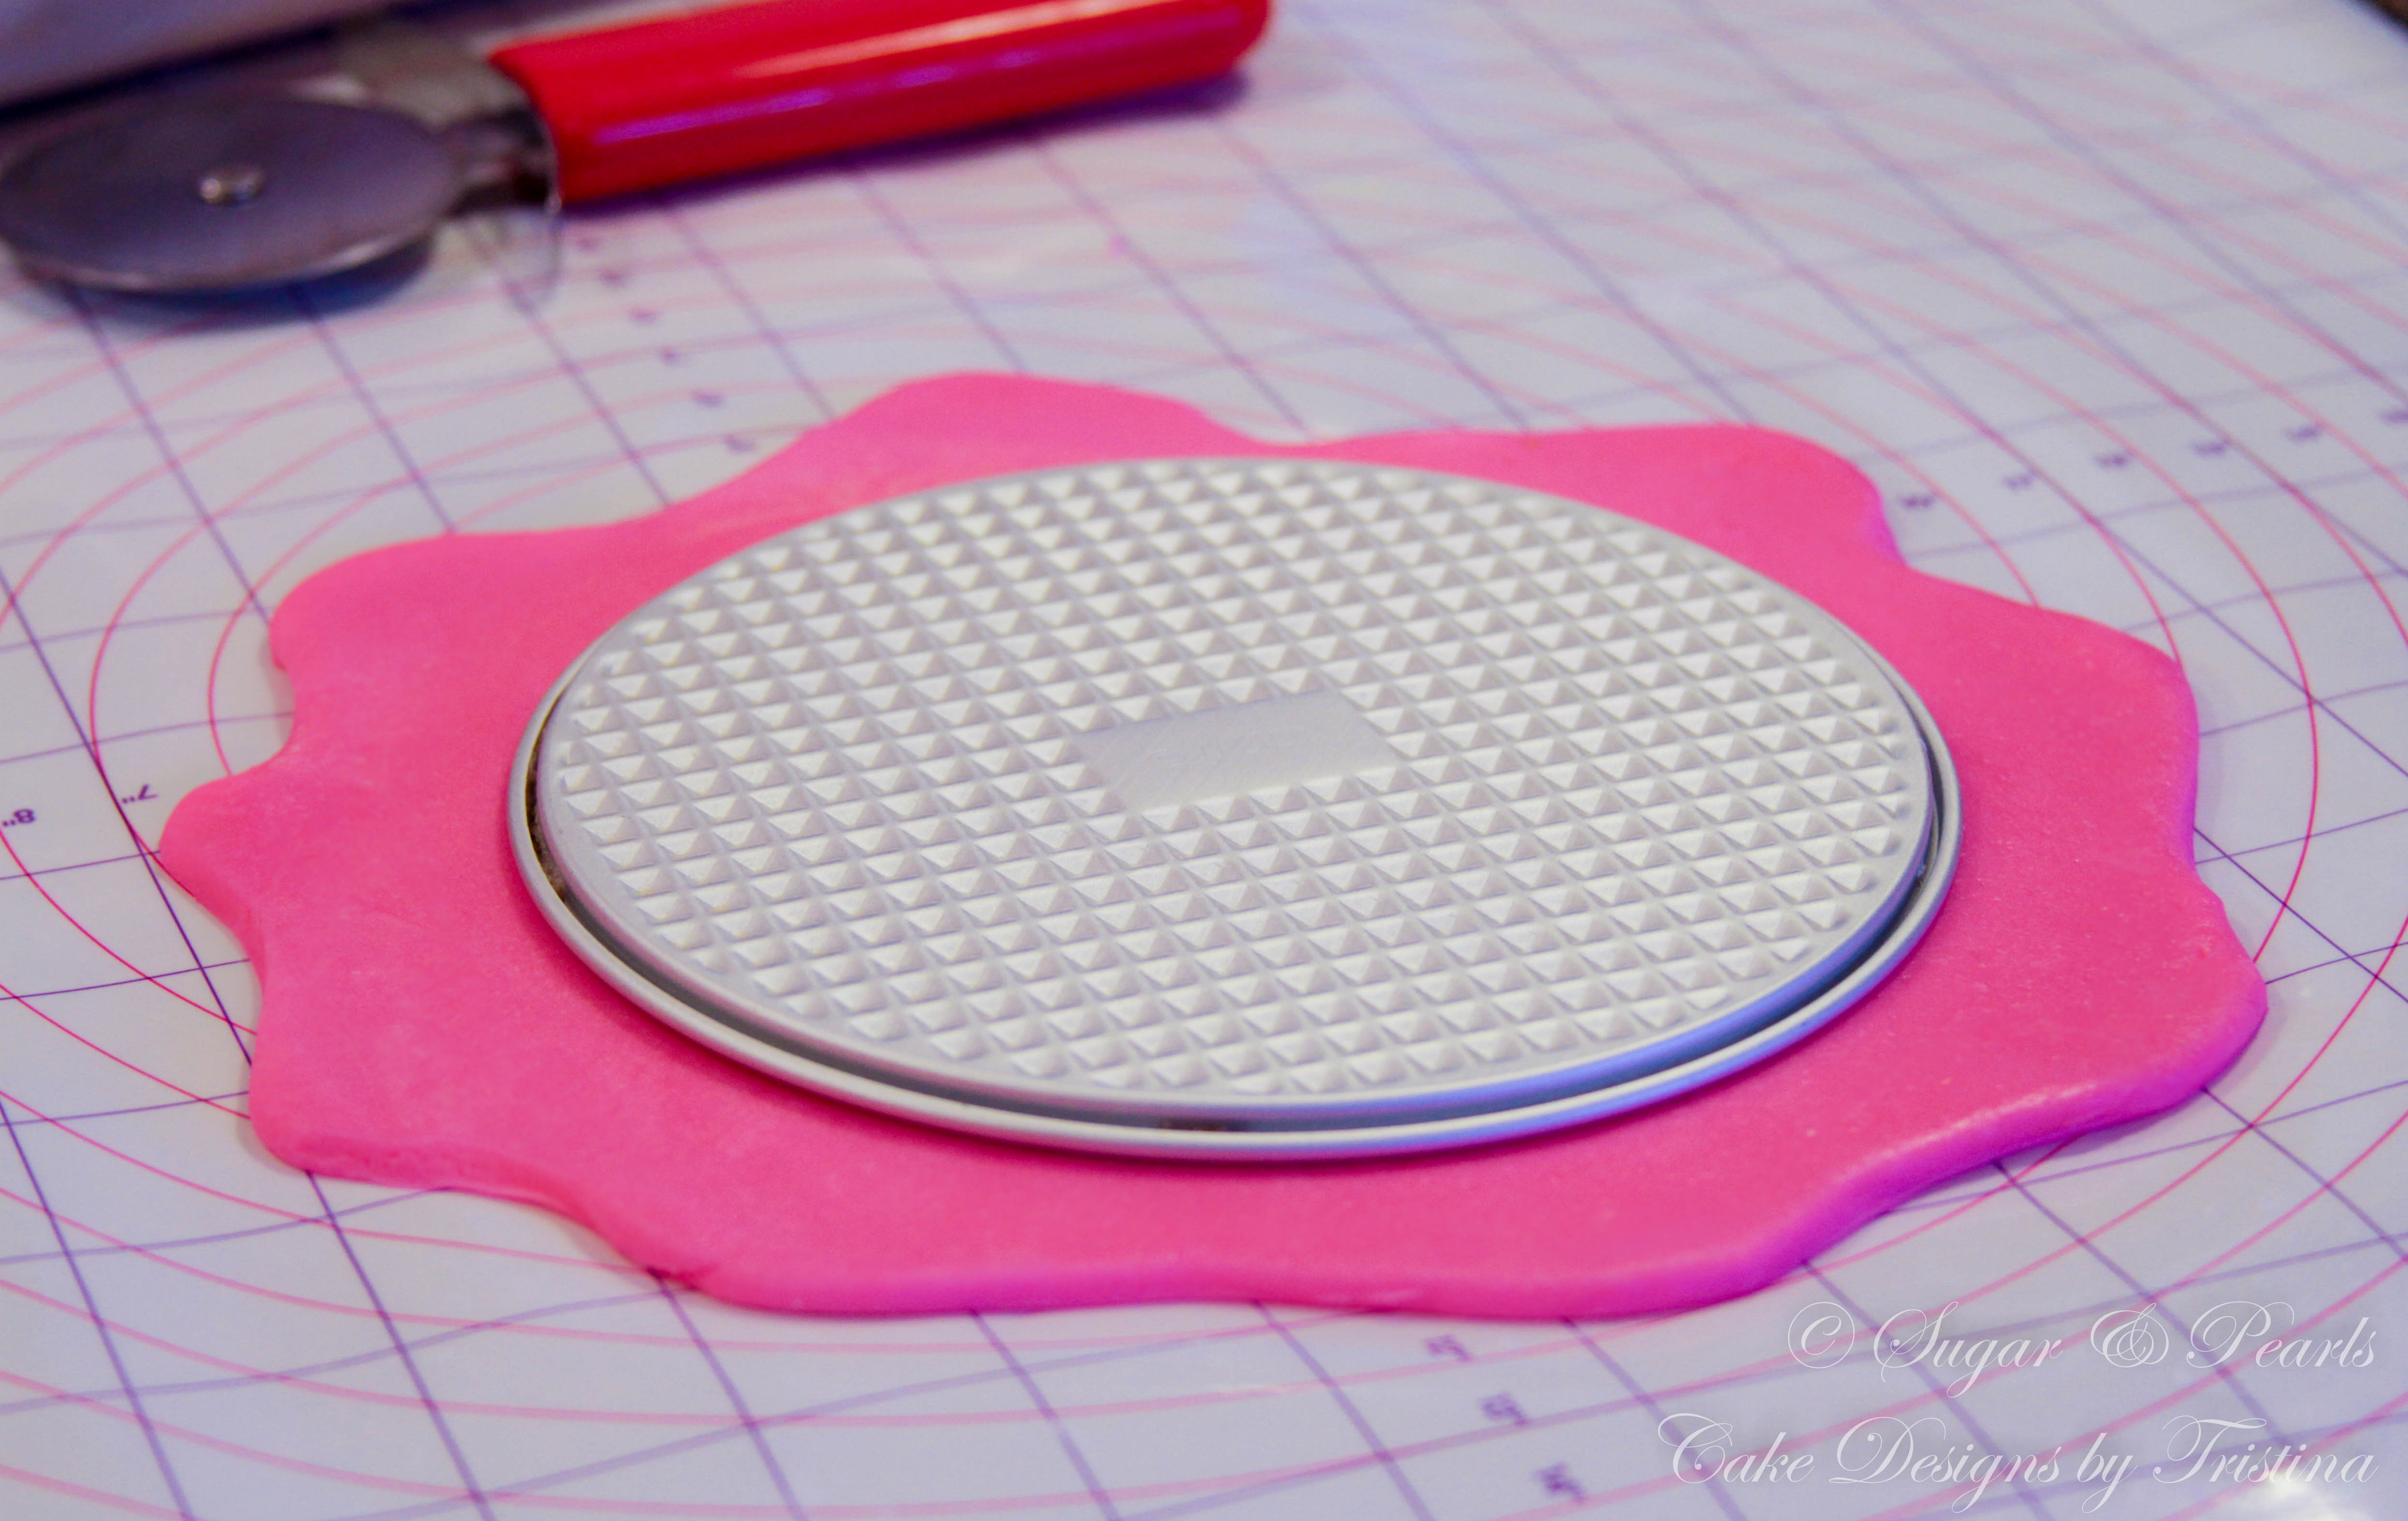
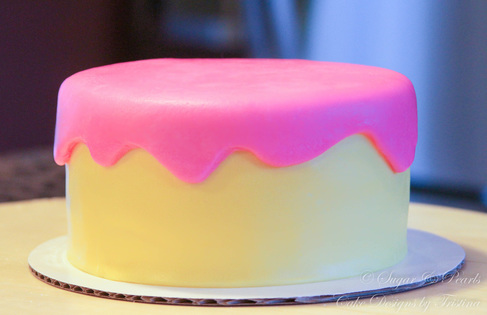
It's time to put the cake together! Trying to minimize the use of fondant, I start out by covering the side of the cake with a long, thick rectangular strip of yellow fondant. I trim the top to level with the cake and remove all excess (Photo 7). Next, I use the size of the cake pan to guide me in cutting he round pink drippings to cover the top of the cake. Rest assure that it is fine for the dripping-layer to look slightly imperfect (Photo 8).
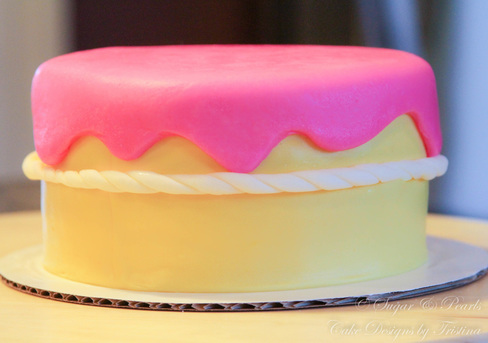
The next step is to wrap the headband around the cake, just slightly underneath the pink drippings. Then, I add all of the details on Wishes' face along with her little hands on the side (Photo 9). I start out by adding her lips first, following by her nose and finishing up with her eyes.
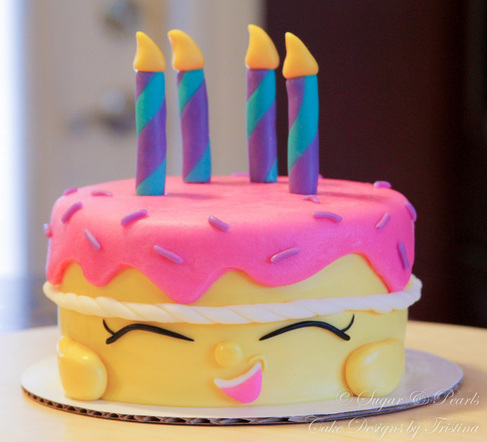
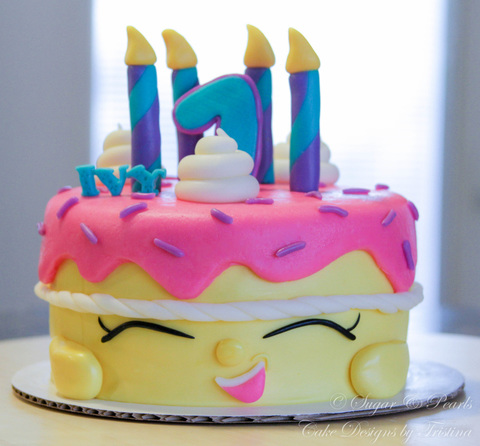
Finally, the candles and sprinkles can now be added. Make note that the candles cannot stand alone on the cake without falling. To ensure the candles do not fall up, I insert a toothpick into the middle of each candle and stick it on the cake. This works really well to hold the candles in their place (Photo 10). Sprinkles are made by cutting out equal parts of a thin purple string of fondant and placed on the pink drippings. I finish the cake by adding the white frosting along with the number "7" in the middle of the cake.
It's time to put the cake together! Trying to minimize the use of fondant, I start out by covering the side of the cake with a long, thick rectangular strip of yellow fondant. I trim the top to level with the cake and remove all excess (Photo 7). Next, I use the size of the cake pan to guide me in cutting he round pink drippings to cover the top of the cake. Rest assure that it is fine for the dripping-layer to look slightly imperfect (Photo 8).
The next step is to wrap the headband around the cake, just slightly underneath the pink drippings. Then, I add all of the details on Wishes' face along with her little hands on the side (Photo 9). I start out by adding her lips first, following by her nose and finishing up with her eyes.
Finally, the candles and sprinkles can now be added. Make note that the candles cannot stand alone on the cake without falling. To ensure the candles do not fall up, I insert a toothpick into the middle of each candle and stick it on the cake. This works really well to hold the candles in their place (Photo 10). Sprinkles are made by cutting out equal parts of a thin purple string of fondant and placed on the pink drippings. I finish the cake by adding the white frosting along with the number "7" in the middle of the cake.
|
|
Photo 7: Covering the round of the cake.
|
|
Photo 8: Covering the top of the cake with pink fondant.
|
Photo 9: Adding the headband and the face.
|
|
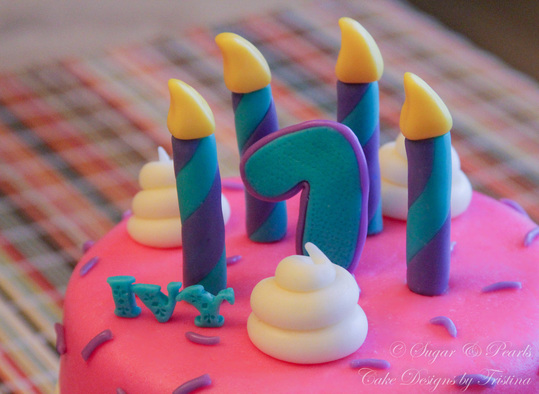
Photo 10: Adding the candles, frosting, and sprinkles.
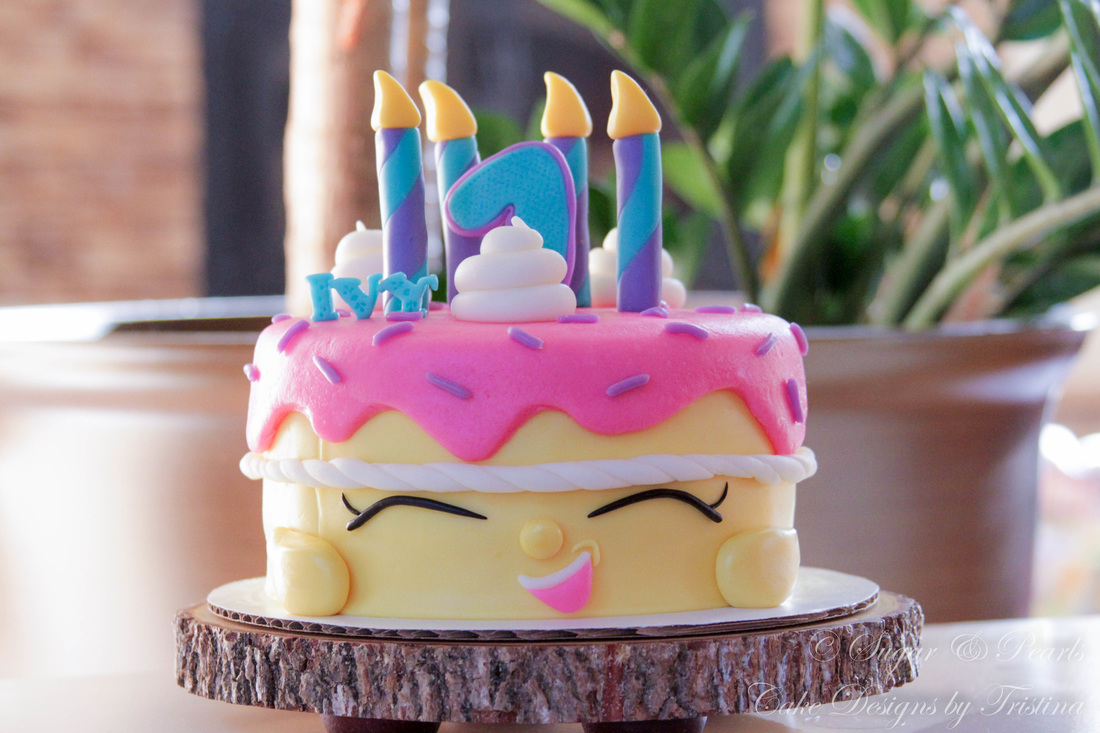
And there you have it...a cutest Shopkins Cake of "Wishes"! If I were to have more time, I would make a two-tiered cake with other Shopkins friends, but I think this will have to be it this year. The thing I like the most about this cake is the bright pink color of Wishes' dripping along with her cute smile. Which part of the cake is your favorite?

My family finished the cake in less than 48 hours. That tells you how moist and delicious the pink vanilla cake was. Now, I am moving on to my next two projects: Halloween cupcakes and my daughter's birthday cake. See you in a few weeks again with a new cake recipe and cake tutorial!
xoxo,
Tristina
COPYRIGHT © 2016 - SUGAR & PEARLS ~ CAKE DESIGNS BY TRISTINA
