Autumn Floral Cake
October 15, 2017
Fall has arrived once again to the Pacific Northwest. The crispy, chilly air in the morning is definitely the first sign that reminded me the season is here. We are lucky enough that it is almost mid of October, and the sun is still shining on most days, and the heavy rain is not quite here yet. Hopefully, we will have some more dry days before the heavy rain hits us, just as it does every year.
Fall is my favorite season of the year, because of all the beautiful colors we see throughout the city—aside from the hopelessly romantic atmosphere, autumn also gives me the feeling of coziness. I love Fall for many reasons, but if I have to narrow down to one main reason, it must be because all of the special events in my life tend to be surrounding October and November. The season holds a lot of beautiful memories, including my first date with my hubby, the proposal, the honeymoon, and both of our kids (as well as my husband) were all born in Fall. I think half of my family do indeed with birthdays around this time of the year. How can I not love Fall, right?
This cake is made for my parents-in-law in celebrating both of their birthdays. We don't usually host a get-together for them often, and this must be the first cake I made for them ever since I started baking. My sister-in-law tinkered with the idea of making a birthday cake for them, and I grasped at the opportunity to make an Autumn cake. I am glad I did, so I can finally learn to pipe a few more different styles of buttercream flowers.
And of course, you are the first people I share these new piping techniques with. Now, let's get started!

DECORATING THE CAKE
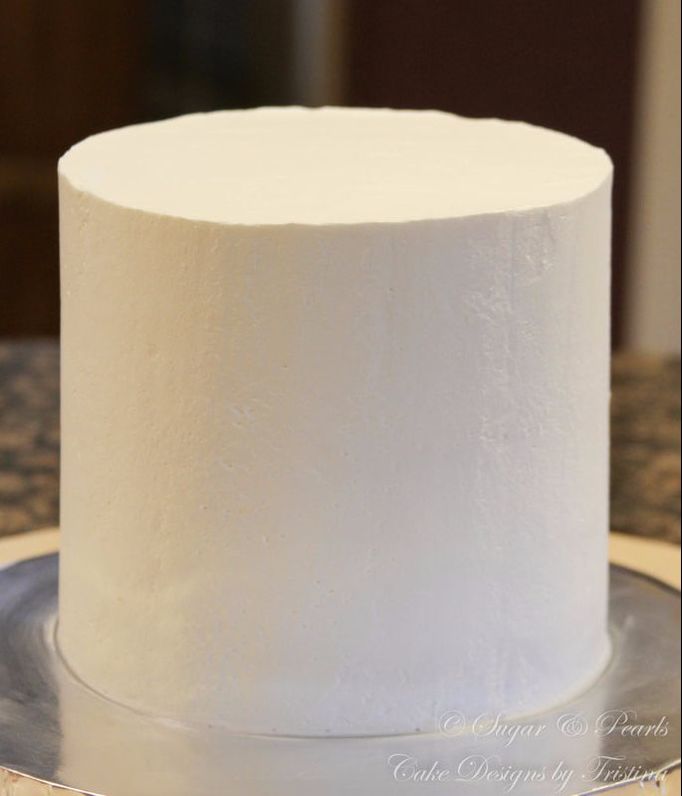
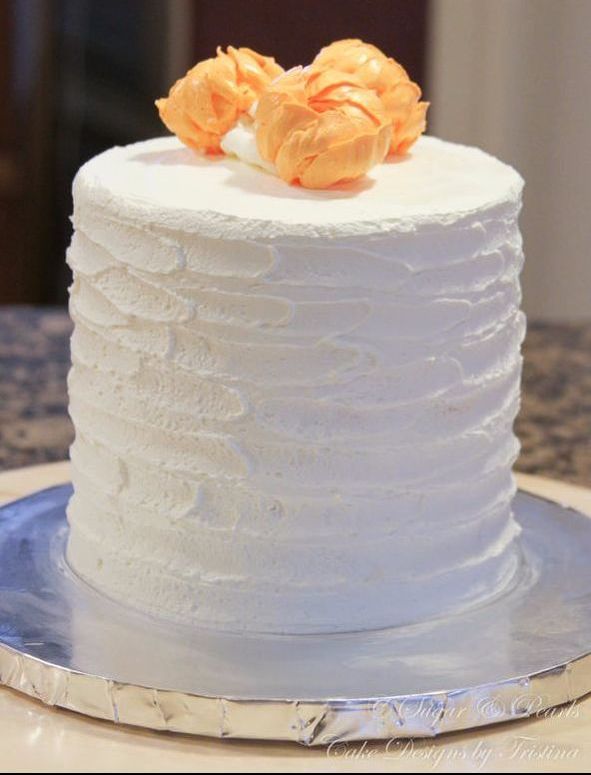
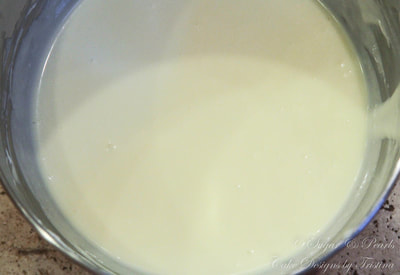
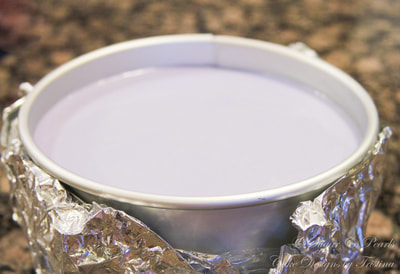
I made this cake using my Sponge Cake Recipe and added a few drops of orange food coloring to give the cake a touch of Fall. This is a four-layer cake with vanilla mouse filling. I used vanilla whipped cream to frost the entire cake. However, I used my vanilla buttercream recipe to pipe the flowers on the cake, with an exception of the green leaves, which were piped directly onto the cake using green whipped cream.
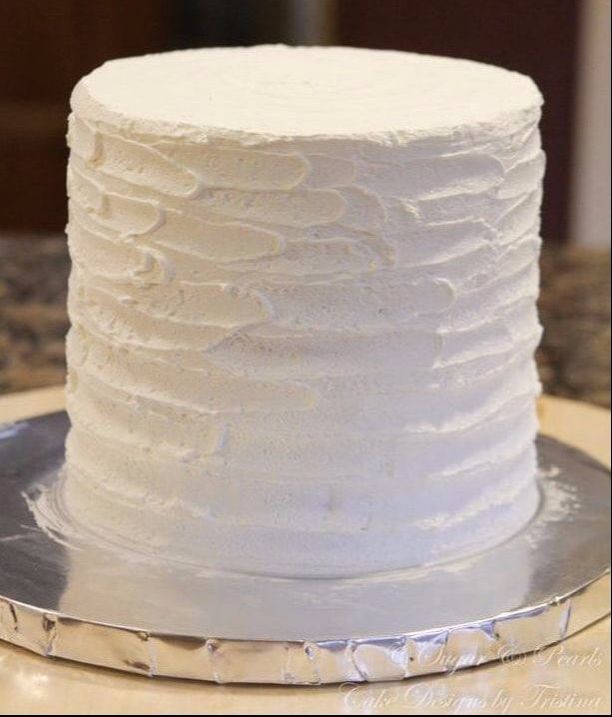
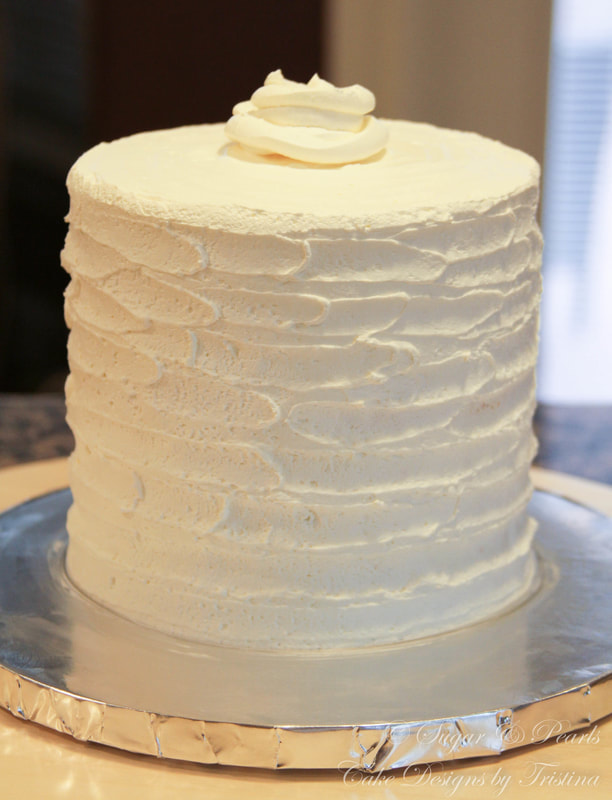
Here, I just slightly smoothed out the cake and then made uneven swirls around the cake using a small spatula. To make these consistent, you just have to ensure the swirls follow one direction. I did this for the entire cake, starting from the bottom to top. I also made similar swirls for the top, but of course it would be difficult to see with all the flowers covering the top of the cake. Then I piped a big dab of whipped cream in the middle of the cake where I would place the flowers on at the end.
I made this cake using my Sponge Cake Recipe and added a few drops of orange food coloring to give the cake a touch of Fall. This is a four-layer cake with vanilla mouse filling. I used vanilla whipped cream to frost the entire cake. However, I used my vanilla buttercream recipe to pipe the flowers on the cake, with an exception of the green leaves, which were piped directly onto the cake using green whipped cream.
Here, I just slightly smoothed out the cake and then made uneven swirls around the cake using a small spatula. To make these consistent, you just have to ensure the swirls follow one direction. I did this for the entire cake, starting from the bottom to top. I also made similar swirls for the top, but of course it would be difficult to see with all the flowers covering the top of the cake. Then I piped a big dab of whipped cream in the middle of the cake where I would place the flowers on at the end.
|
|
|
|
PIPING BUTTERCREAM FLOWERS
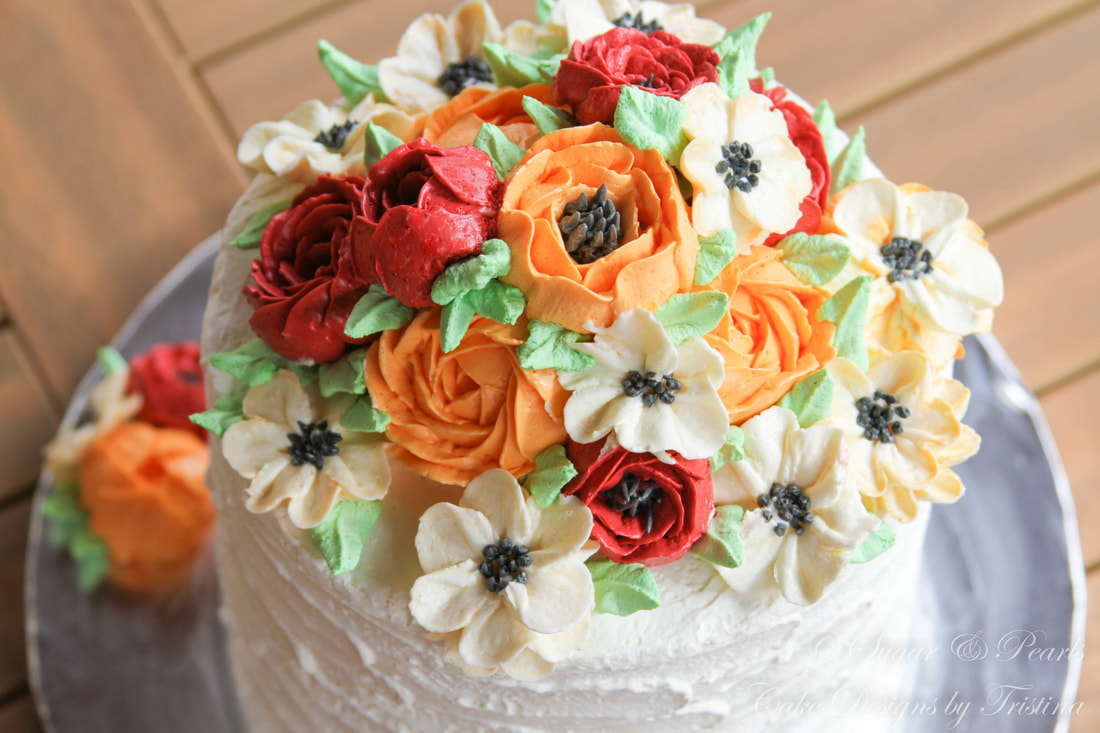
Now comes the fun stuff! I wanted to use three different types of flowers for this cake: roses, peonies and poppies. To prepare for the buttercream flowers, I colored three different batches of buttercream for each flower and the pistils. Here, I used orange for peonies, red for roses, and I colored a black batch of buttercream for these pistils. I also used the same Wilton tip #127 for all of the flower petals and Wilton tip #233 for the pistils.
In previous postings, I have already showed you how to pipe peonies so I won't go through that again. You can see the complete tutorial at Pink Peonies Cake.
Buttercream Roses
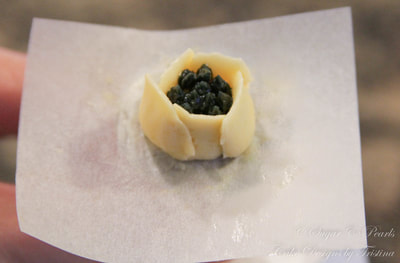
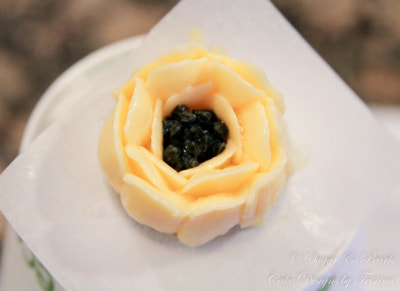
Making buttercream roses is probably the easiest technique I have mastered in piping buttercream flowers. I have done this a few times in the past, but here, I wanted to make my roses a bit more unique by adding the black pistils in the center. First, I piped a dab of buttercream in the center of a square parchment paper and added the black pistils using the grass Wilton tip #233 on top of this buttercream. Then using the Wilton tip #127, I created petals going around around the pistils. I kept on adding more layers until I was happy with the size of the rose. I was excited to create red roses for this cake. I wanted a deep red color to reflect Autumn, therefore, I also added a bit of black to the red buttercream batch. I usually like to avoid making dark colors, and I am extremely fearful of making anything red. It is so difficult to achieve a bright red without using up half of the food coloring container. But this was relatively easy because the amount of buttercream I used was small.
***Noted the first rose I attempted to create was in pale yellow before I created my deep red buttercream. Thus, the tutorial rose is not in red.
Now comes the fun stuff! I wanted to use three different types of flowers for this cake: roses, peonies and poppies. To prepare for the buttercream flowers, I colored three different batches of buttercream for each flower and the pistils. Here, I used orange for peonies, red for roses, and I colored a black batch of buttercream for these pistils. I also used the same Wilton tip #127 for all of the flower petals and Wilton tip #233 for the pistils.
In previous postings, I have already showed you how to pipe peonies so I won't go through that again. You can see the complete tutorial at Pink Peonies Cake.
Buttercream Roses
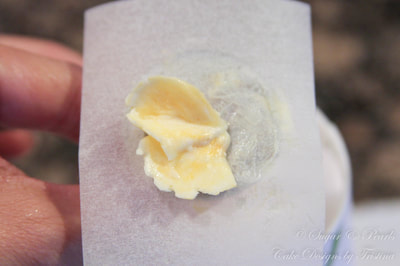
Making buttercream roses is probably the easiest technique I have mastered in piping buttercream flowers. I have done this a few times in the past, but here, I wanted to make my roses a bit more unique by adding the black pistils in the center. First, I piped a dab of buttercream in the center of a square parchment paper and added the black pistils using the grass Wilton tip #233 on top of this buttercream. Then using the Wilton tip #127, I created petals going around around the pistils. I kept on adding more layers until I was happy with the size of the rose. I was excited to create red roses for this cake. I wanted a deep red color to reflect Autumn, therefore, I also added a bit of black to the red buttercream batch. I usually like to avoid making dark colors, and I am extremely fearful of making anything red. It is so difficult to achieve a bright red without using up half of the food coloring container. But this was relatively easy because the amount of buttercream I used was small.
***Noted the first rose I attempted to create was in pale yellow before I created my deep red buttercream. Thus, the tutorial rose is not in red.
Buttercream Poppies
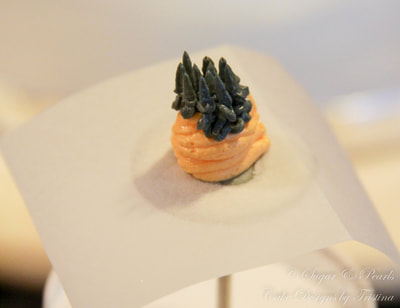
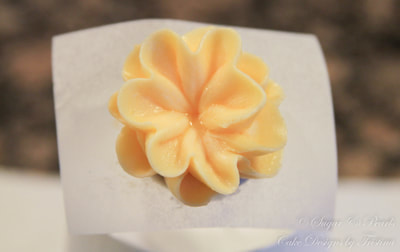
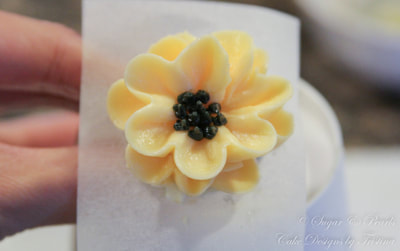
To create the pale yellow poppies, I added some white buttercream to the orange buttercream bag to mix up the color. I piped these cute poppies petal by using the same Wilton tip #127, and then create the additional petals next to one another until I got a complete flower. I added the black pistils as a final touch to each poppy flower.
I like to play around with my buttercream flowers, so I attempted to create poppies with multiple layers. To create the these multi-layers poppies, I just kept on adding more layers on to the first flower until I was happy with the flower appearance. Remember that you do not need to have a perfect flower, but real flowers have their own faults as well. Here, you can see some poppies have one layer, two layers and even three layers. It was so fun to experiment these flowers using buttercream. And I got better after each flower too!


The way I like to decorate buttercream cake is to pipe all of the flowers and leave them harden in the fridge for about 30 minutes before placing them on to the cake. Sometimes I need to speed up the process, I would just throw them in the freezer and they should be ready in 10-15 minutes. This step is not necessary because I see most cake decorators would just pipe and place flowers directly onto their cakes. However, if you are like me who like to have more control on manipulating the buttercream flowers, this step is really helpful for me. It allows me to place my flowers in a certain way without destroying the structure of the piped flowers. I also like to be able to re-position the flowers if I am not too happy with the way the flowers look on the cake.
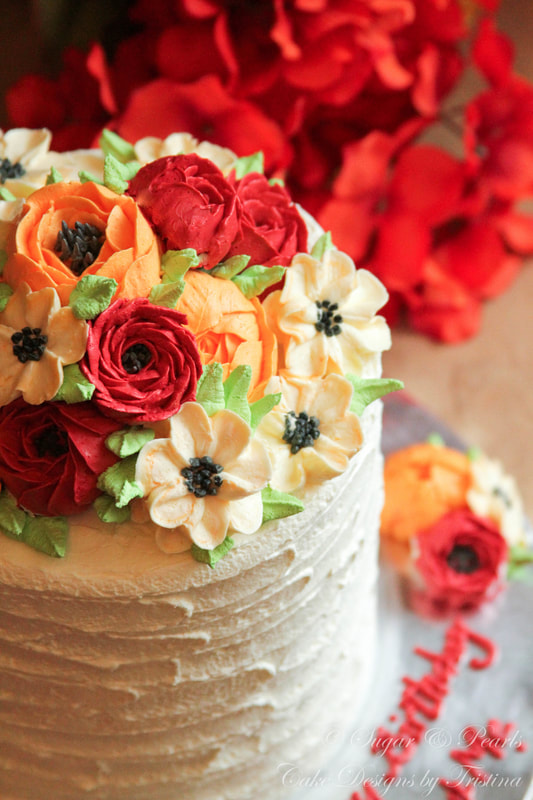
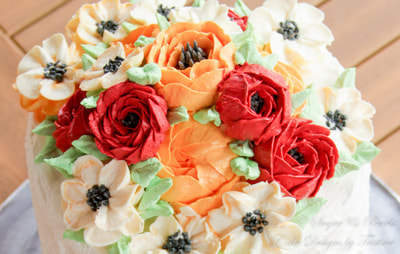
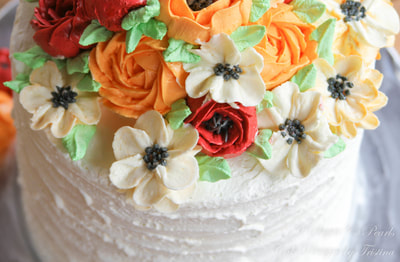
This cake definitely gives me the Autumn feel. Don't you think? I love the way the red roses standing out from the orange peonies and cream poppies. The light green leaves will always add some life to the flower bunch themselves. The leaves were piped directly onto the cake once all the flowers were placed in their designated positions. Here, using the Wilton tip #352, I added green leaves among the flowers to cover some big gaps and hide the "flaws" of certain flowers. If I have to re-do this cake, I would make the leaves a darker shade of green to closely mirror the color of Autumn even more.
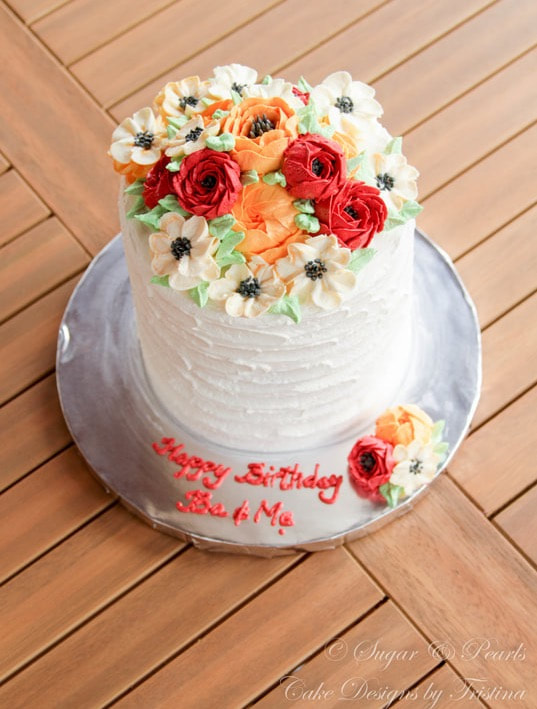
I finished the cake by I piping the wording my sister-in-law requested, "Happy birthday Ba & Me," using left over red buttercream. The words "Ba" here means "Dad" and "Me" here means "Mom."
I finished the cake by I piping the wording my sister-in-law requested, "Happy birthday Ba & Me," using left over red buttercream. The words "Ba" here means "Dad" and "Me" here means "Mom."
But overall, I like how the decorations on this cake turned out to be. I also added one of each flower scattered around the the side of the cake. I think this design brings the entire decorate together.
Although this is a four-layer cake, it was definitely lighter to carry around. Now, I just can't wait to cut into the cake and munch on these beautiful buttercream flowers.
Happy Autumn to all!
xoxo,
Tristina
Happy Autumn to all!
xoxo,
Tristina
COPYRIGHT © 2017 - SUGAR & PEARLS ~ CAKE DESIGNS BY TRISTINA
