Red Velvet Macarons
December 31, 2016
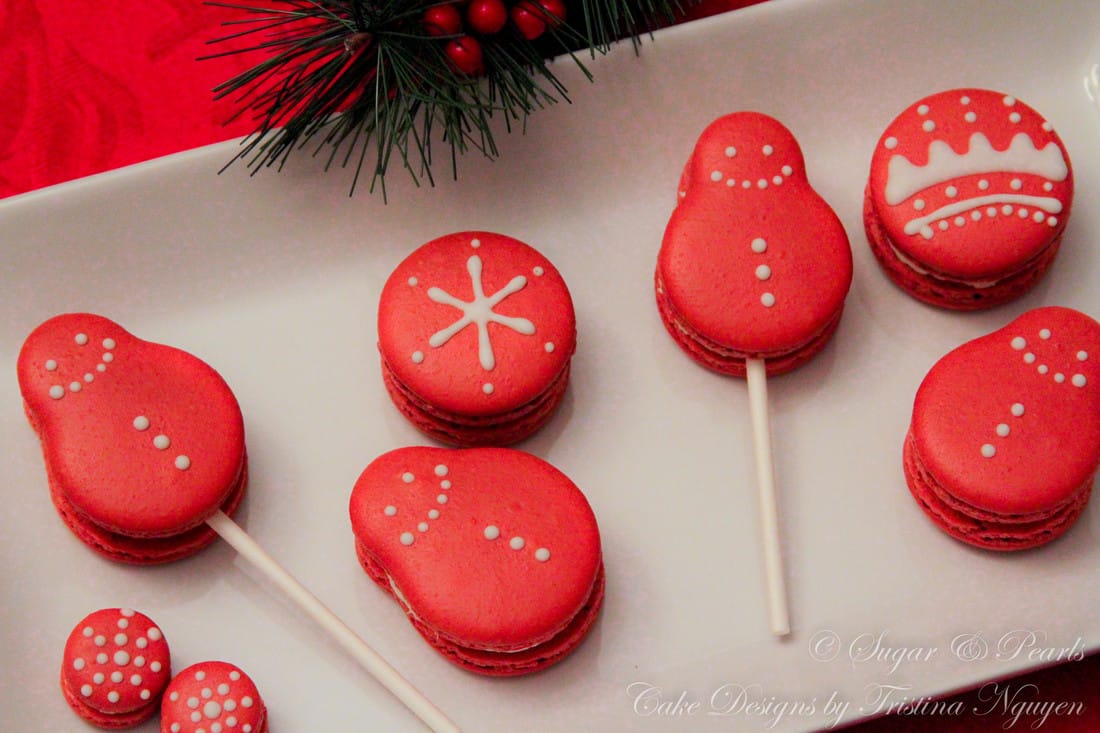
This fancy treat looks even more beautiful in red. It is not easy to achieve this color without being careful not to ruin the merginue batter, but it is definitely do-able. Not just only the look, but as you taste one of these red velvet macarons, you will fall in love with it. Make sure you are not alone at home as I cannot guarantee that you can resist yourself from eating the entire batch of these delicious macarons.
Here in this post I will focus on red velvet macarons. For a complete detail with pictorials of how to make basic vanilla macarons, you may check out my Vanilla Macarons posting.
Here in this post I will focus on red velvet macarons. For a complete detail with pictorials of how to make basic vanilla macarons, you may check out my Vanilla Macarons posting.
|
|
PREPARATION OF DRY INGREDIENTS
First, I weight all of the ingredients using a digital scale for accuracy. Once all of the ingredients are all weighted, I blend the almond flour, cocoa powder and powder sugar together in my food processor for about 1 minute. This is to make the batter as smooth as possible. I finish this mixture by running it through the sieve twice and then set aside.
Tip 1: Blend and sift almond flour and powder. Do NOT skip this step, as it is important to achieve that smooth look of the macaron shells
WHIPPING THE MERINGUE
In a standmixer, I start to whisk the room temperature egg whites. Using medium speed (no. 4 on a KitchenAid stand mixer) with a whisk attachment, beat the egg whites until foamy. Without stopping the mixer, add a pinch of tartar and continue to beat the egg whites at the same speed until soft peak forms. I add granulated sugar when I starting to see the fainted lines appear on the mixture. Granulated sugar can be added all at once, or in 3 additions to ensure even mixing. Either method should not alter the batter.
Continue to beat the egg whites for 2 minutes at high speed (no. 8 on a KitchenAid stand mixer) until stiff peak forms and the meringue becomes thick and shiny. Then, I add coffee extract and red food coloring and whisk for another 30 seconds on the highest speed (no. 10 on a KitchenAid stand mixer). Depending on how bright you want your "red" to be, you may need to add a lot more red coloring here. I highly recommend using gel food coloring because adding extra liquid coloring can ruin your batter.
Tip 2: to test for readiness, when turn the mixing bowl upside down over your head, the meringue does not fall off.
FOLDING THE BATTER
I like to gradually sift the dry ingredient into the meringue in 3 additions. Using a rubber spatula, I gently fold the batter starting from the bottom, up and around the sides with the clockwise pattern. Repeat this circular motion until the batter becomes smooth and glossy. I highly encourage you to count the number of folds to prevent overfolding the batter. It normally takes about 40-45 folds to get to the right ribbon-like consistency. The batter will become thinner as you fold. Do NOT stir the batter.
Tip 3: to test for readiness, lift the spatula up with some of the batter and let it fall. The thick "ribbon" should flow downward smoothly. The batter should also blend in together, leaving no marks or traces behind, within about 15 seconds.
PIPE THE SHELLS
To pipe the macaron shells. I pour the batter into a prepared fitted pastry bag with a round tip (Wilton no. 12), and pipe about1 inch round (Photo 1). I use a printable template of circles and place it underneath the silicone mat to guide me in piping perfect rounds. Remove this template carefully once all of the shells have been piped. Do not forget to leave about an inch in between each shell.
Next, I tap the bottom of each baking tray against the counter for about 5-8 times to release big air bubbles. You can also remove big air bubbles using a toothpick. You need to do this quickly before the batter starts drying out. Leave these piped macarons to dry for about 20-30 minutes; the cookies are ready to bake when they are completely dry to touch.
Tip 4: resting macarons to dry is a crucial part to create those well-known "feet." This drying layer is to force the heat to escape through the bottom as it won't be able to escape through the top.
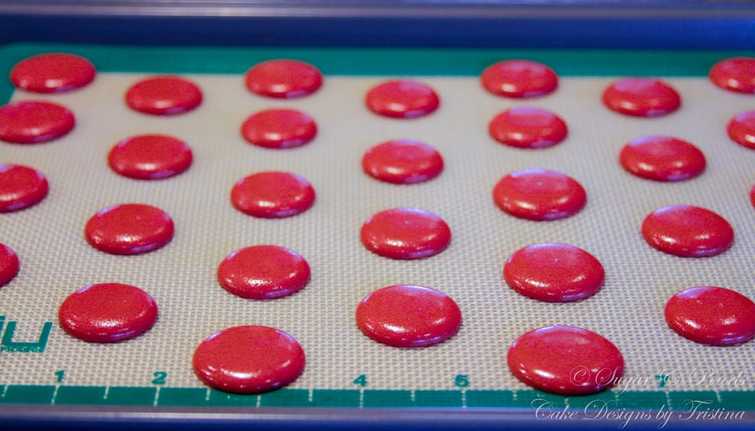
Photo 1. Pipe rounds using a template. These are my mini macarons size (about 1 inch in diameter).
BAKING MACARONS
Make sure the oven is preheated at 325 °F degrees (or 162 °C degrees). It is best to bake one sheet at a time at the lowest rack to prevent browning. Another tip you can try is to reduce the baking temperature down to 300 °F degrees and increase the baking time by 2-4 minutes. These cookies should start to rise about half-way through the baking time (Photo 2). At this time, you should also rotate the tray around to ensure even baking.
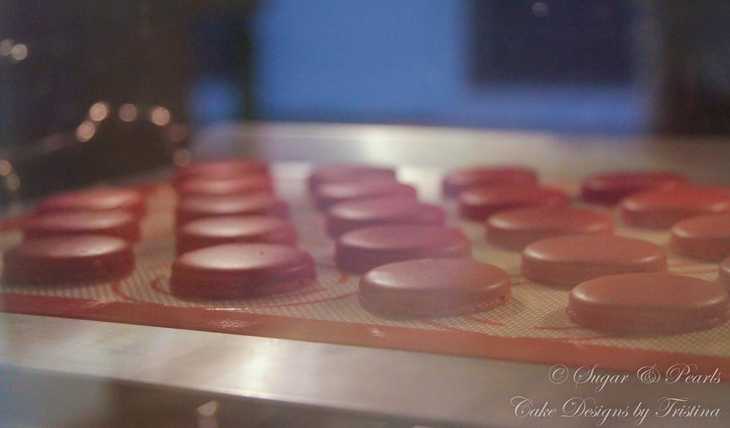
Photo 2. Nine minutes in the oven just right before rotating the baking sheet.
Remove the macarons from the oven at about 15-18 minutes. They are ready if the cookies come off the silicone mat or parchment paper easily. If they are still sticky, you need to pop them back in the oven for another minute or two. I suggest you stay nearby the oven to check for the readiness of these cookies. It is easy to overcook them thereby making them too crunchy. The perfect macaron should be crispy outside but chewy inside.
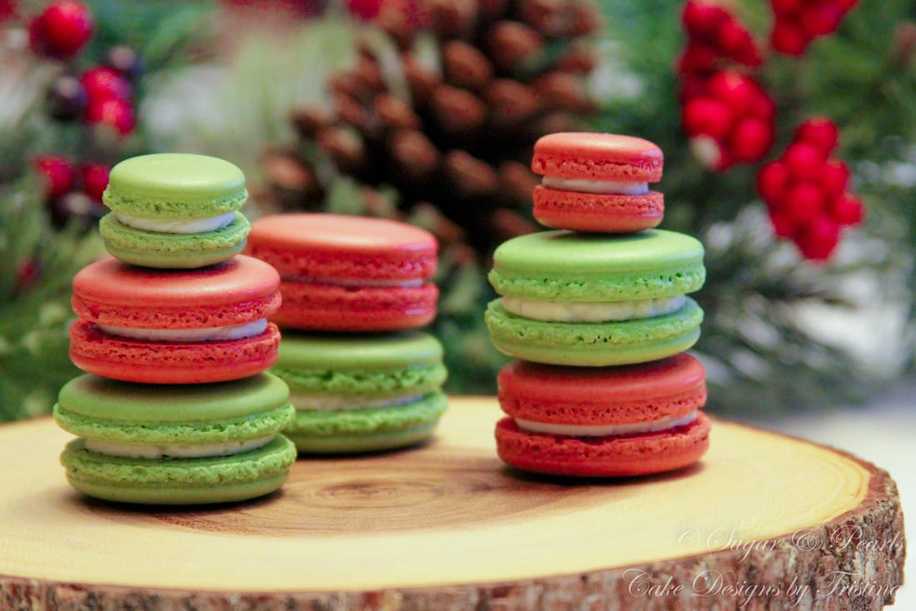
Once they are done, let them cool completely and sandwich them with any filling you like. Red velvet macarons are is best to paired with cream cheese fillings (see below). However, because cream cheese filling can be heavy, and if stored in the fridge for more than 3 days, the filling can sink into the shells. This does not alter the taste of the cookies by any means, but would make the macarons look "less attractive" in pictures as you can no longer see the middle filling. To avoid this, store your cream cheese filling macarons in the freezer, and remove it just 45 minutes before serving, and the cookies are guarantee to hold their shape.
Craving for more? Check out my previous Vanilla Macarons and Matcha Macarons recipes as well.
xoxo
Tristina
Red Velvet Macarons Recipe

Make: 20-25 filled macarons
Total time: 2 hours
Ingredients
Macaron Shells
Cream Cheese Filling
Instructions
Macaron Shells
Cream Cheese Filling
Total time: 2 hours
Ingredients
Macaron Shells
- 63 g of almond flour
- 8 g of unsweetened cocoa powder
- 115 g of powder sugar
- 50 g of granulated sugar
- 2 large egg whites, room temperature
- 1/2 teaspoon of coffee extract
- Pinch of cream tartar
- Red food coloring
Cream Cheese Filling
- 1/4 cup of cream cheese, softened
- 3 tablespoons of powder sugar
- 2 tablespoons of whole milk
- 1 teaspoon of pure vanilla extract
Instructions
Macaron Shells
- Blend powder sugar, almond flour and cocoa powder in a food processor until combined. Sift mixture twice and put aside.
- In a clean mixing bowl, whisk egg whites on medium speed until foamy for about 1 minute. Add cream of tartar and continue to whisk until soft peaks form for about 2 minutes. Add granulated sugar and increase to high speed and whisk until stiff peaks form for another 2 minutes. Add coffee extract and red gel food coloring and whisk for another 30 seconds on the highest speed.
- Sift flour mixture over the egg whites batter in 3 additions. Using a rubber spatula to fold the mixture until smooth and glossy (about 40-45 folds). The batter is done when it looks ribbon-like and should blend in within 15 seconds.
- Transfer batter to a pastry bag fitted with a plain round tip, and pipe 1 inch rounds on a double parchment-lined baking sheets or a silicone mat. Tap the bottom of each baking tray against the counter surface to release trapped air. Let stand at room temperature until dry to touch at approximately 20-30 minutes.
- Preheat oven to 325° F degrees. Bake one sheet at a time, rotating halfway through until macarons are crisp for about 15-18 minutes. Remove from oven and let macarons cool on sheet for 1-2 minutes.
Cream Cheese Filling
- In a mixing bowl, combine cream cheese, powder sugar and vanilla extract and beat on medium until light and fluffy for approximately 3-4 minutes.
- Add milk and whisk again for about 2 minutes or until achieve the desired consistency.
- Sandwich two same-size macarons using about 1 teaspoon of filling.
- Store in the fridge for about 1-2 days. Remove from the fridge at least 20 minutes before serving for the best taste.
It is best to store macarons in the fridge for 2-3 days before serving. These wonderful cookies can last for about 2 weeks in the fridge or 3 months in the freezer.
COPYRIGHT © 2016 - SUGAR & PEARLS ~ CAKE DESIGNS BY TRISTINA
