Summer Beach Cake
July 22, 2017
Bathing under millions of sun rays. Walking on the soft, warm sand. Breathing in the fresh air from a breezy wind. Listening to the echo of the ocean waves and the cries from the seagulls. This is a picture perfect for a summer day on the beach. My kids love the beach where they could play with the sand toys, chase seagulls, kick some beach balls, or seek for broken seashells along the shore. We come to the beach so the kids could roam around freely, flying their colorful kites, while my husband and I enjoy some peaceful moments under the sun. The days are longer and oftentimes fill with fun activities, including water parks and picnics—so many things for us to do!
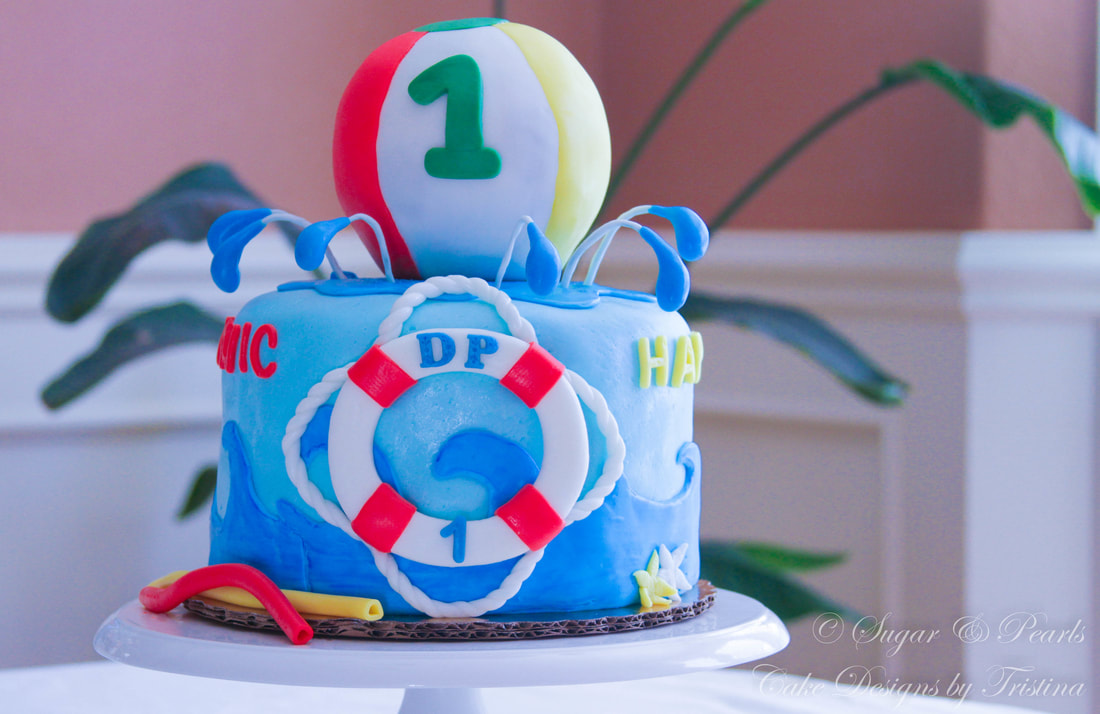
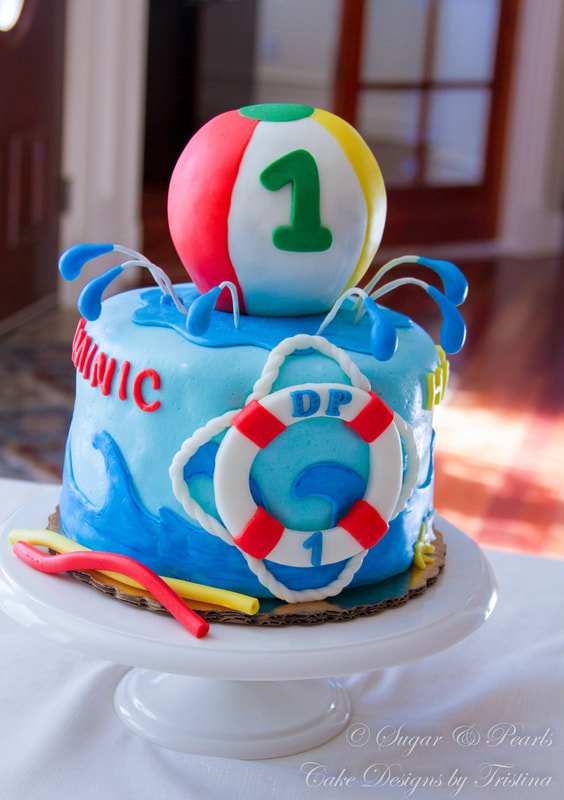
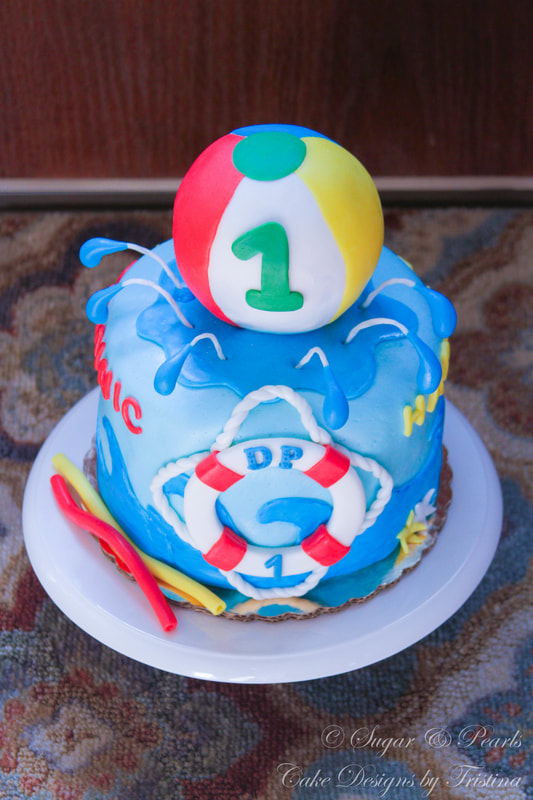
I am beyond happy that summer is finally here. And this cake indeed marks the beginning of our summer in the Rose City of Portland, Oregon. The representative of summer is all included in this cake entirely: blue ocean waves, lifesaver rings, starfishes, beach ball and pool noodles. How can you not get a quench of thirst to swim in the beach (or the pool) when seeing this cake? The thought of spending a day or two on the beach and soaking in the sun is beyond a dream come true for anyone. Is it because of the serenity that the sound of the waves dashing through the ocean that brings one to a state of relaxation? That must be it! Perhaps, this is also the foremost reason of why our yearly vacations are at a tropical beach faraway.
I am beyond happy that summer is finally here. And this cake indeed marks the beginning of our summer in the Rose City of Portland, Oregon. The representative of summer is all included in this cake entirely: blue ocean waves, lifesaver rings, starfishes, beach ball and pool noodles. How can you not get a quench of thirst to swim in the beach (or the pool) when seeing this cake? The thought of spending a day or two on the beach and soaking in the sun is beyond a dream come true for anyone. Is it because of the serenity that the sound of the waves dashing through the ocean that brings one to a state of relaxation? That must be it! Perhaps, this is also the foremost reason of why our yearly vacations are at a tropical beach faraway.
DECORATIONS PREPARATION
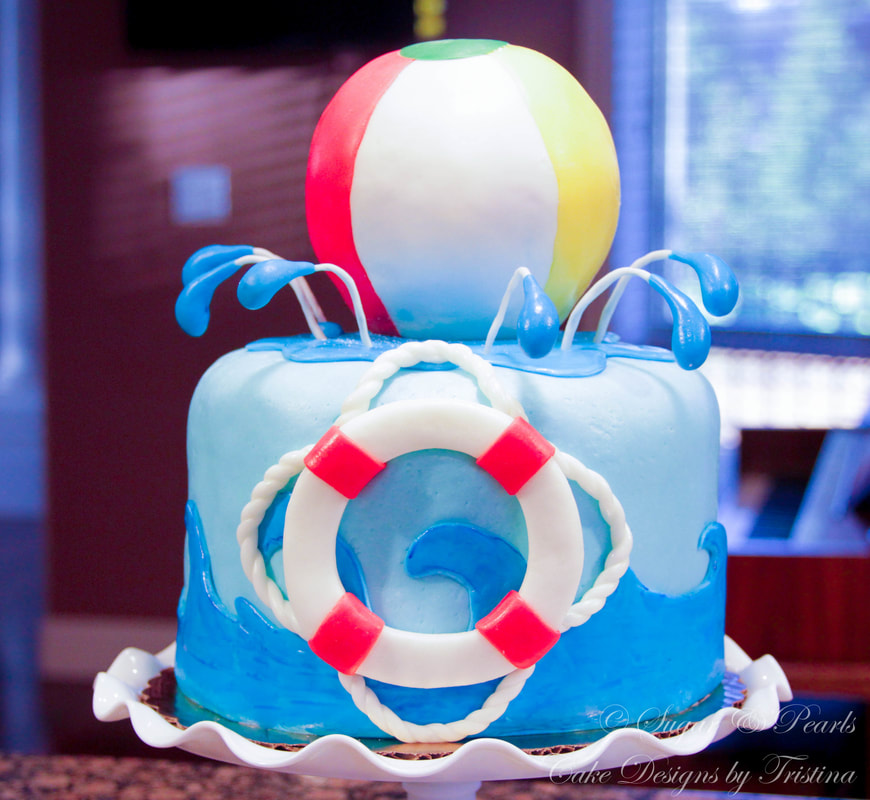
This cake is made for a handsome little boy named Dominic who just turned one in June. I started out by making the beach ball first. I wanted the ball to be completely dry and to hold its shape. I did not have time to make a "ball cake," so I decided to be creative and got a soccer ball as a gift for the baby boy. I came across this perfect-sized ball at Target and purchased it immediately. To create the fondant beach ball, I covered the soccer ball entirely with white fondant. I used a ruler to divide the ball into 4 sections to place each color: white, blue, red and yellow. This was the hardest part of the cake which was to create the semi-perfect section in different colors. I just eyeballed the shape and cut the fondant out using a "leaf-shape" layout. I did not use a template or anything for this part. I find that using a scissor to cut the fondant into the shape you want is a whole lot easier—at least for this task. Using water, I pasted the red and yellow sections on first, and then the last blue color was the easiest section to place on to the ball.
This cake is made for a handsome little boy named Dominic who just turned one in June. I started out by making the beach ball first. I wanted the ball to be completely dry and to hold its shape. I did not have time to make a "ball cake," so I decided to be creative and got a soccer ball as a gift for the baby boy. I came across this perfect-sized ball at Target and purchased it immediately. To create the fondant beach ball, I covered the soccer ball entirely with white fondant. I used a ruler to divide the ball into 4 sections to place each color: white, blue, red and yellow. This was the hardest part of the cake which was to create the semi-perfect section in different colors. I just eyeballed the shape and cut the fondant out using a "leaf-shape" layout. I did not use a template or anything for this part. I find that using a scissor to cut the fondant into the shape you want is a whole lot easier—at least for this task. Using water, I pasted the red and yellow sections on first, and then the last blue color was the easiest section to place on to the ball.
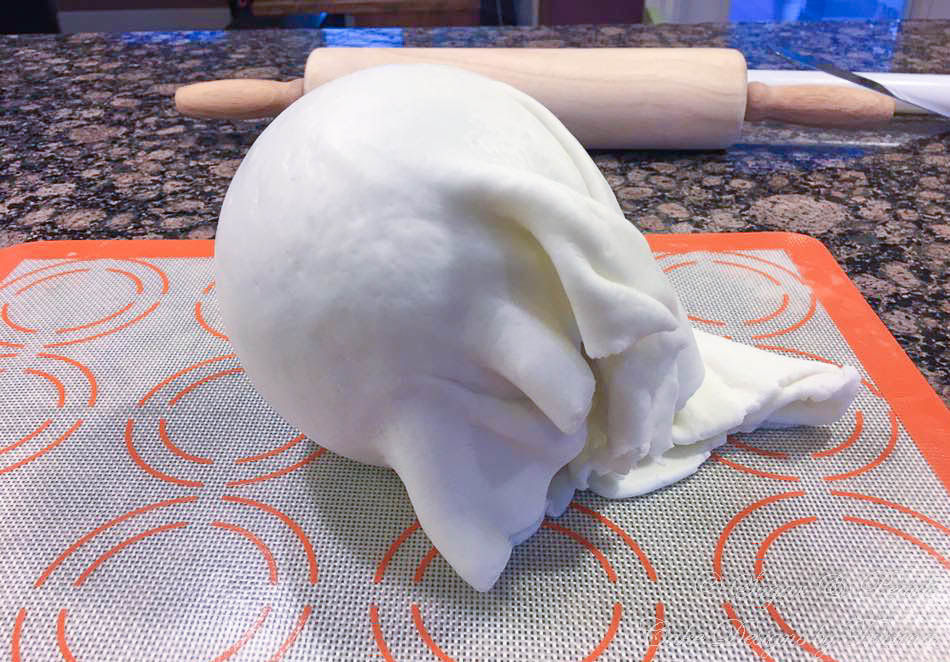
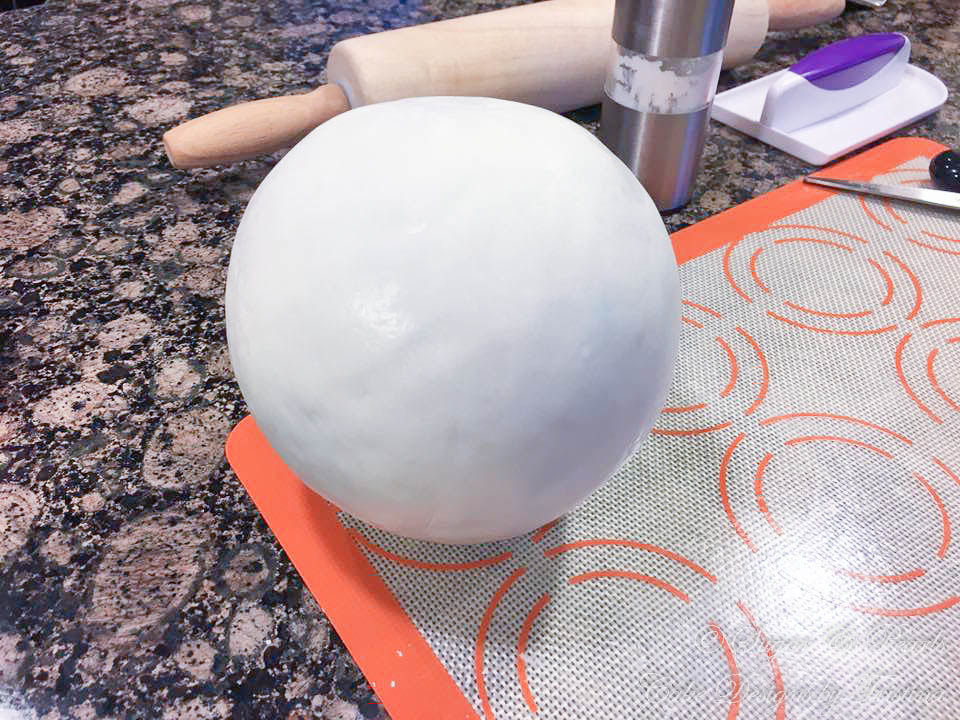

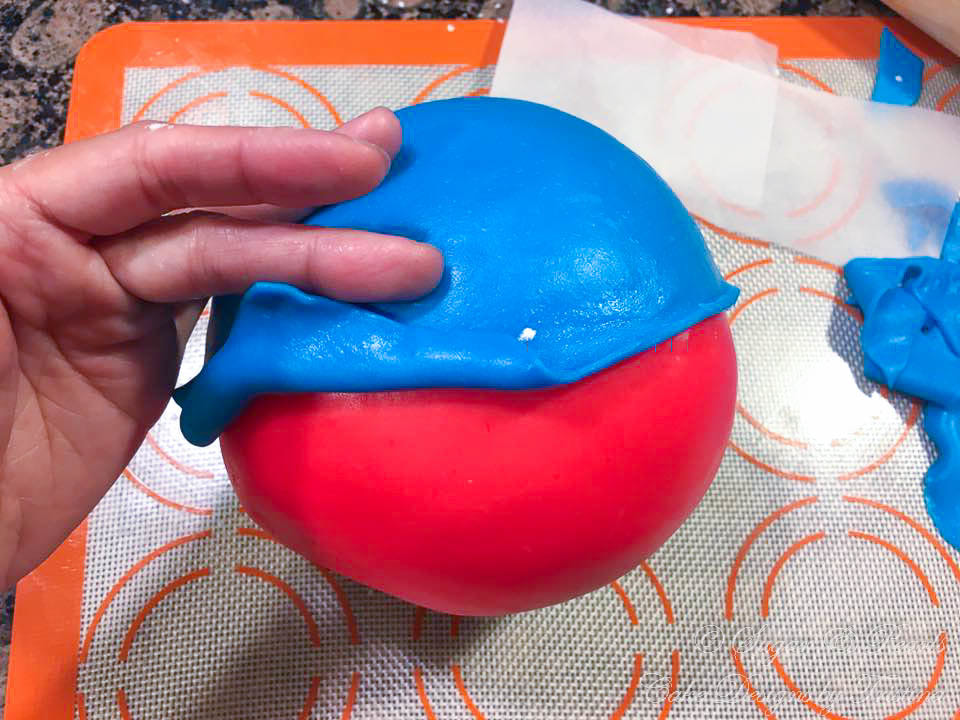
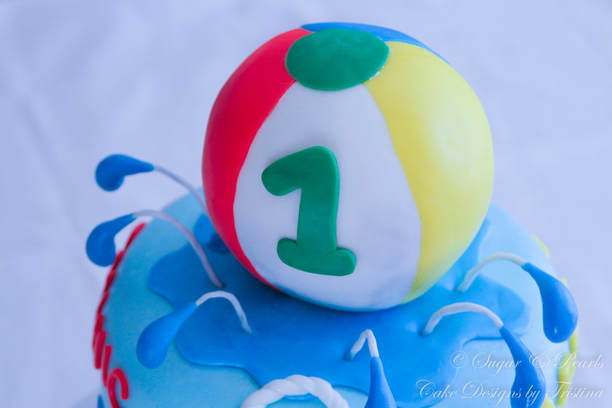
Once I had 4-color sections glued on the ball, I smudged the seams together with my finger to blend all the sections together. Using a smaller round cookie-cutter, I also cut 2 green fondant circles and added them on the top and bottom of the ball. Lastly, I added the number "1" to the white section of the ball and leave the ball to air dry over a few days.
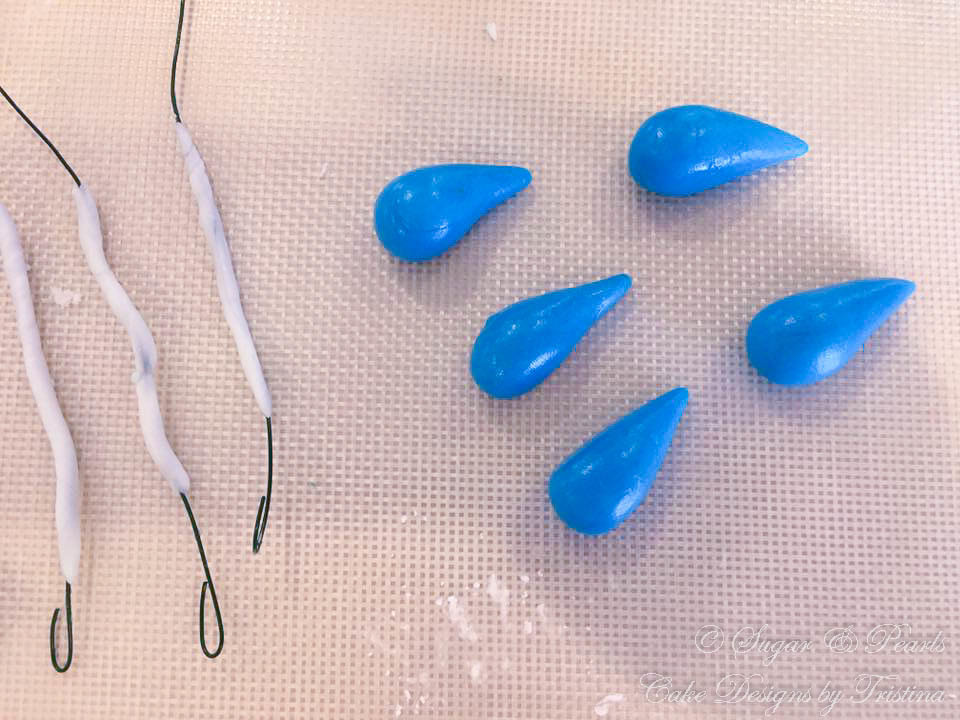
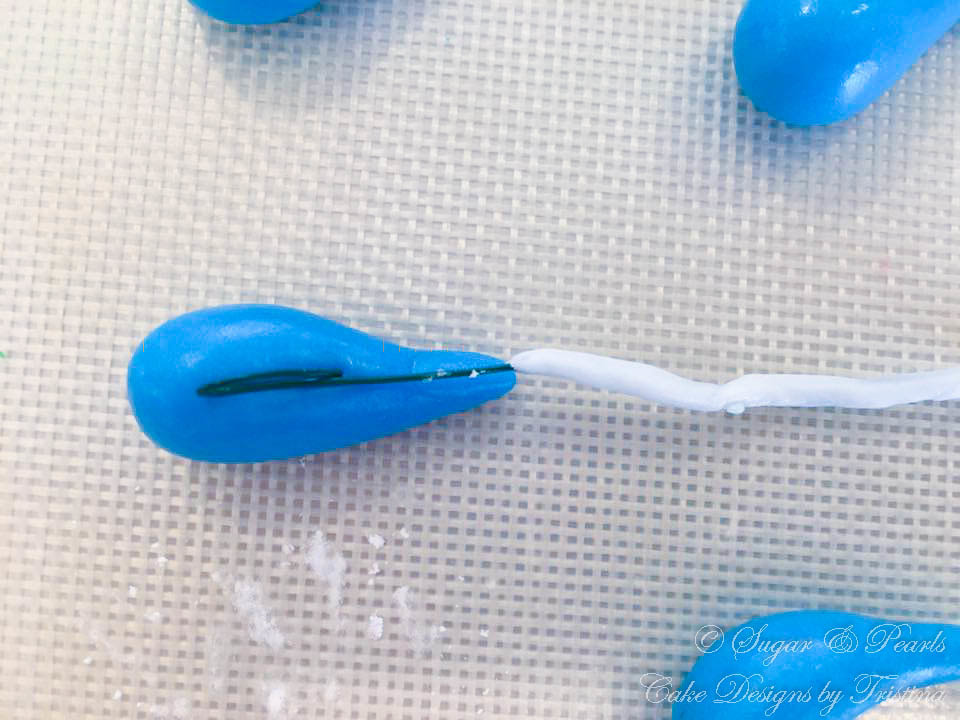
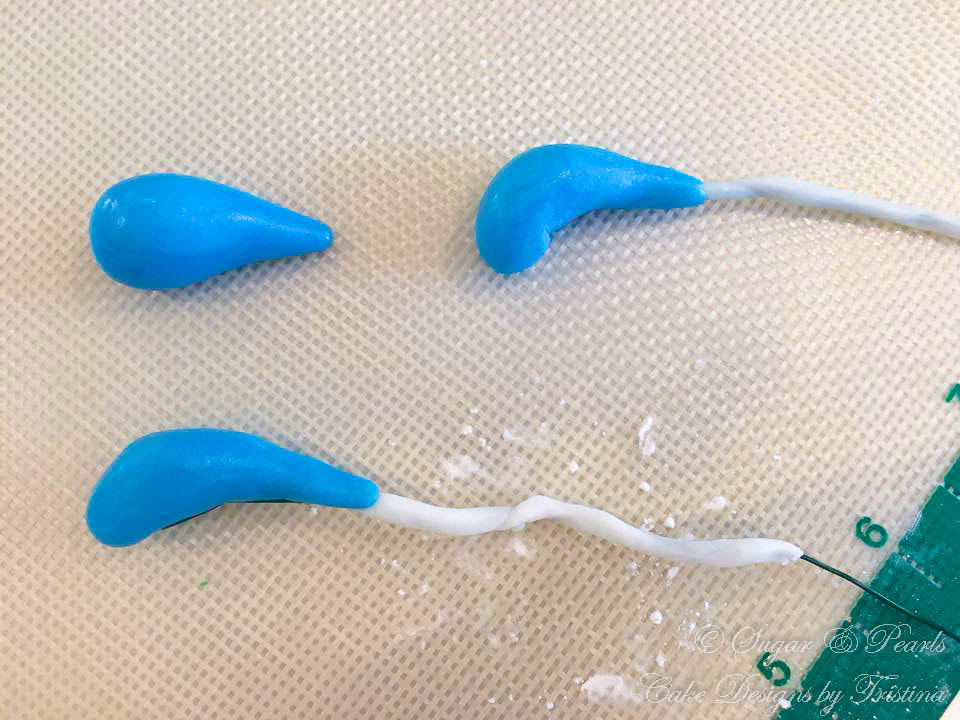
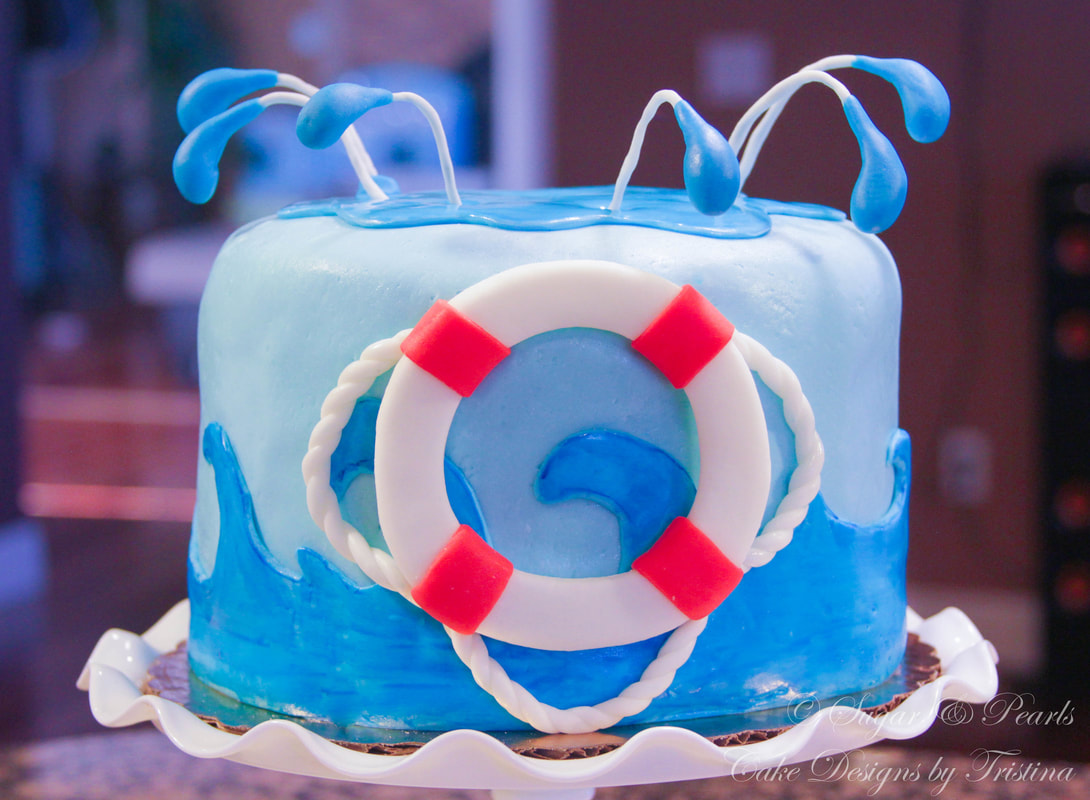
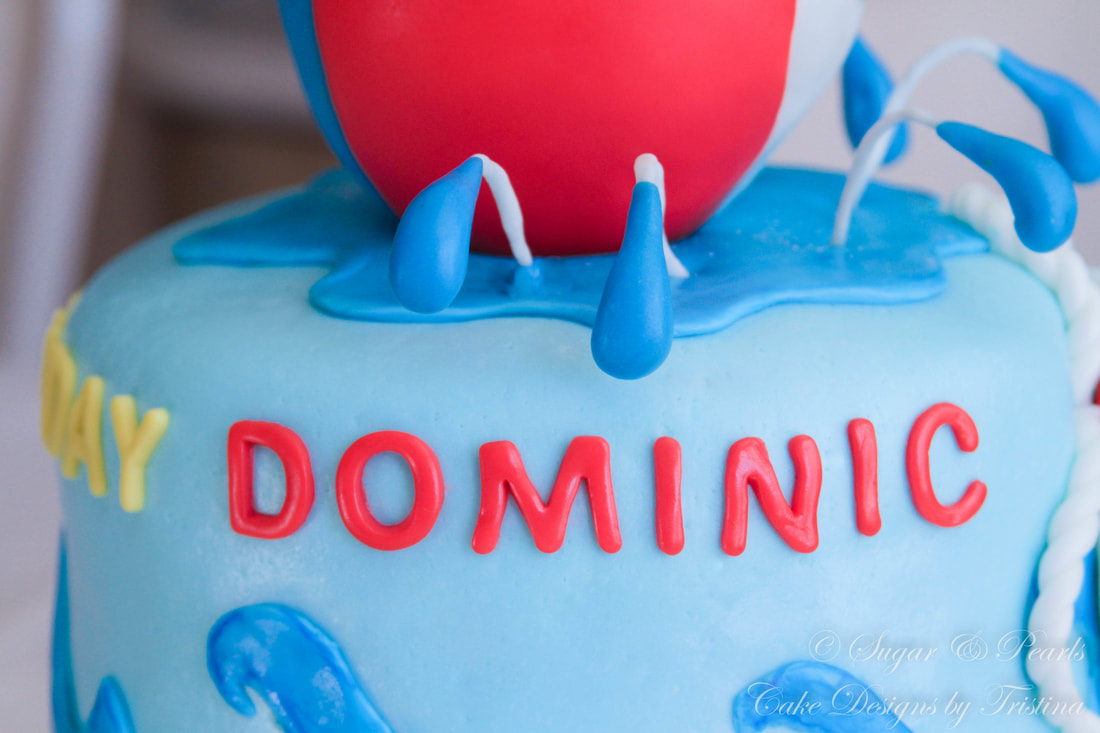
Next, I made the blue water droplets to go around the ball on top of the cake. I created 6 individual droplets using a darker shade of blue fondant. I started out by rolling 6 small-sized, round fondant and then shaped them into teardrops. For the "water stem," I used green floral wires and covered them up with white fondant and bent the end of the wire into a loop, allowing the wires to "hold" their places when putting in the cake. To create each water droplet, I placed one wire on the middle of each teardrop, and bent it slightly downward into a "hook" shape. From here, I just smoothed out the droplets using my hands until I was satisfied with the way they look. I left them to dry over the next few days.
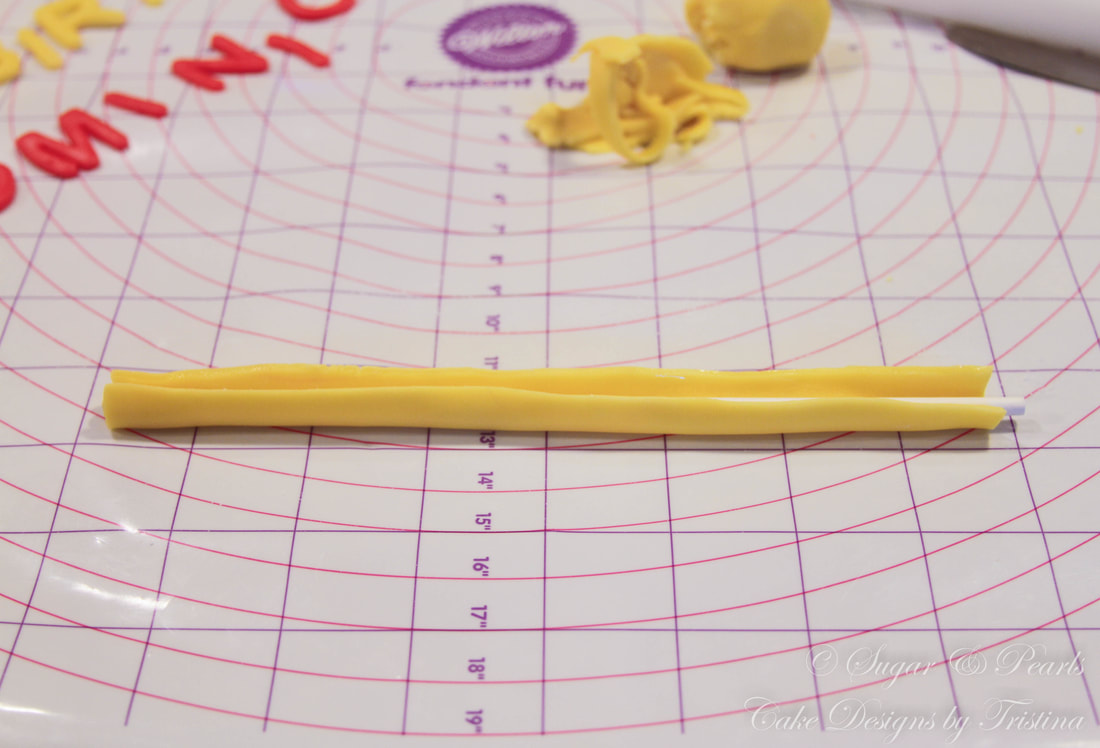
The easiest thing to make for this cake were the pool noodles. I only had enough space for two noodles on the side of the cake, so I made one in red and one in yellow. I rolled out a rectangle semi-thin layer of fondant. I covered a long lollipop stick in powdered sugar to prevent it from sticking to the fondant, and placed it in the middle of each rectangle fondant. I folded the fondant together into a loop and glued them together using water. And there you have...pool noodles!
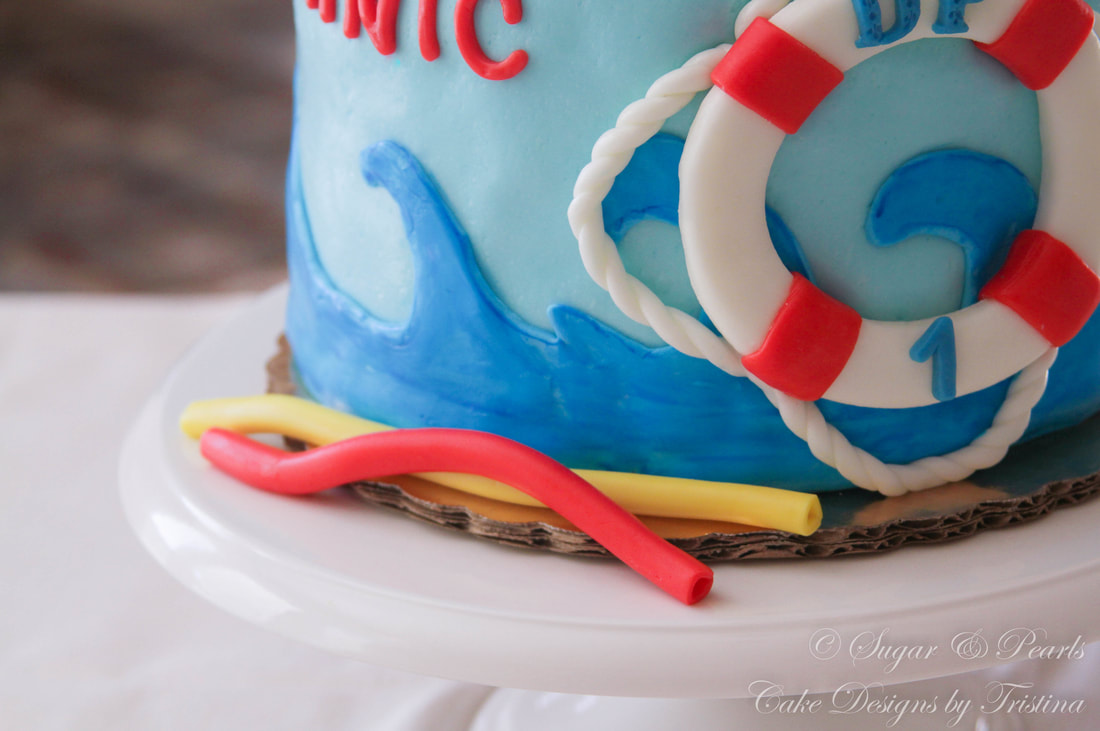
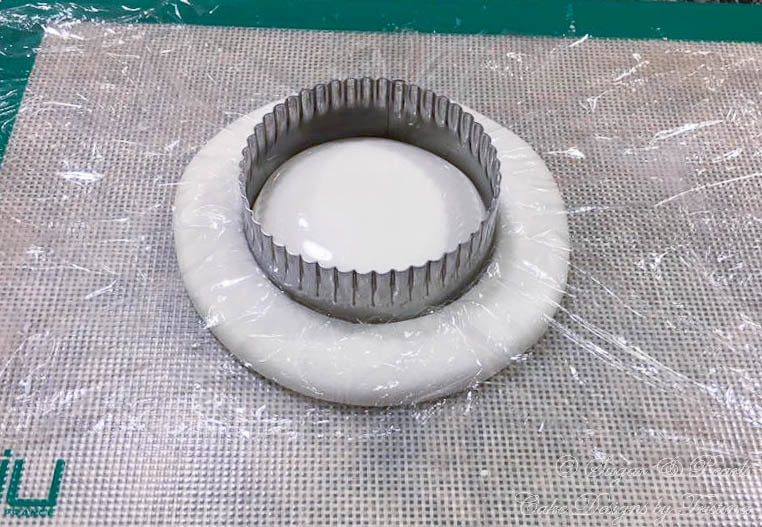
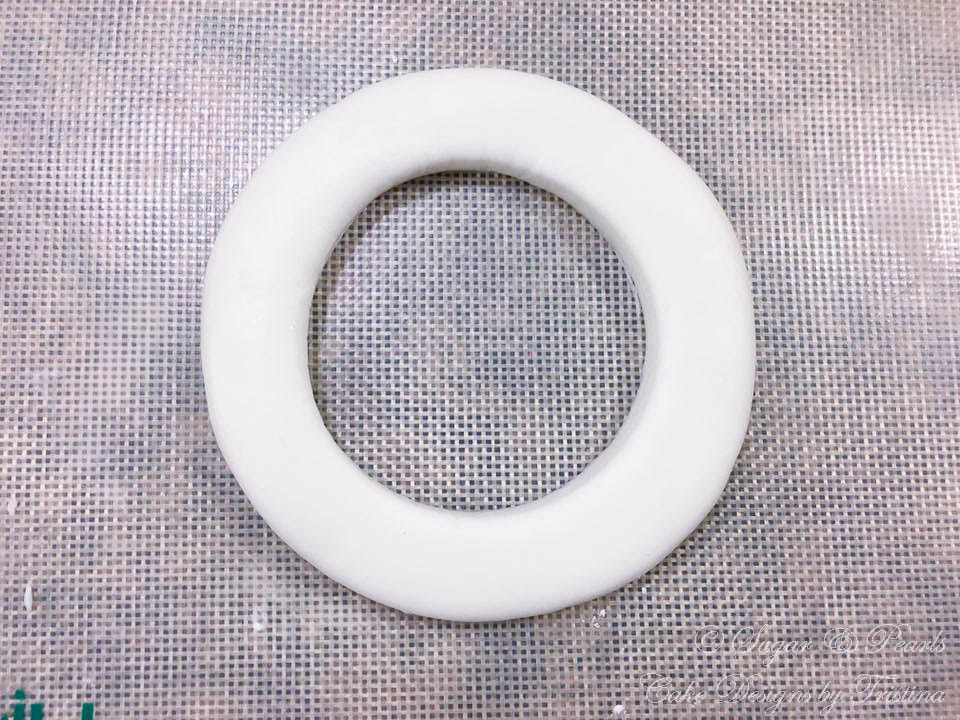
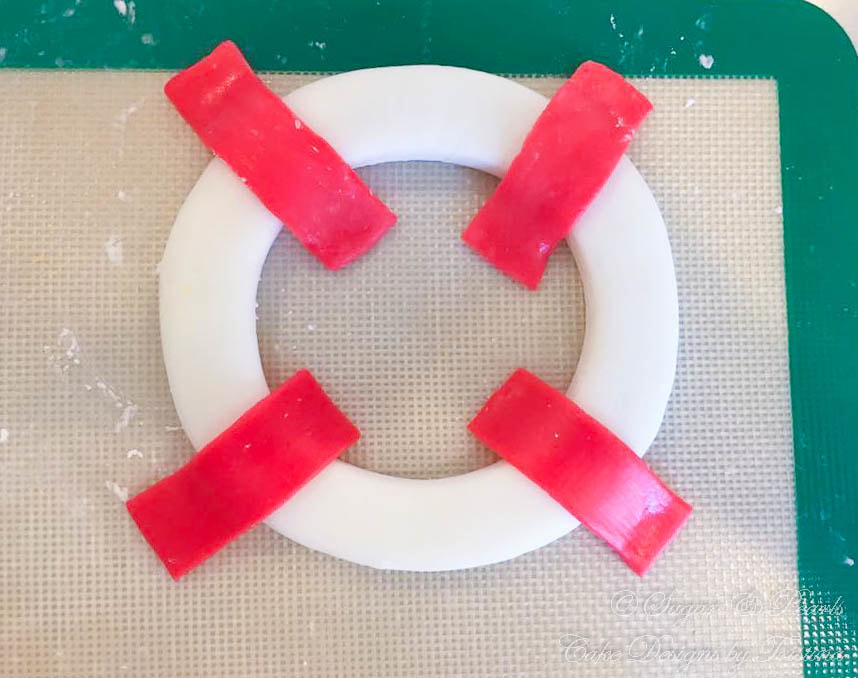
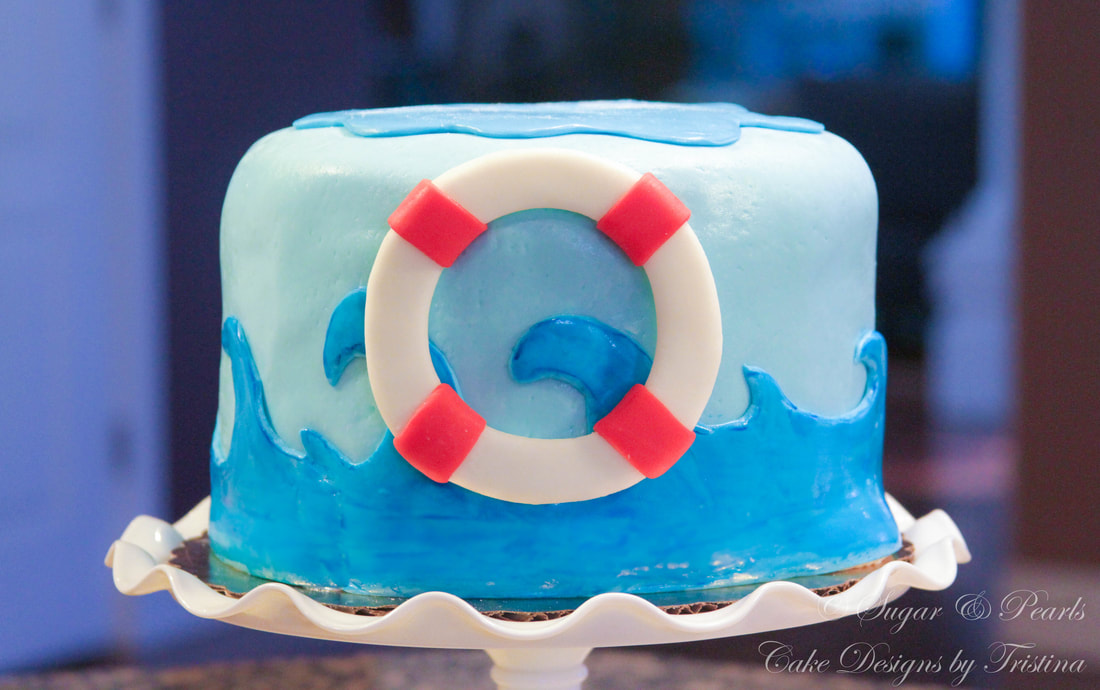
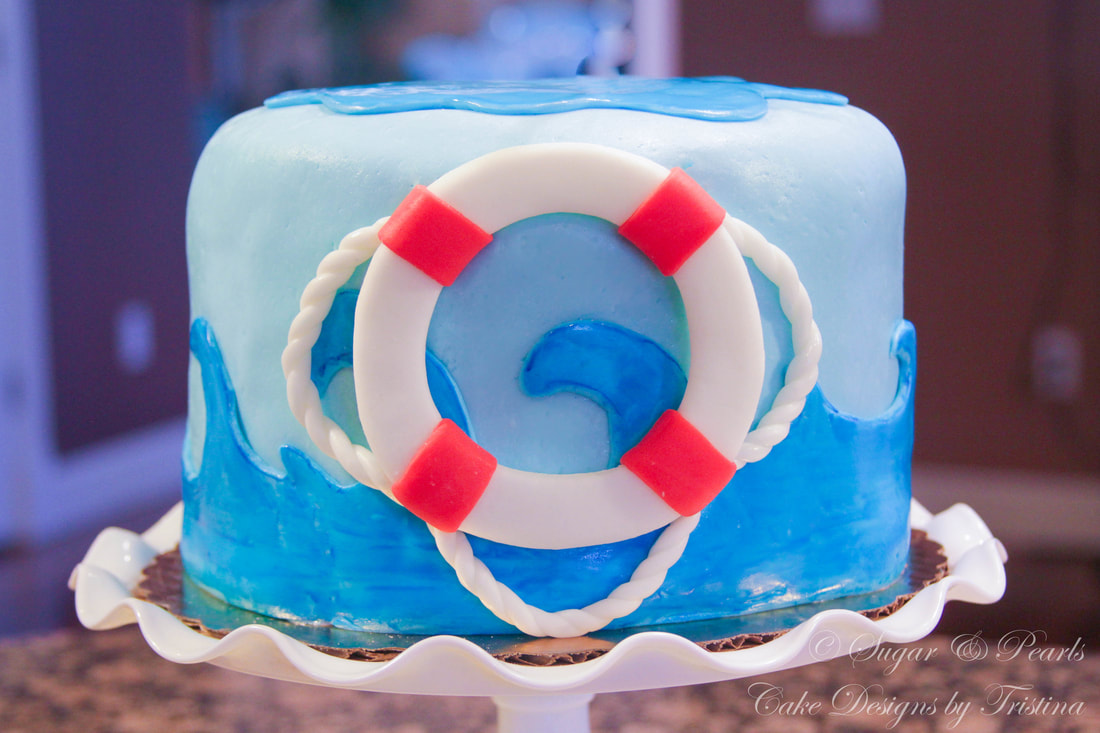
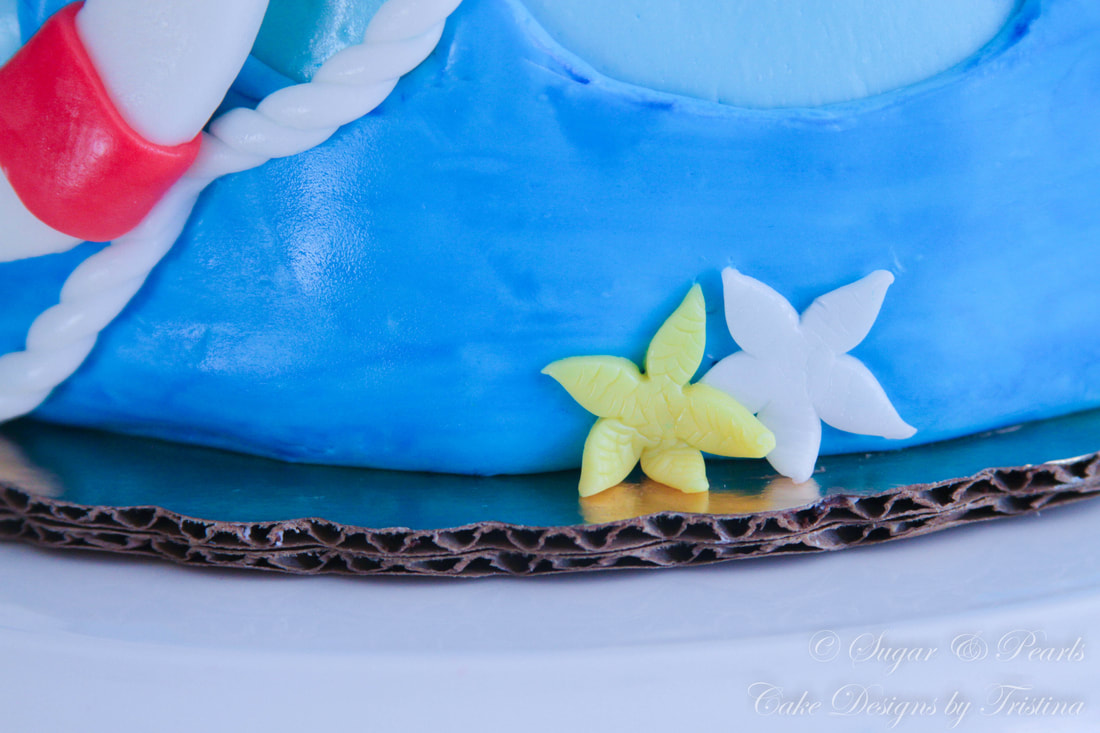
Moving on to the lifesaver ring that goes in the front of the cake. Using my round cookie-cutter, I punched out a large, round white fondant. Then, using a smaller cookie-cutter, I punched out the center part. To prevent the lifesaver from looking flat, I covered the fondant with saran wrap while doing this part. After that, I cut out 4 red pieces of rectangle fondants and lined them diagonally on top of the white circle fondant. I glued them in the back using water. I left this out to dry over a few days. To make the ropes that go around the lifesaver ring, I used 2 long strings of white fondant and twisted them together. These were left overnight to dry, but I think they would have worked better if they were left to dry over a few days.
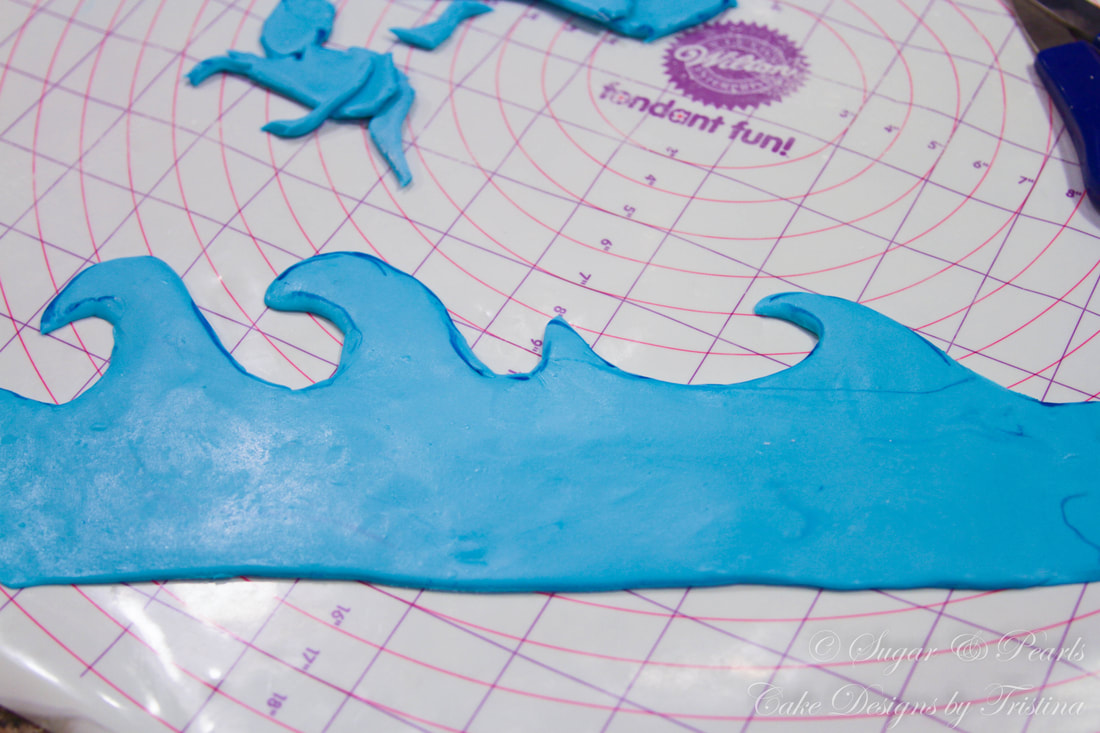
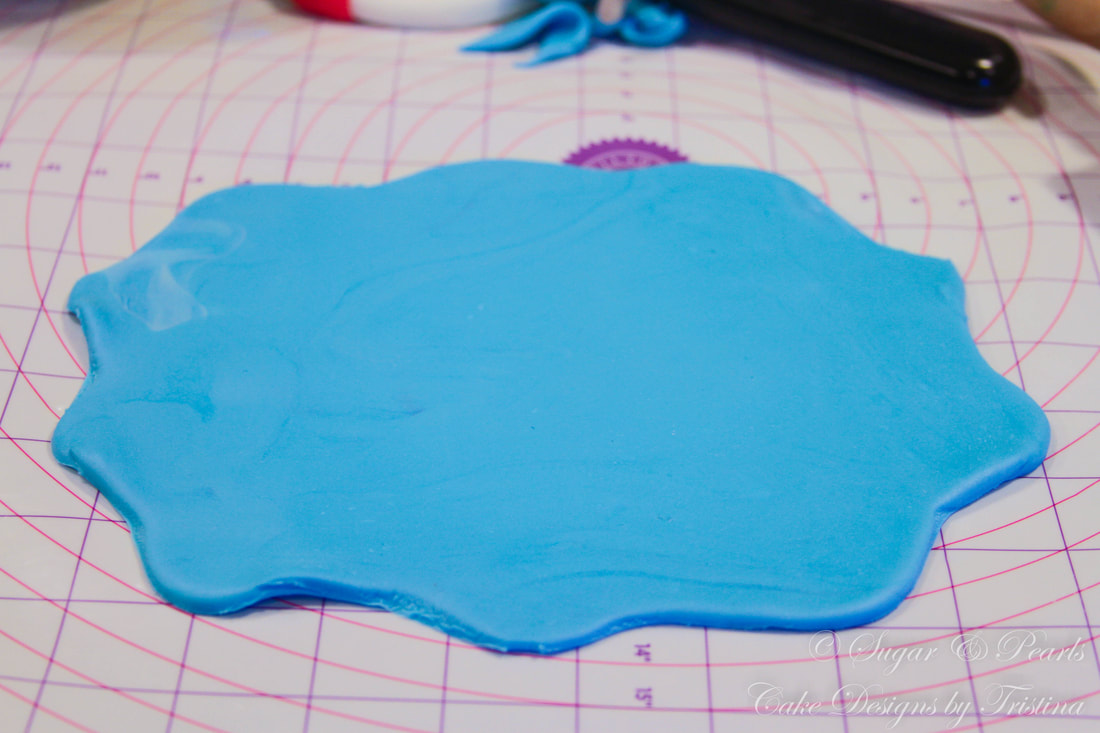
Finally, the last thing I made for this cake were the waves around the cake and the puddle on top of the cake where the ball would sit on. I should have created a template to make the waves perfect, but I did not do that. I basically rolled out a long rectangle in blue fondant, and then using my edible blue ink, I hand drawn on the waves on the fondant. You can approach this part in two ways: 1) cut out a rectangle waves that covers around the cake, or 2) create a few sections of waves and glue them together. I picked the latter because it was easier for me to fix the waves and to keep the fondant in their shapes. But I am sure the first option would have worked out well too. For the puddle, I just used my pizza-cutter and cut out an imperfect circle that would fit in the middle of the cake. Just make sure the puddle is slightly larger than the beach ball.
ASSEMBLE THE CAKE
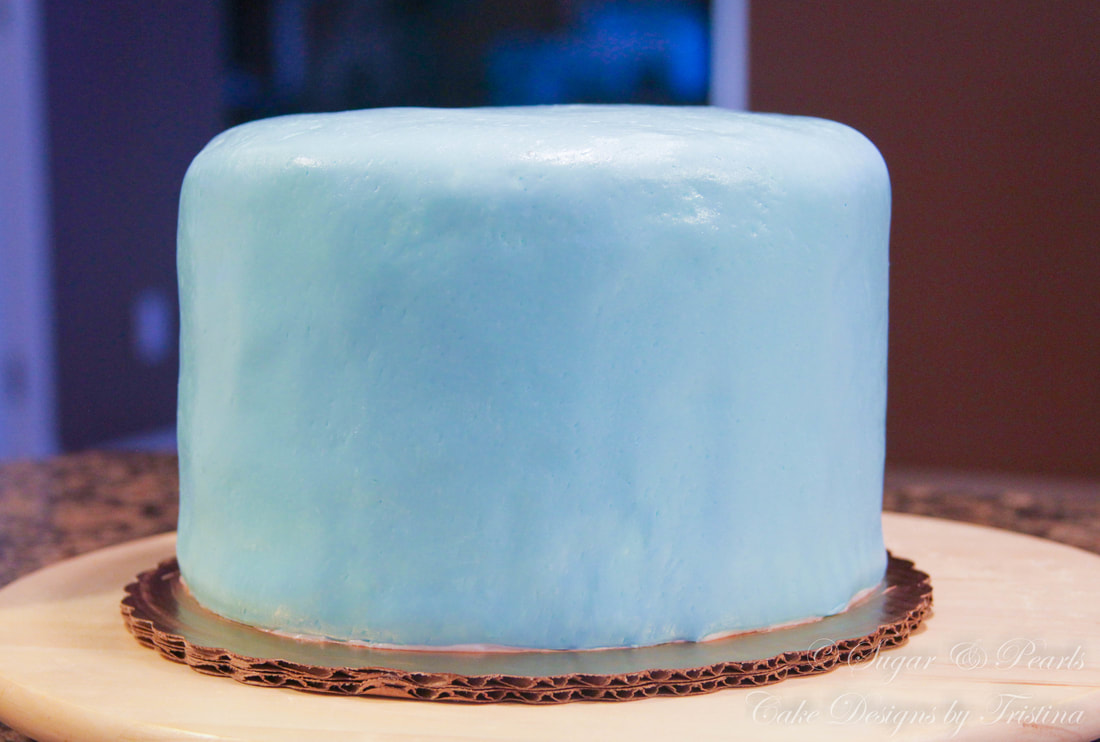
This is a one-tier 8-inch by 8-inch tall cake that was bought by my friend from a local bakery. She wanted to save me times from baking so I could solely focus on the decorating part. The cake was soft and I must admit it is slightly harder to add these many fondant decorations on top. If I were to make the cake, it would be a sturdier type of cake (denser) accommodate a lot of heavy toppers. However, the cake made it through the party without collapsing, which was my biggest fear.
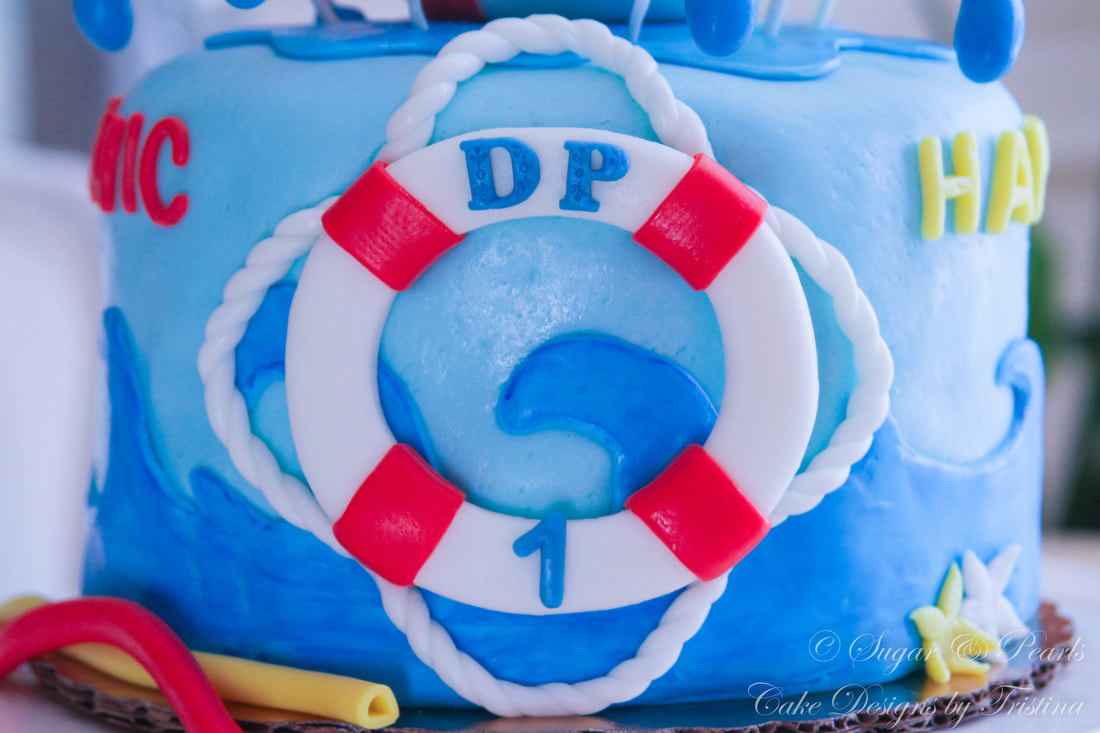
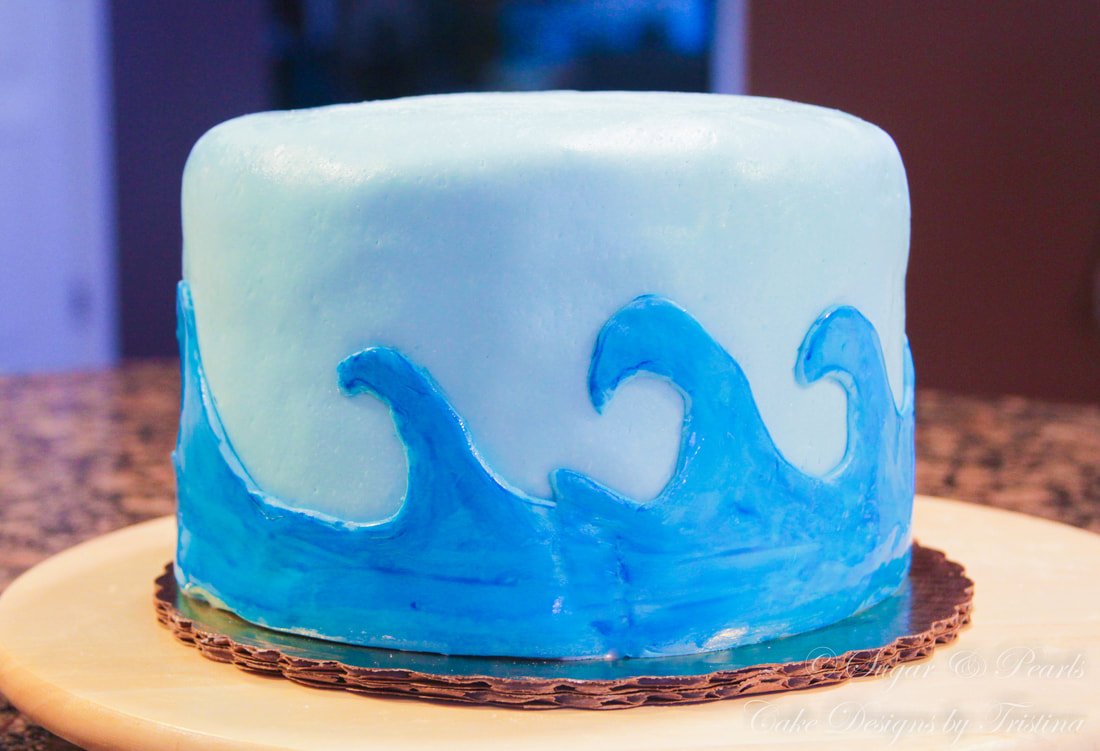
First, I covered the entire cake with a lighter blue fondant, and then I added the darker blue waves around the bottom of the cake. Once the waves were pasted onto the cake, I also painted blue food coloring to darken the waves, and to give a more "realistic" look. Then, I placed the lifesaver ring in the center of the cake which would be the front side of the cake. I wrapped the ropes around and tucked 4 corners behind the ring.
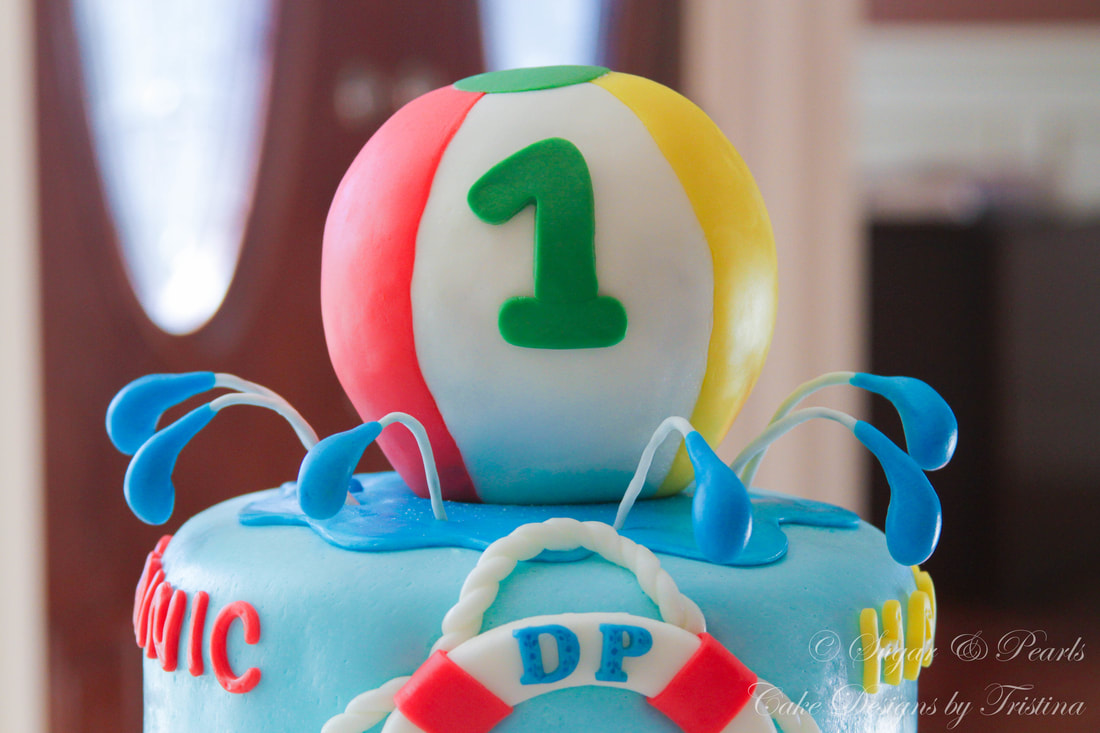
Moving to the top of the cake, I centered the puddle in the middle of the cake, and then added the water droplets scattering around the front of the cake. I made sure I have enough room to put the beach ball before I secured these droplets. Once the droplets were in placed, I bent the wire slightly to give a natural look on the water being "splashed" out from the beach ball. I finished the cake by placing the ball on top, right in the middle of the puddle.
This is a one-tier 8-inch by 8-inch tall cake that was bought by my friend from a local bakery. She wanted to save me times from baking so I could solely focus on the decorating part. The cake was soft and I must admit it is slightly harder to add these many fondant decorations on top. If I were to make the cake, it would be a sturdier type of cake (denser) accommodate a lot of heavy toppers. However, the cake made it through the party without collapsing, which was my biggest fear.
First, I covered the entire cake with a lighter blue fondant, and then I added the darker blue waves around the bottom of the cake. Once the waves were pasted onto the cake, I also painted blue food coloring to darken the waves, and to give a more "realistic" look. Then, I placed the lifesaver ring in the center of the cake which would be the front side of the cake. I wrapped the ropes around and tucked 4 corners behind the ring.
Moving to the top of the cake, I centered the puddle in the middle of the cake, and then added the water droplets scattering around the front of the cake. I made sure I have enough room to put the beach ball before I secured these droplets. Once the droplets were in placed, I bent the wire slightly to give a natural look on the water being "splashed" out from the beach ball. I finished the cake by placing the ball on top, right in the middle of the puddle.
And finally, it was time to place those small decorations to the cake. I punched out the letters "Happy Birthday" in yellow fondant and the birthday boy's name "Dominic" in red fondant. I placed these letters around the cake evenly. I also added a small touch of the sea with 2 little starfishes on the bottom side of the cake.
This was a fun cake to make since I have not done a fondant cake in a while. Boy, the beach ball was a challenging task to cover with fondant! I enjoyed making the water droplets the most, and thought they certainly gave a more realistic effect to the cake.

And there you have it—a summer cake highlights those fun, relaxing trips to the beach where you can escape the afternoon heat in the great Northwest. We will be taking a lot more beach trips this summer for sure! How about you?
xoxo,
Tristina
xoxo,
Tristina
COPYRIGHT © 2017 - SUGAR & PEARLS ~ CAKE DESIGNS BY TRISTINA
