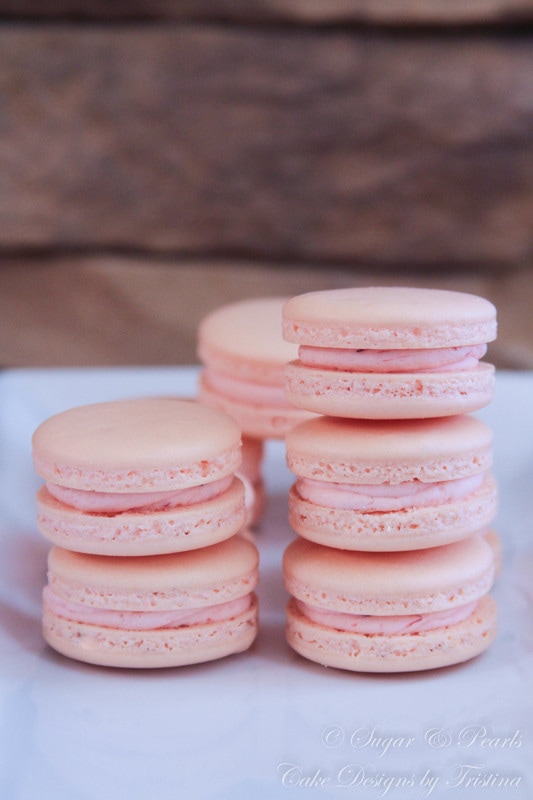
 Strawberry has always been one of my favorite fruits growing up. Strawberry picking is another favorite childhood memory that I had with this fruit. As an immigrant family, we were well-known to be picking "berries" during the summer for that extra income. It was not much. I remembered getting $20-30 for the entire day. Looking back, berries picking or any fruit picking task is extremely hard work. But did we know? We were those silly teenager girls who just wanted to make a few extra dollars to buy a new shirt or a new book. For my sister, my cousin and I, it was a fun summer job. There were early morning rises, like 4 o'clock in the morning. We would be putting on 2-3 layers of clothing along with beanies and gloves to preparing for a "so-called fun" day. These layers would be peeled off thorough the day with the demanding physical activities and the burning sun shining over heads. We had to pack lunch as we would be spending at least 12 hours at the field. And there wasn't just us! At the farm, we would see many other Vietnamese and Asian families, and it felt like we were in a small community during these days. Most of my friends were also growing up picking berries. My husband and his family were also working in the same fields at the exact time as well. However, the funny thing is we had never encountered each other—not even once. But fate brought us together a few years later at a Ngoc Son Tinh Xa Temple in 1997. Strawberries are everywhere in the grocery stores for a relatively cheap price at this time of the year in Portland, Oregon. My friend just brought some for me the other day, and it was only 99 cents per one pound container. I tend to use this fruit a lot throughout the summer because they can be found easily. There are so many recipes that can be made with strawberries. Now, as an adult I realize that I almost stopped eating much strawberries. I do not know why. Perhaps, because the fruit is now my daughter's favorite fruit so I would always save them ALL for her. In this post I will focus on strawberry champagne macarons. This is very similar to the basic Vanilla Macarons posting I did previously, with a slight twist to create a whole new flavor. For a complete detail with pictorials of how to make basic vanilla macarons, you may check out my Vanilla Macarons posting. 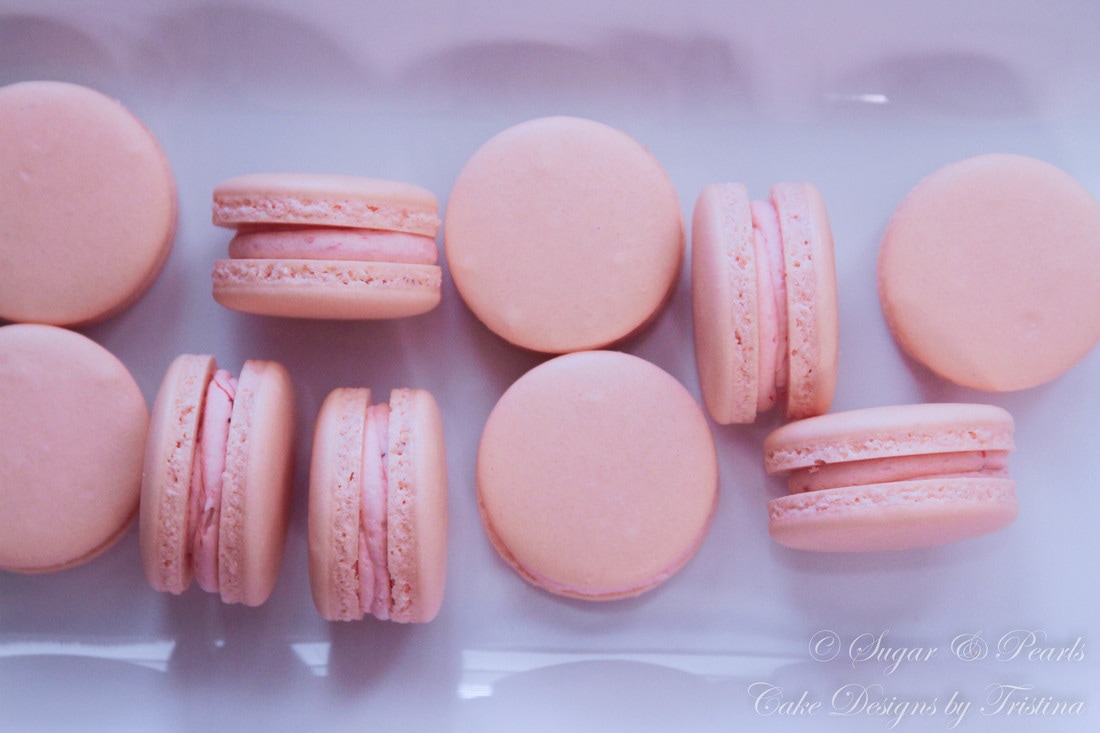 PREPARATION OF DRY INGREDIENTS First, I weight all of the ingredients using a digital scale for accuracy. Once all of the ingredients are all weighted, I blend the almond flour and powder sugar together in my food processor for about 1 minute. This is to make the batter as smooth as possible. I finish this mixture by running it through the sieve twice and then set aside. Tip 1: Blend and sift almond flour and powder sugar. Do NOT skip this step, as it is important to achieve that smooth look of the macaron shells  WHIPPING THE MERINGUE In a standmixer, I start to whisk the room temperature egg whites. Using medium speed (no. 4 on a KitchenAid stand mixer) with a whisk attachment, beat the egg whites until foamy. Without stopping the mixer, add a pinch of tartar and continue to beat the egg whites at the same speed until soft peak forms. I add granulated sugar when I starting to see the fainted lines appear on the mixture. Granulated sugar can be added all at once, or in 3 additions to ensure even mixing. Either method should not alter the batter. Continue to beat the egg whites for 2 minutes at high speed (no. 8 on a KitchenAid stand mixer) until stiff peak forms and the meringue becomes thick and shiny. Then, I add about 1/2 teaspoon of strawberry extract and a dob of pink food gel coloring and whisk for another 30 seconds on the highest speed (no. 10 on a KitchenAid stand mixer). Tip 2: to test for readiness, when turn the mixing bowl upside down over your head, the meringue does not fall off.  FOLDING THE BATTER I like to gradually sift the dry ingredient into the meringue in 3 additions. Using a rubber spatula, I gently fold the batter starting from the bottom, up and around the sides with the clockwise pattern. Repeat this circular motion until the batter becomes smooth and glossy. I highly encourage you to count the number of folds to prevent overfolding the batter. It normally takes about 40-45 folds to get to the right ribbon-like consistency. The batter will become thinner as you fold. Do NOT stir the batter. Tip 3: to test for readiness, lift the spatula up with some of the batter and let it fall. The thick "ribbon" should flow downward smoothly. The batter should also blend in together, leaving no marks or traces behind, within about 15 seconds.  PIPE THE SHELLS To pipe the macaron shells. I pour the batter into a prepared fitted pastry bag with a round tip (Wilton no. 12), and pipe about 1 inch round. I use a printable template of circles and place it underneath the silicone mat to guide me in piping perfect rounds. Remove this template carefully once all of the shells have been piped. Do not forget to leave about an inch in between each shell. Next, I tap the bottom of each baking tray against the counter for about 5-8 times to release big air bubbles. You can also remove big air bubbles using a toothpick. You need to do this quickly before the batter starts drying out. Leave these piped macarons to dry for about 20-30 minutes; the cookies are ready to bake when they are completely dry to touch. Tip 4: resting macarons to dry is a crucial part to create those well-known "feet." This drying layer is to force the heat to escape through the bottom as it won't be able to escape through the top.  BAKING MACARONS Make sure the oven is preheated at 325 °F degrees (or 162 °C degrees). It is best to bake one sheet at a time at the lowest rack to prevent browning. Another tip you can try is to reduce the baking temperature down to 300 °F degrees and increase the baking time by 2-4 minutes. These cookies should start to rise about half-way through the baking time. At this time, you should also rotate the tray around to ensure even baking.  Remove the macarons from the oven at about 15-18 minutes. They are ready if the cookies come off the silicone mat or parchment paper easily. If they are still sticky, you need to pop them back in the oven for another minute or two. I suggest you stay nearby the oven to check for the readiness of these cookies. It is easy to overcook them thereby making them too crunchy. The perfect macaron should be crispy outside but chewy inside.
Once they are done, let them cool completely and sandwich them with strawberry buttercream filling. Craving for more? Check out my previous Red Velvet Macarons and Matcha Macarons recipes as well. xoxo Tristina Strawberry Macarons Recipe  Make: 20-25 filled macarons Total time: 2 hours Ingredients Macaron Shells
Strawberry Buttercream Filling
Instructions Macaron Shells
Strawberry Buttercream Filling
It is best to store macarons in the fridge for 2-3 days before serving. These wonderful cookies can last for about 2 weeks in the fridge or 3 months in the freezer. COPYRIGHT © 2017 - SUGAR & PEARLS ~ CAKE DESIGNS BY TRISTINA
0 Comments
Your comment will be posted after it is approved.
Leave a Reply. |

AboutTristina TiepNhu Nguyen is a pharmacist by weekday and a baker by weekend. She is also a wife and a mother of two children. Free Cake Tutorials!Sign up for my newsletter and you will be the first to know about my new recipes and cake tutorials!
Recent Posts
August 2020
RecipesTutorials |
|
|
sugar & pearls |