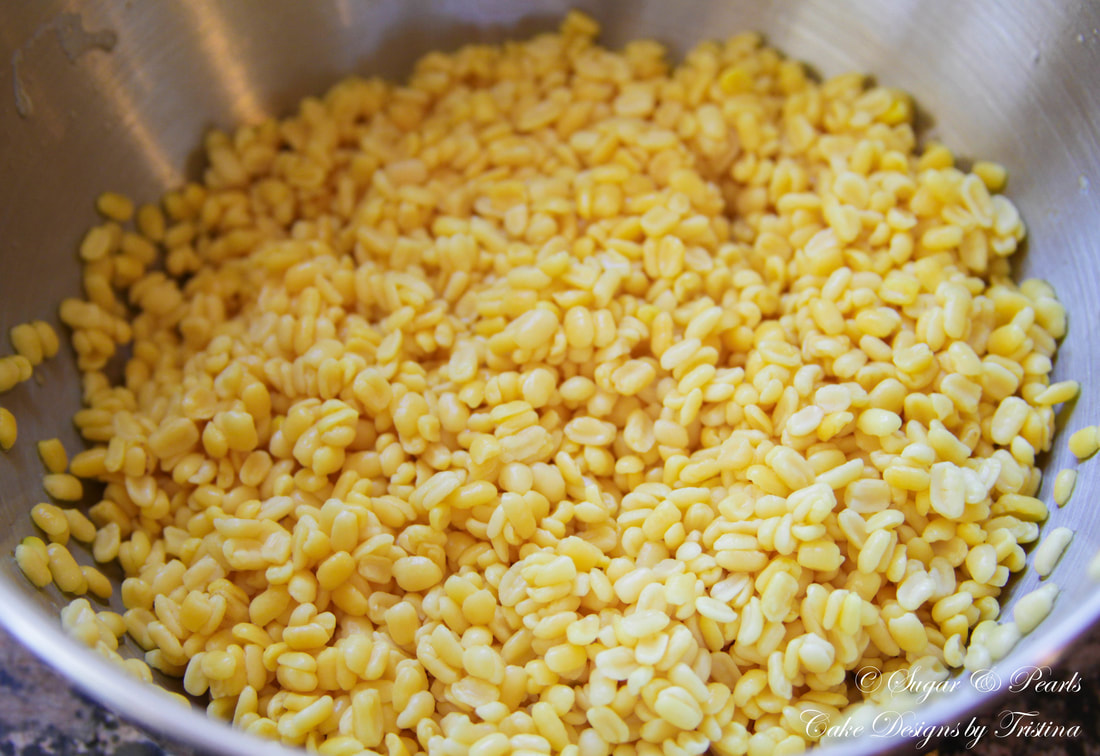
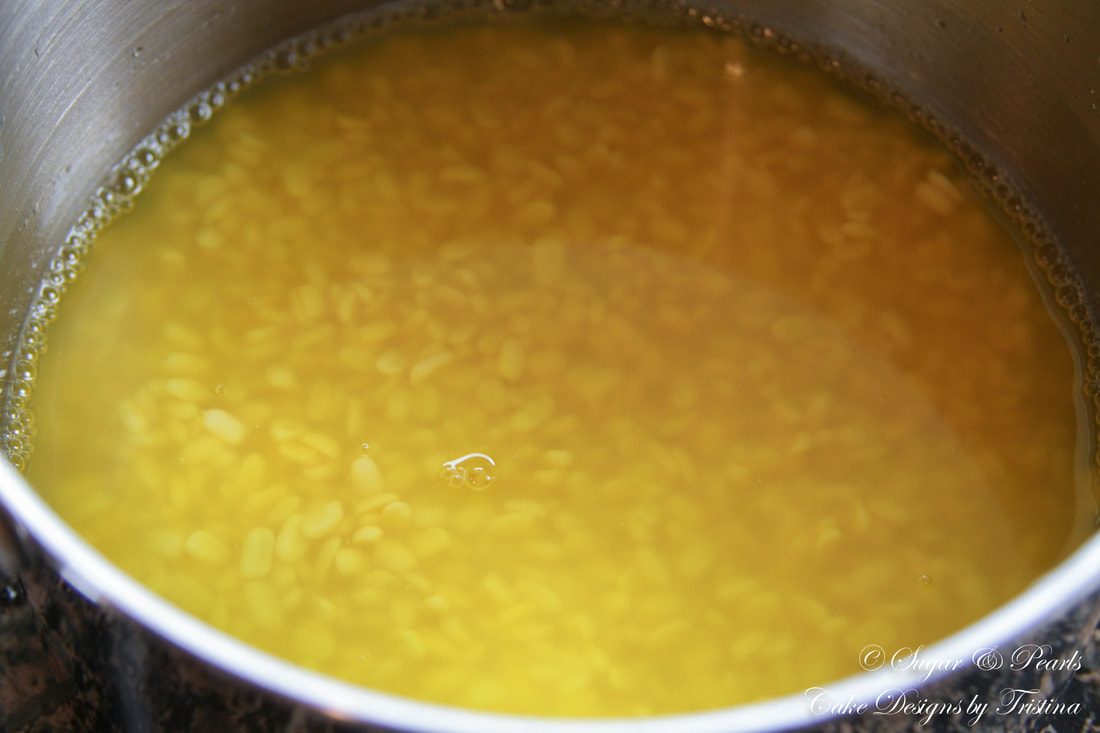
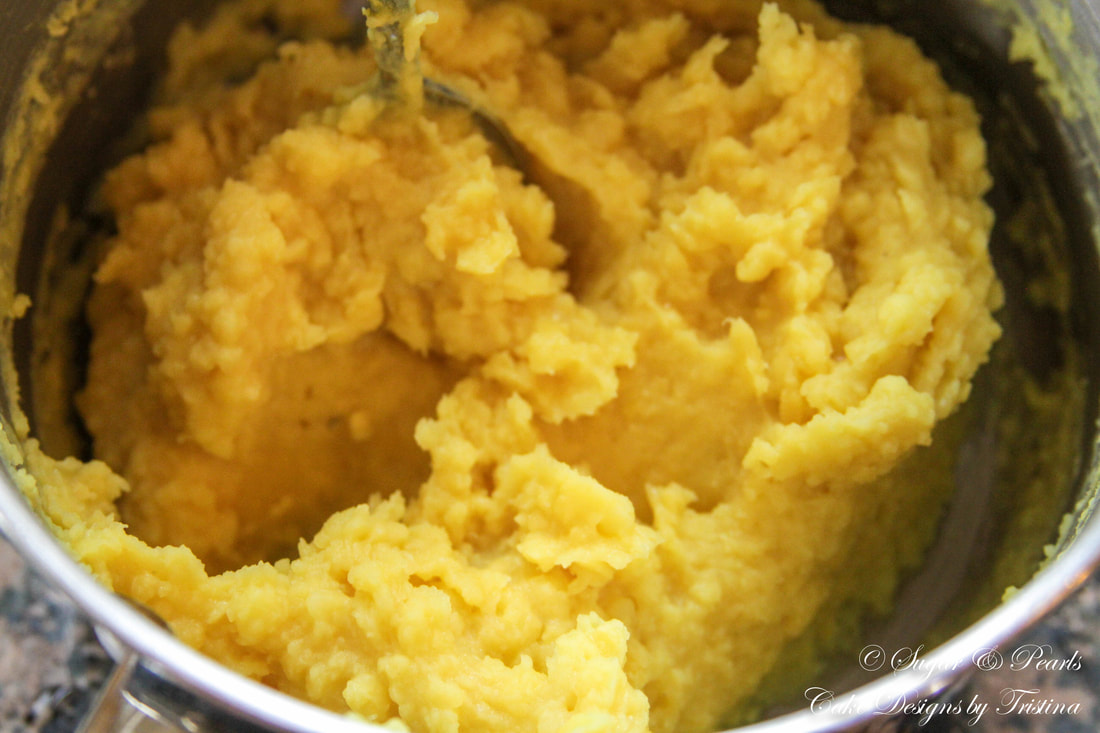
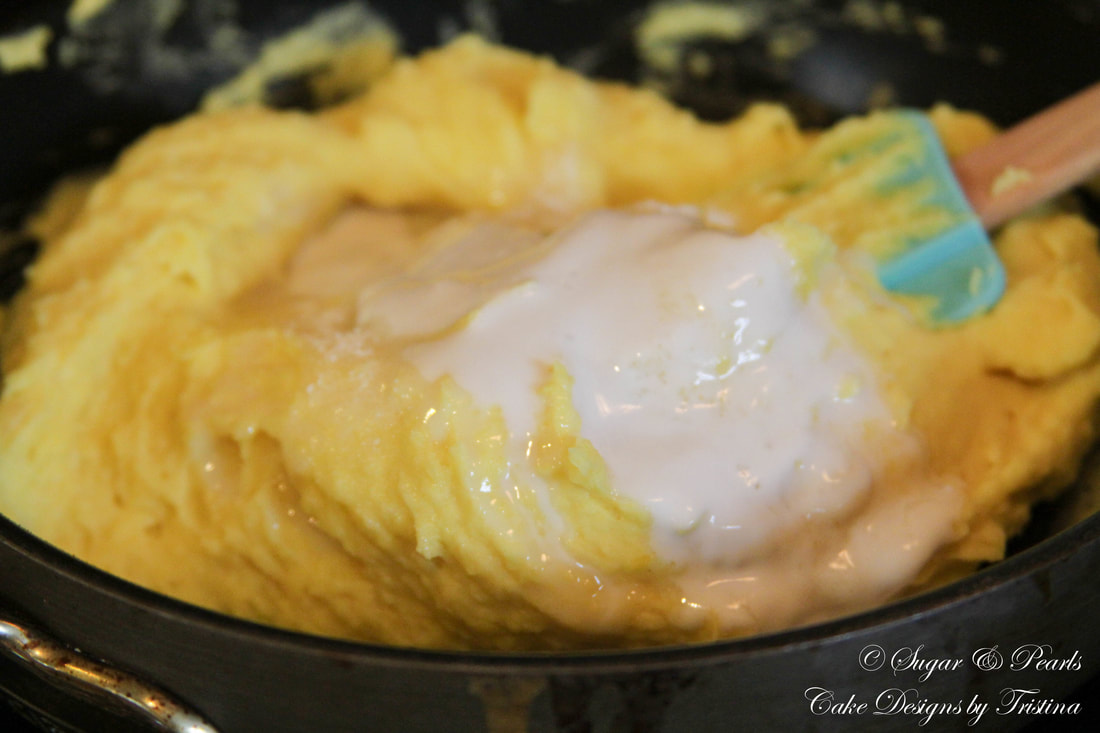
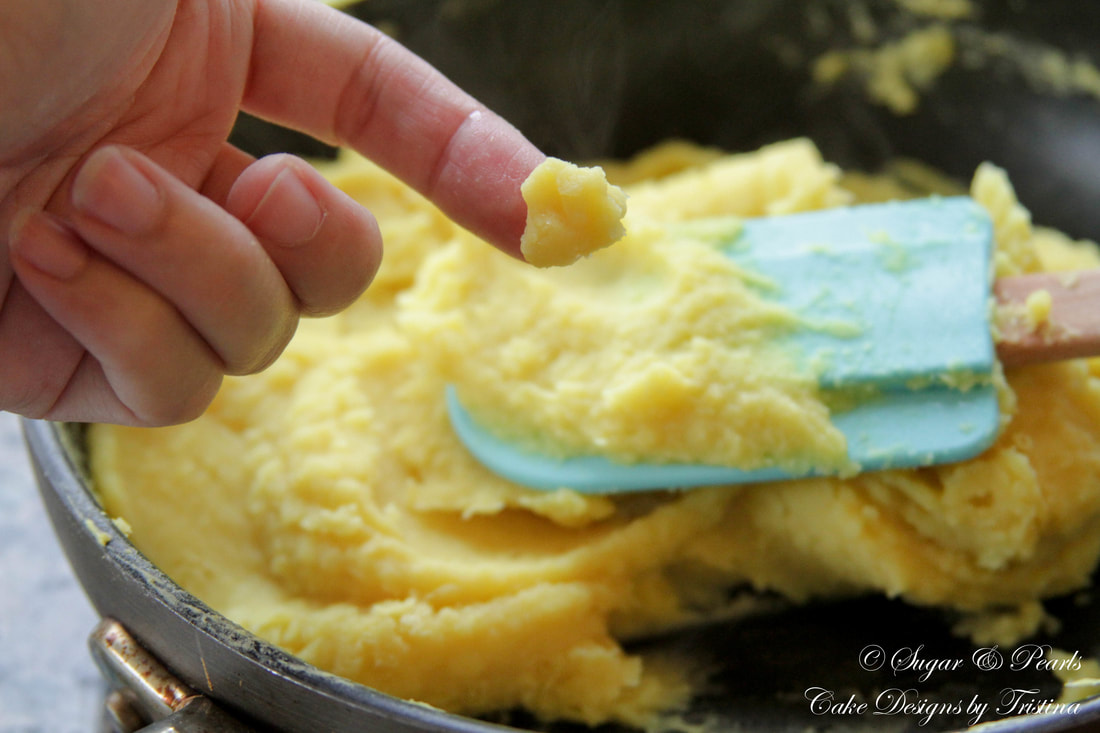
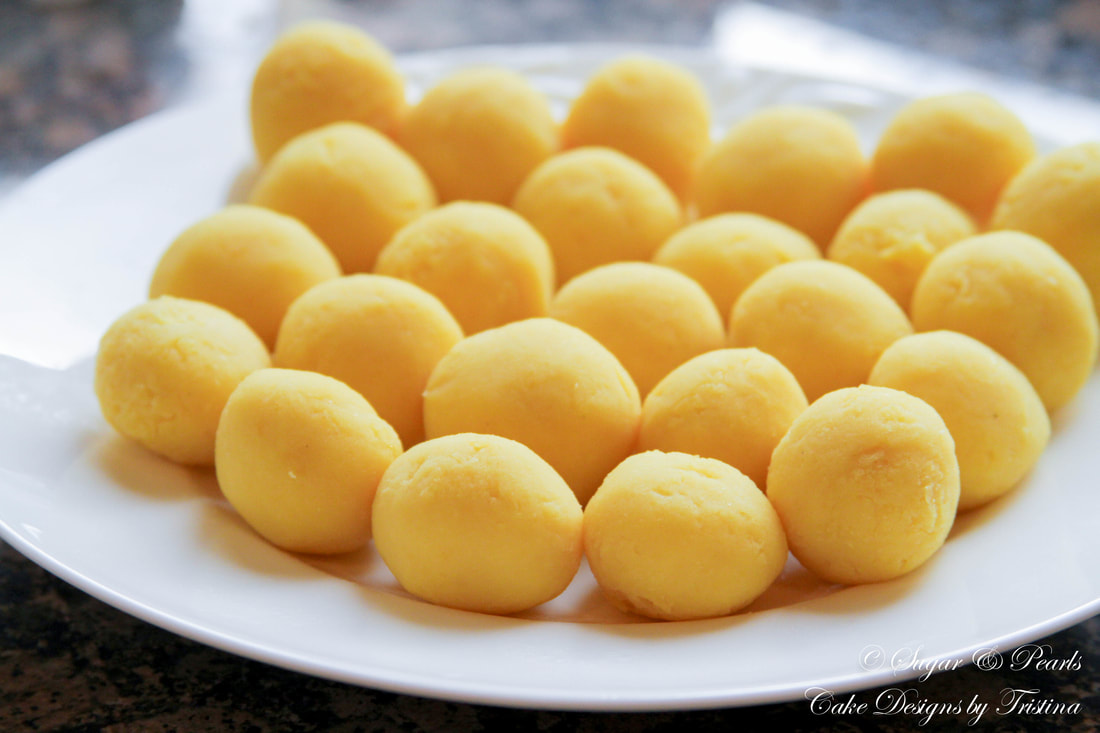
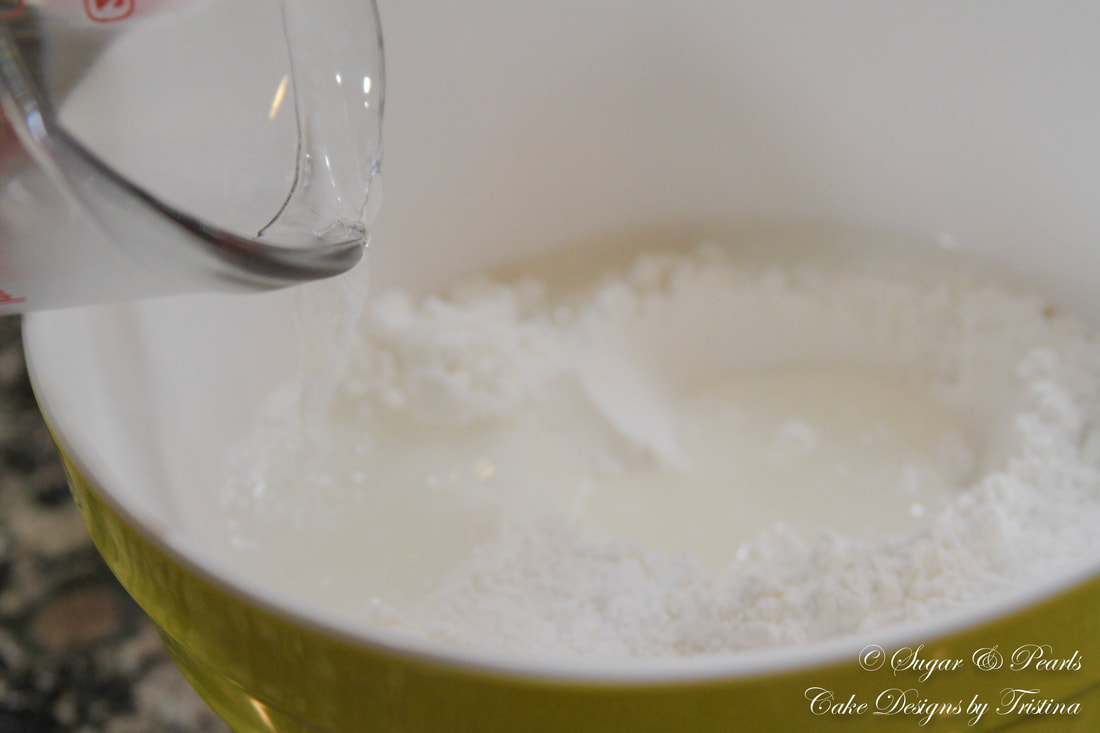
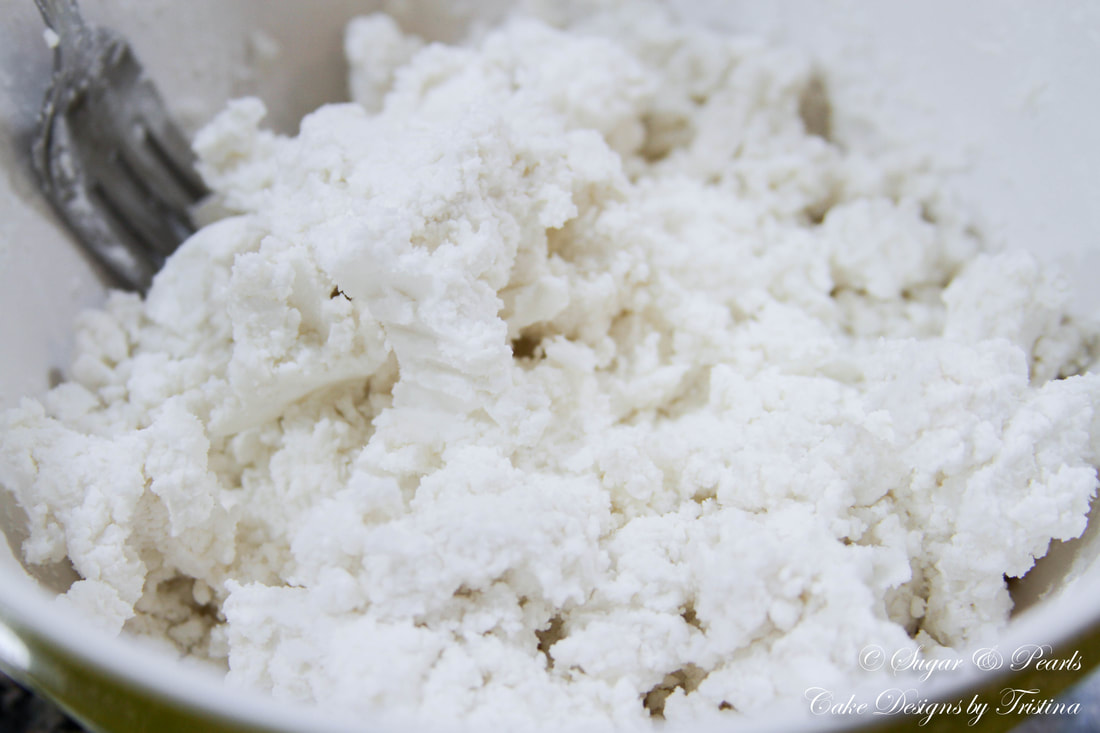
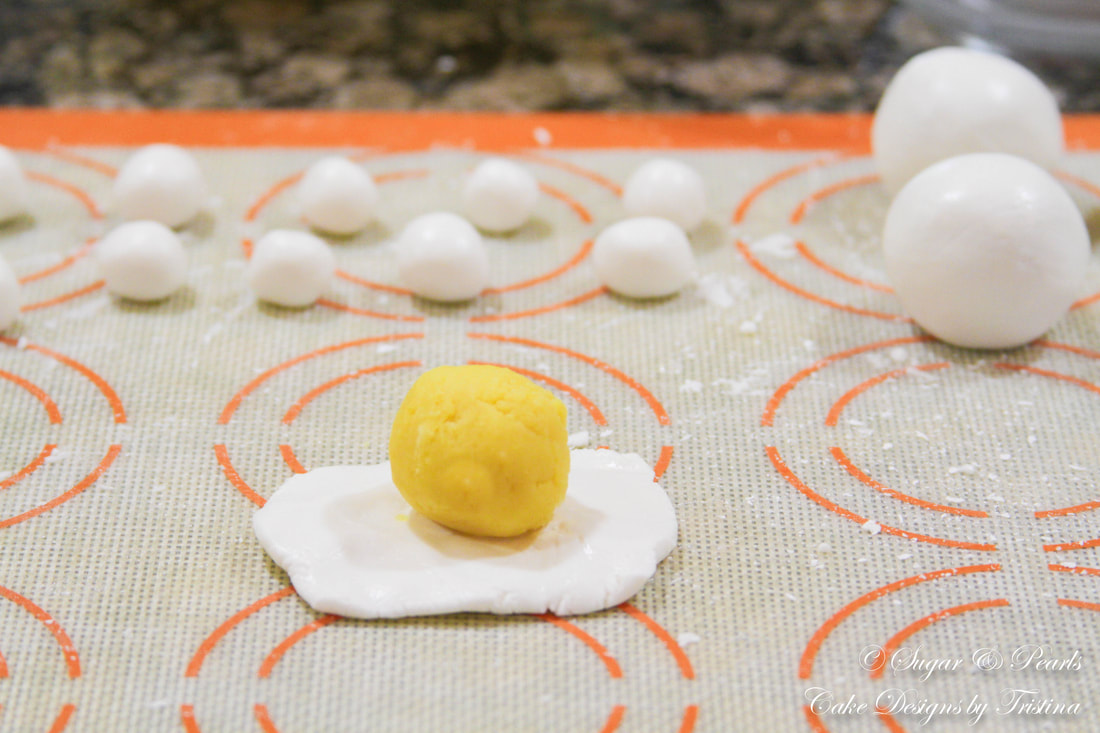
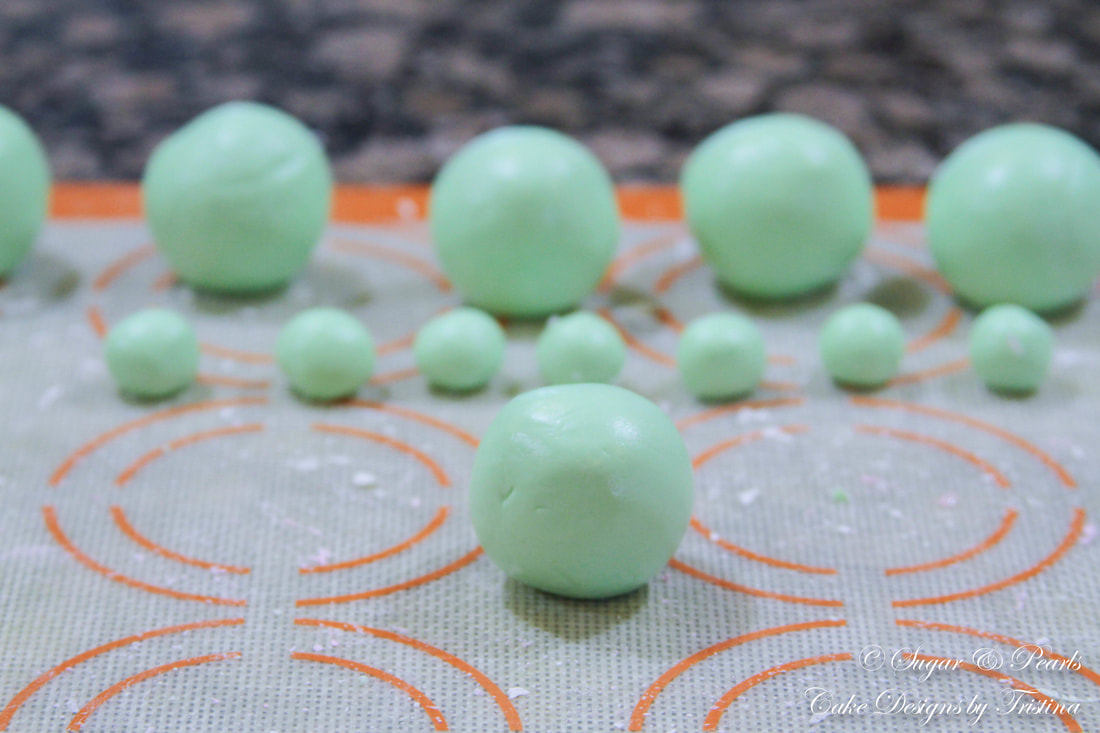
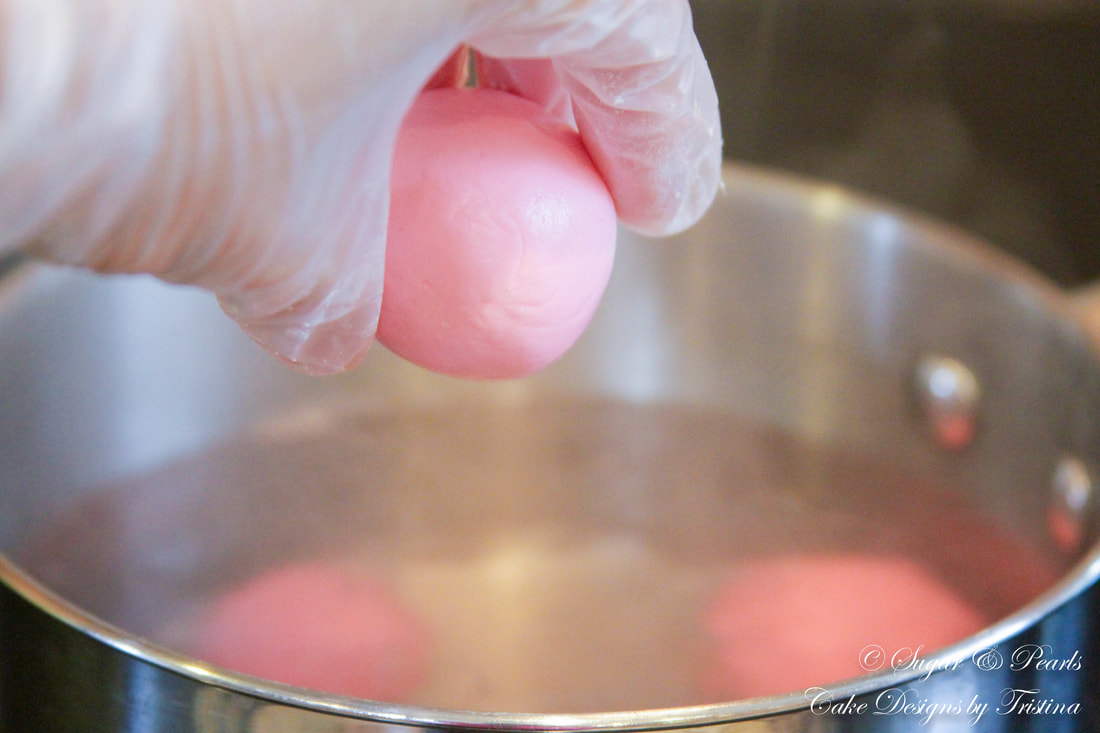
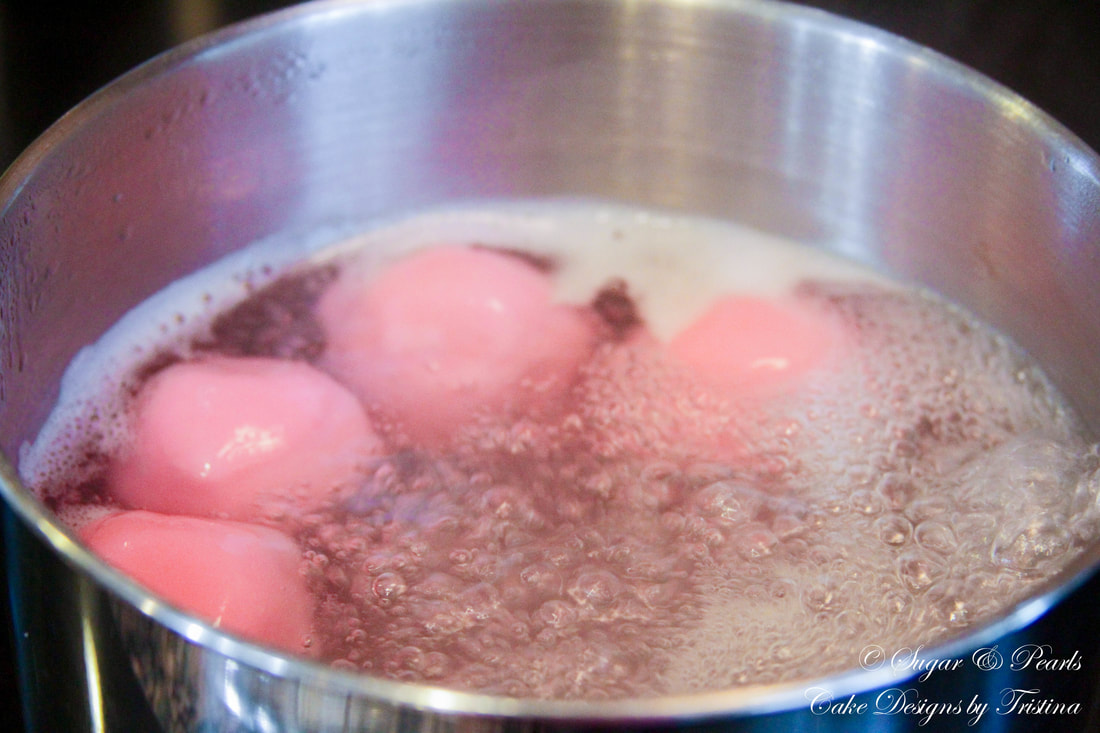
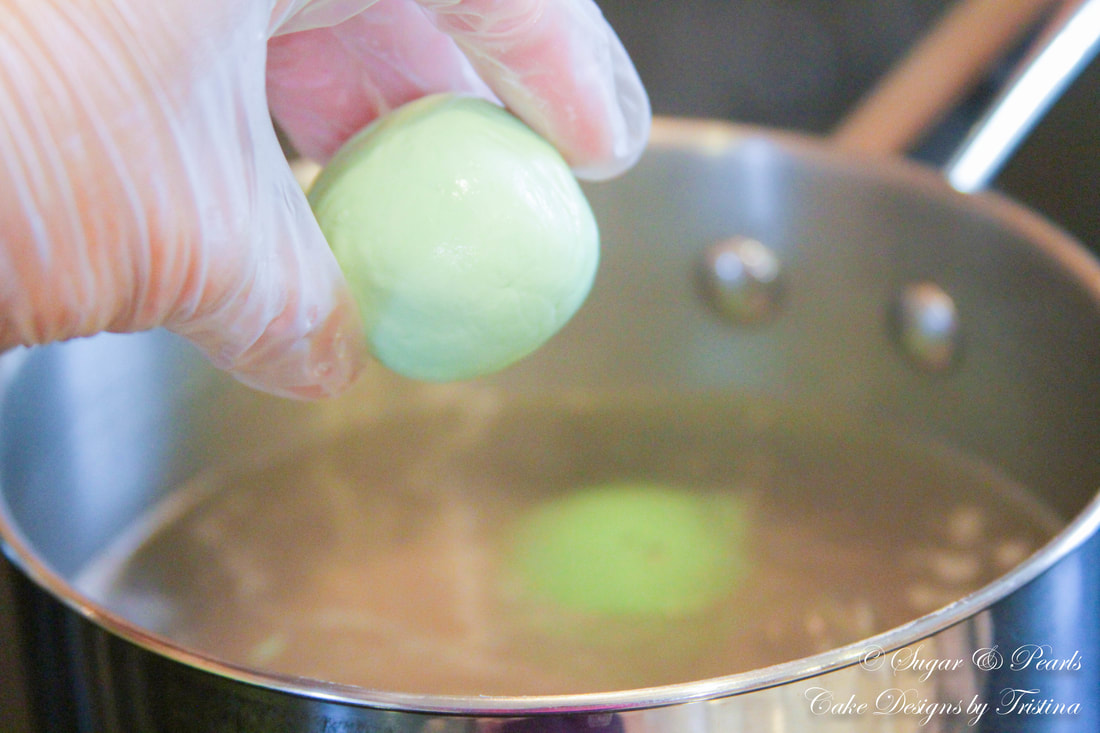
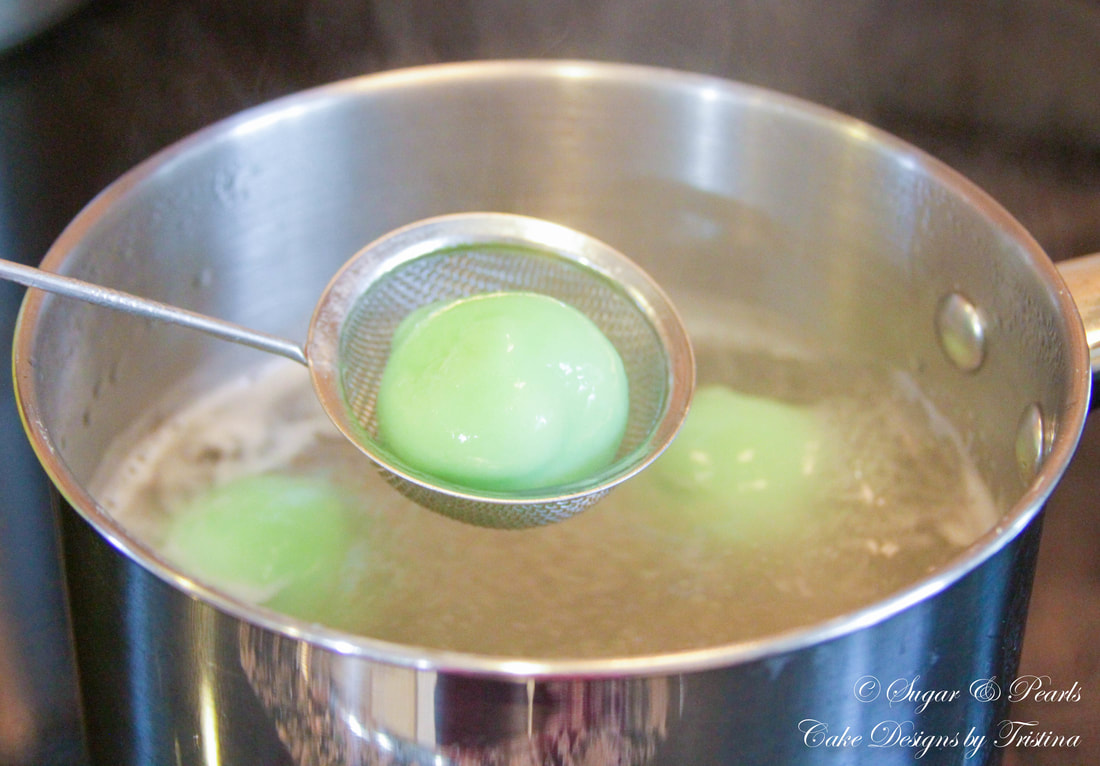
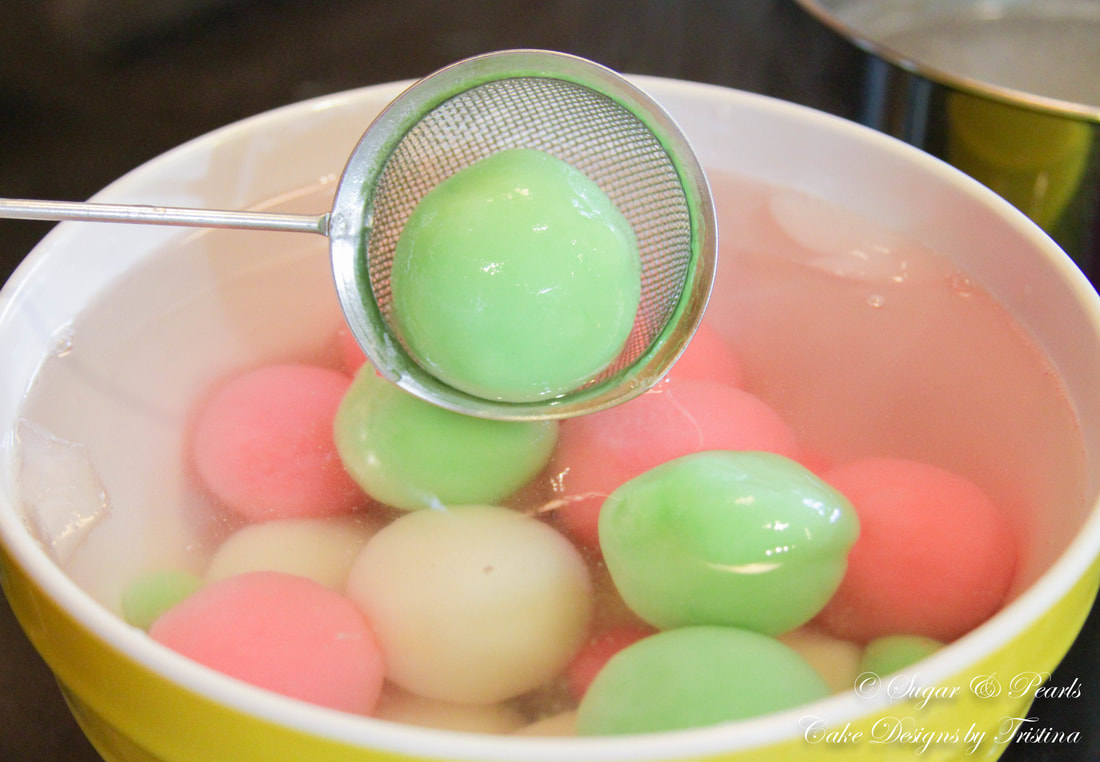
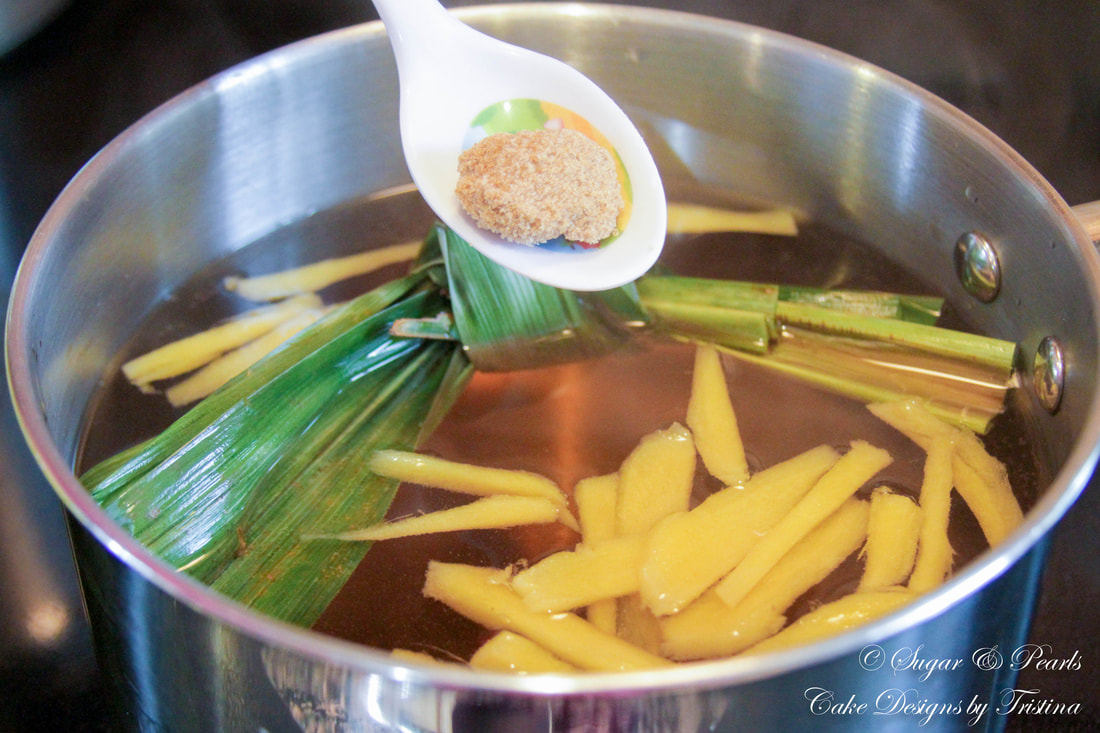
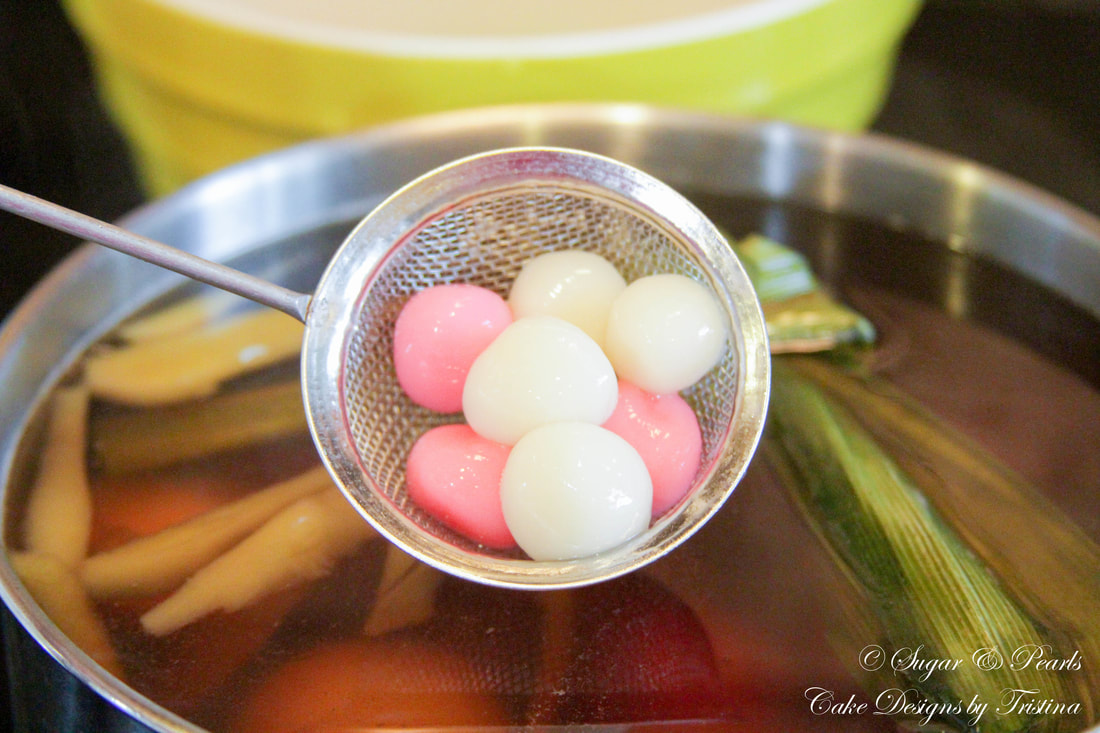
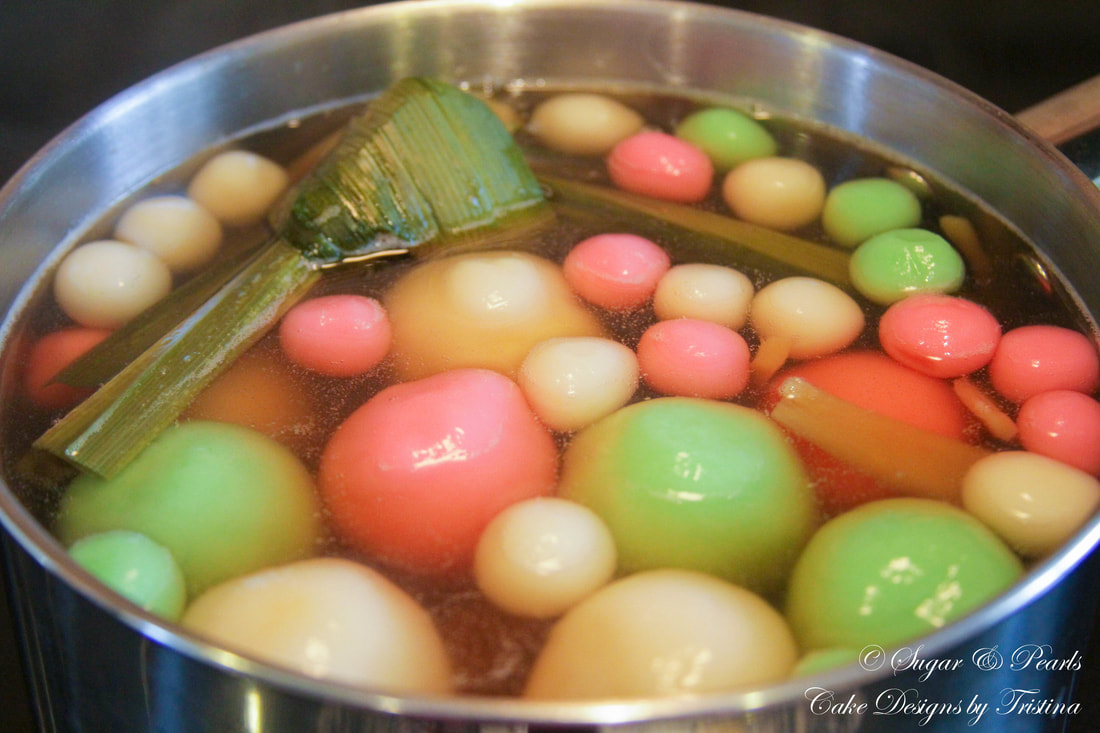
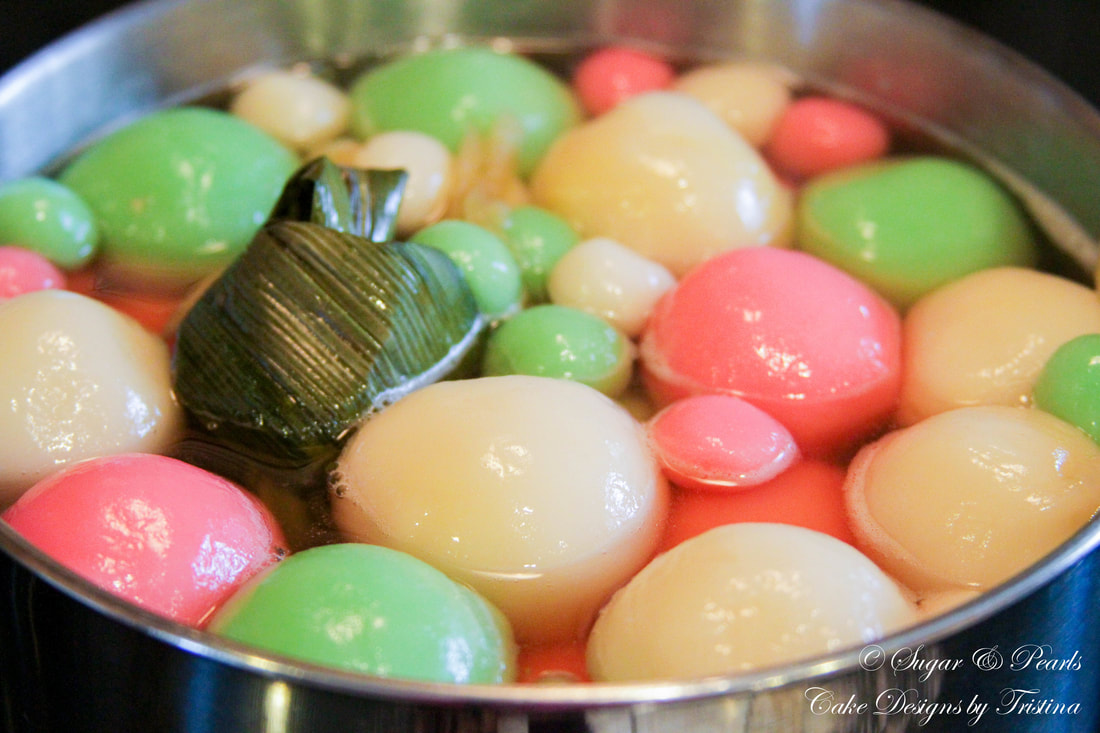
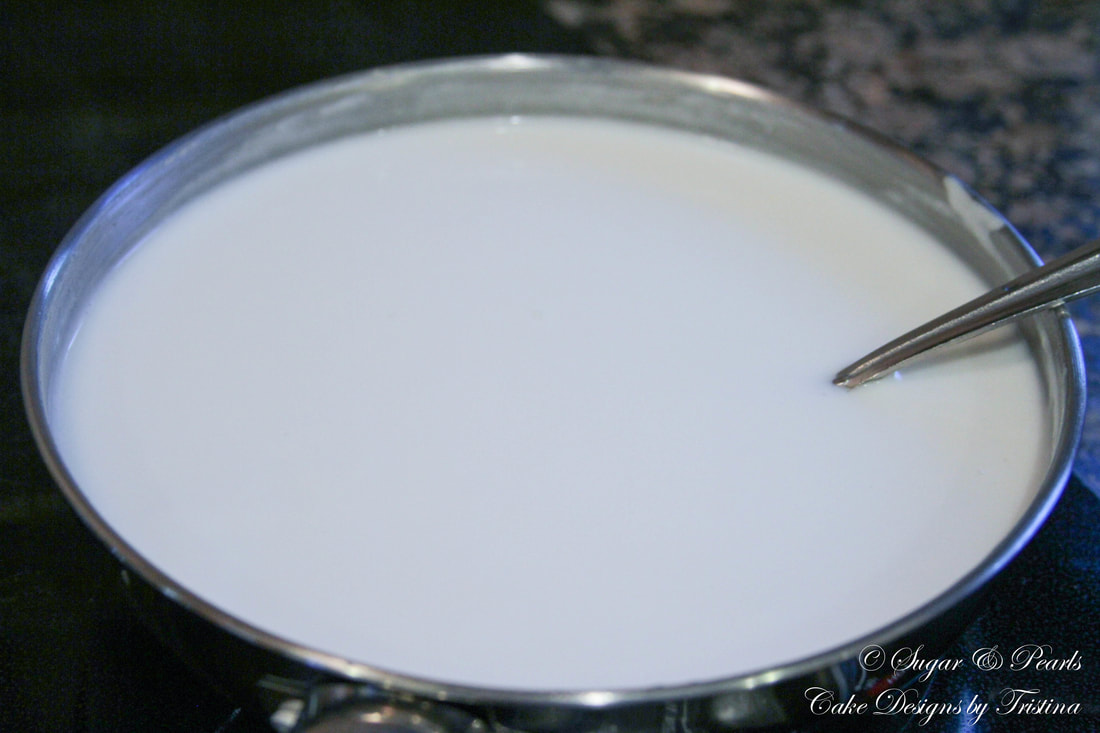
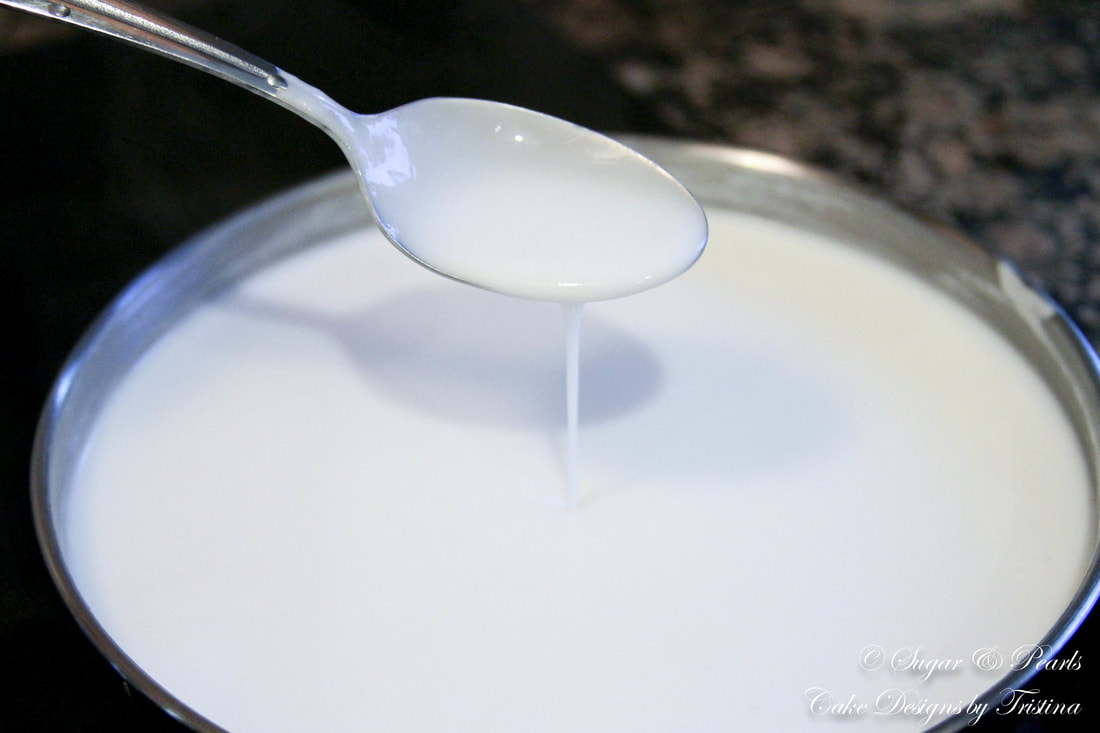
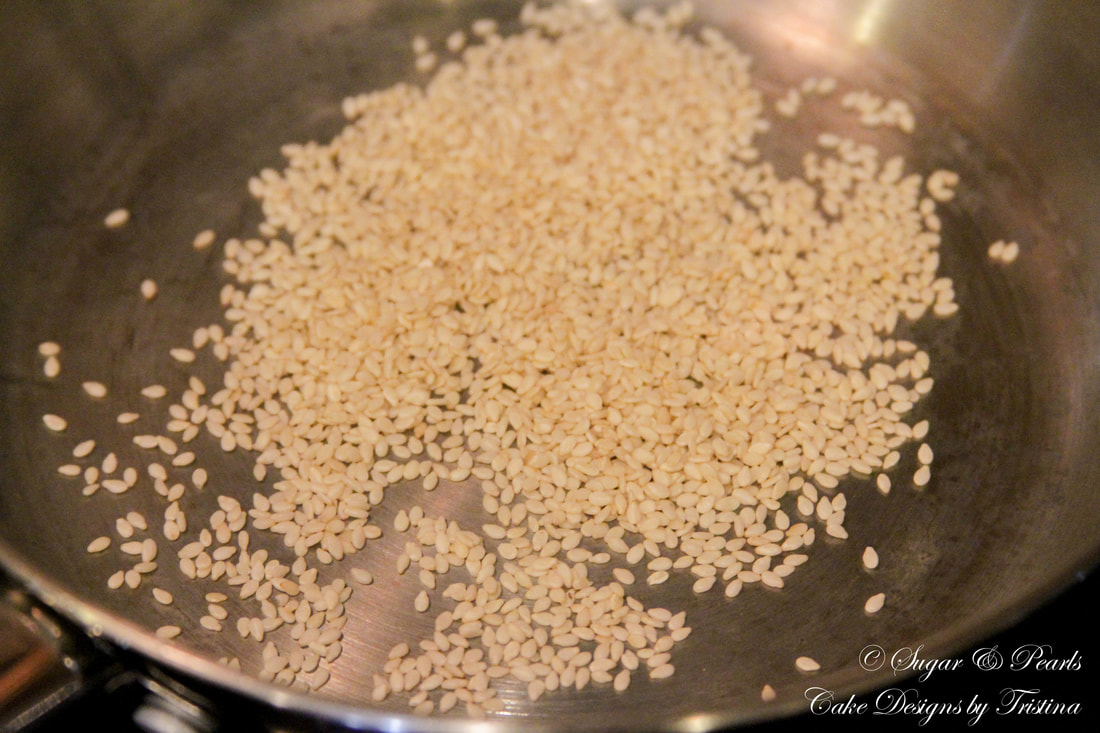
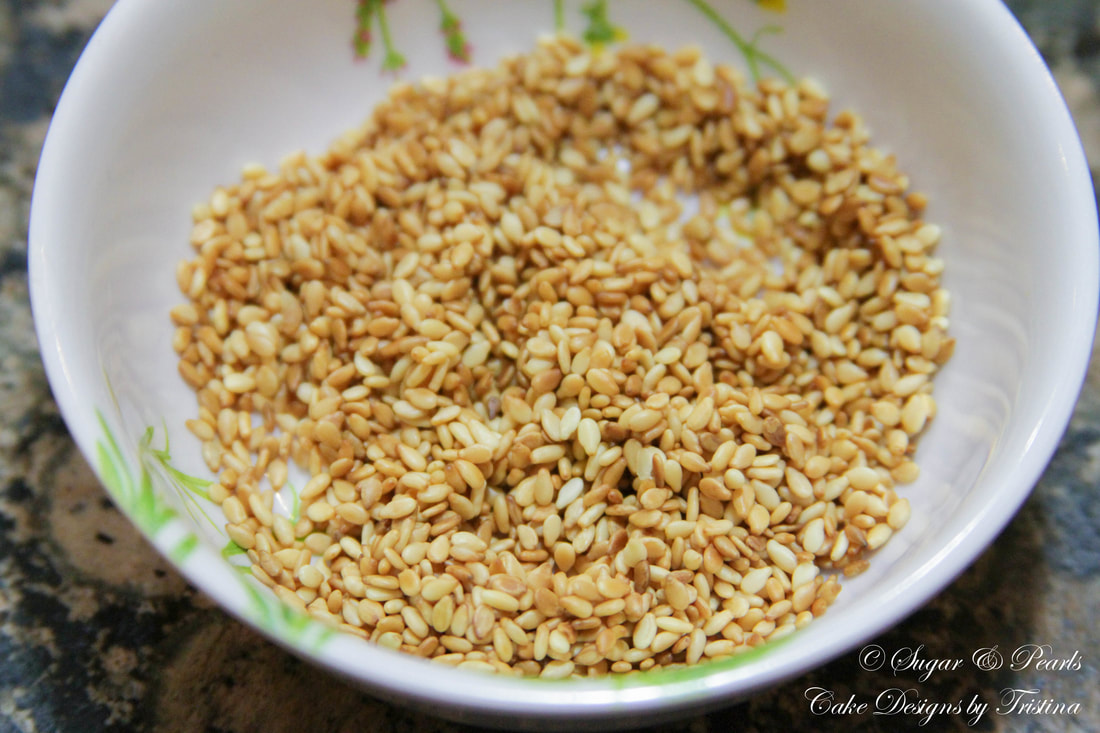
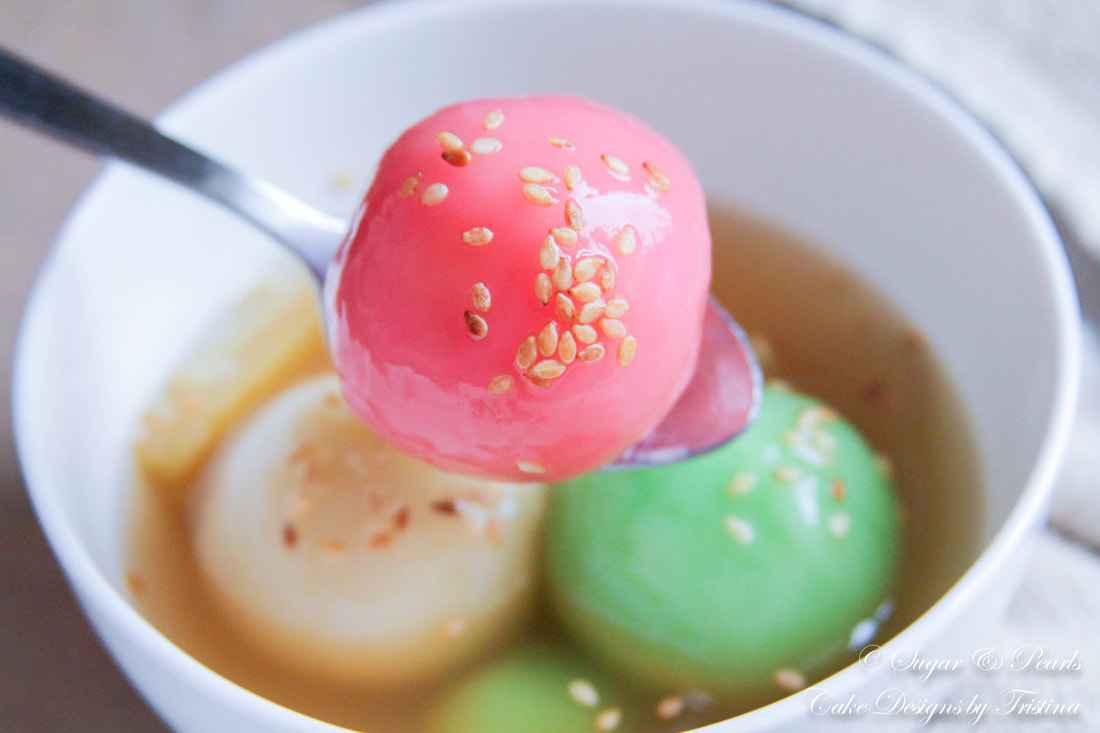
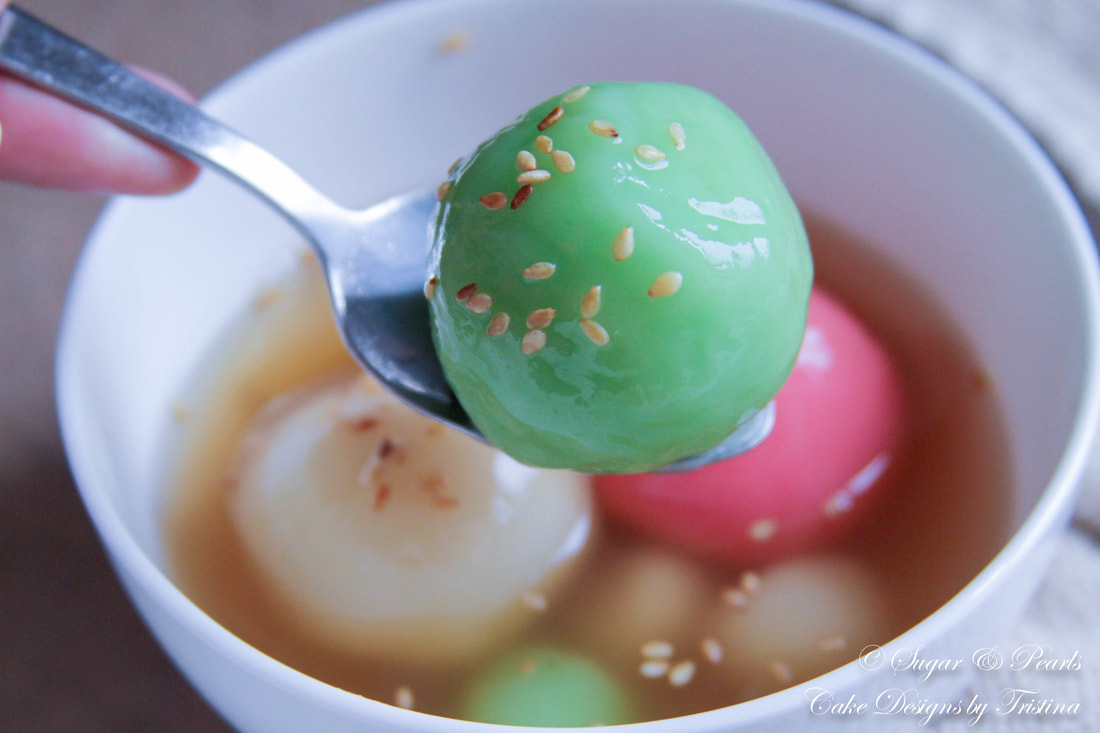
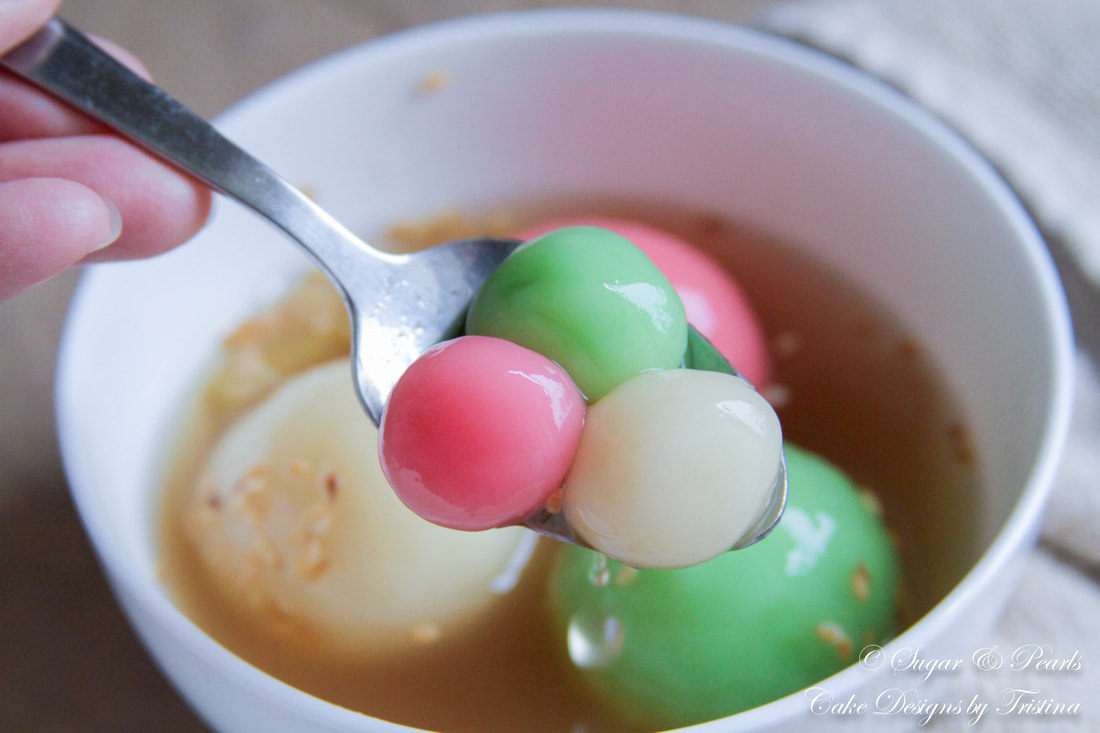
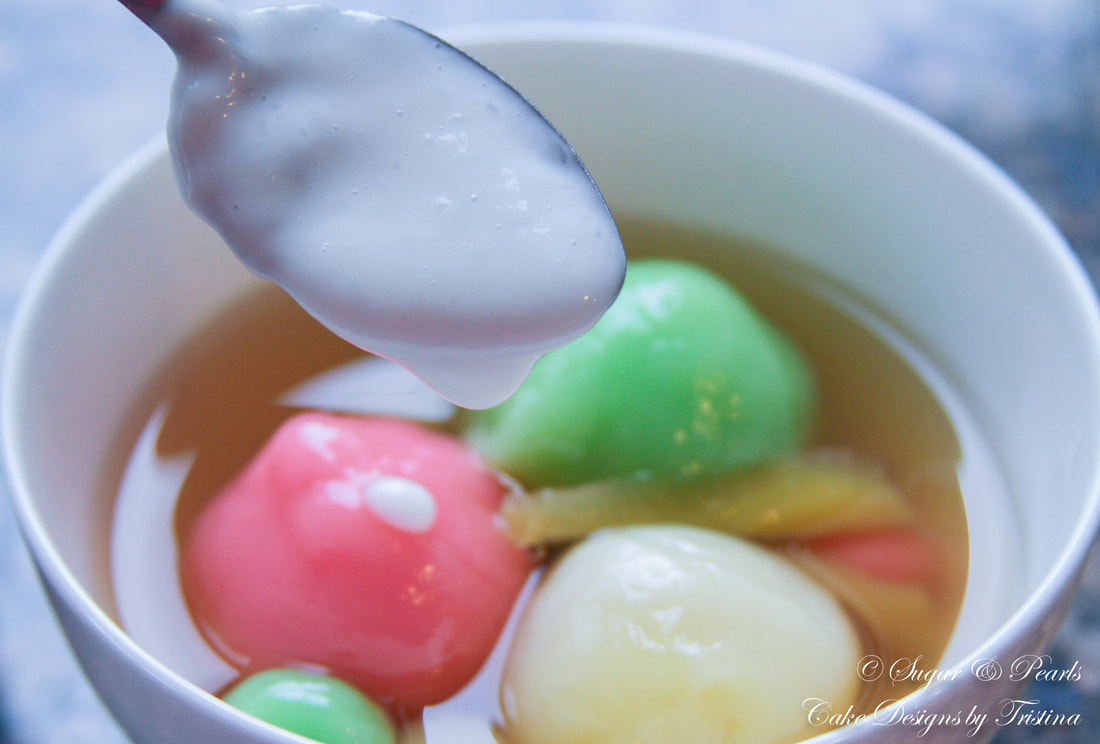
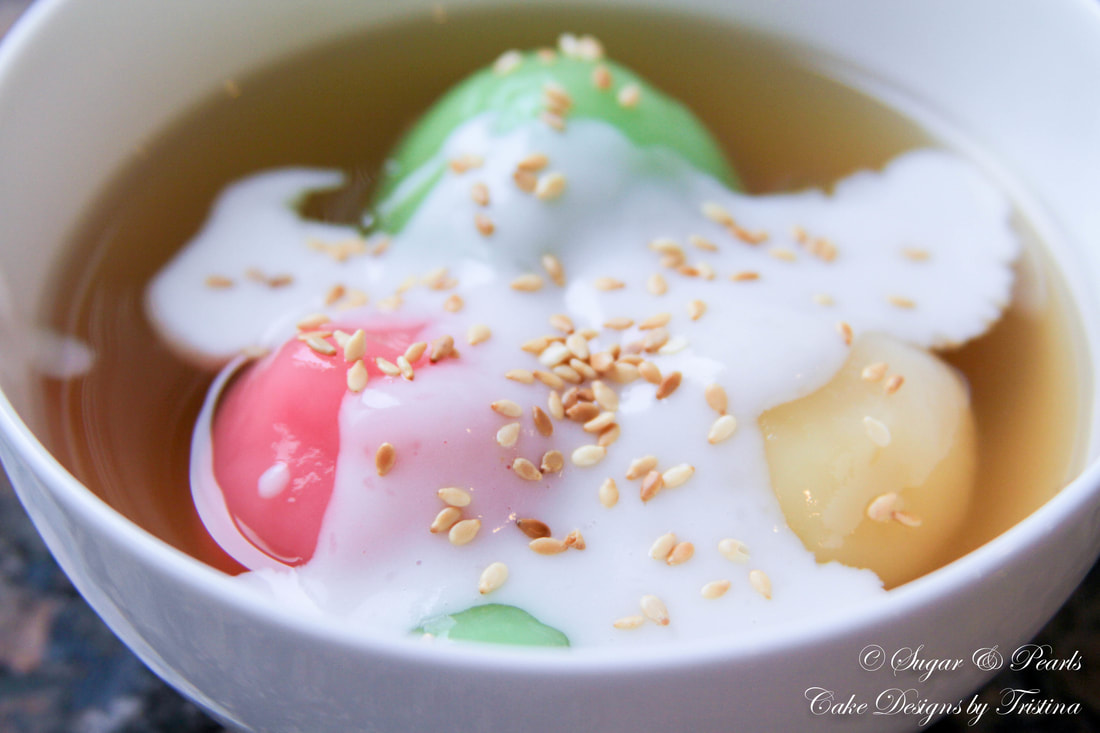
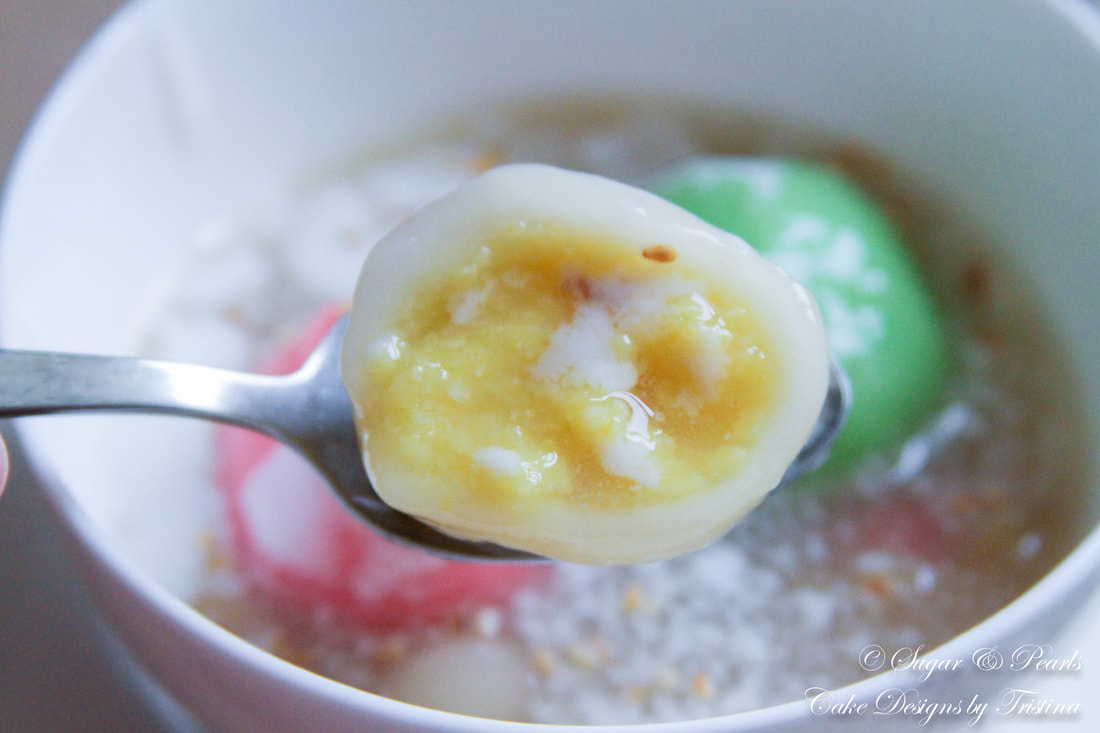
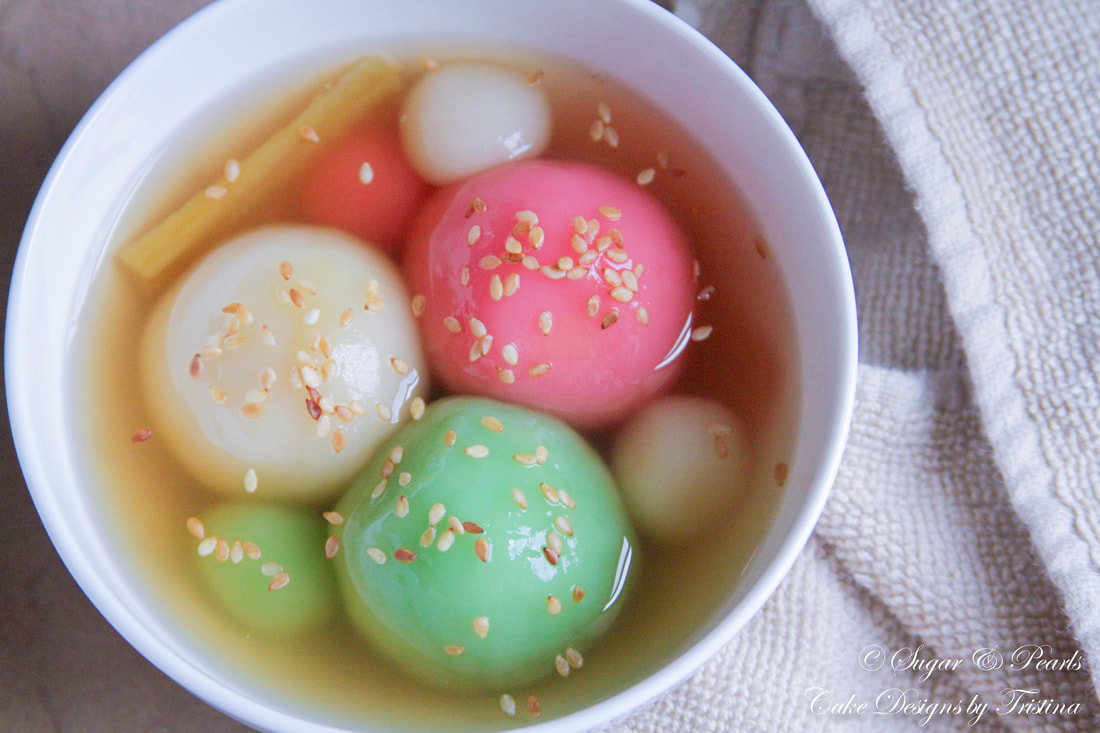
 Happy Father's Day!!! Can you believe that June is already half-way passed? May was hectic for all of us. We are the process of re-decorating and furnishing our home, so I was extremely busy with multiple projects. This is a never-ending task if you ask me. I almost got carried away before I started to make sweets again. However, I just have to put up my hands and admit that home projects will NEVER stop. So, I head back to my blog and decide to bake...or in this case, cook more desserts. This time, I'm back with another authentic Vietnamese dessert that I was craving to eat, but was too intimidated to make until today. It is doubtful that you have not heard of this dessert if you are a Vietnamese American. And if you have read some of my previous postings, you would know that I am a big fan of Vietnamese sweet desserts. Chè is my favorite and I love almost all of them. It is really one of the main reasons why we like to visit Orange County so I could satisfy my sweet tooth. Everyone knows that Southern California houses some of the very best Vietnamese food, and that is the same truth for Vietnamese desserts! Although I love eating all of these sweet soups, I have yet to make them. I think part of me was scared that I would fail. And to make the matter worse, my fear came true and I failed miserably with my first attempt. Then, I did some more research and I tried it again. I finally got this down on my second time. I failed because I was not familiar with the ingredients used in these Vietnamese recipes. I misread the ingredient list and bought rice flour instead of glutinous rice flour. There is a big difference between the two types! If you did what I have done, your dough will not be soft and won't cook properly. But mind you, I'm reading these recipes in Vietnamese and trying to translate them into English is already quite a task. And my Mom laughed at me after I told her about my failed experiment. I quickly learned that I needed to consult her before attempting to make more Vietnamese desserts. Well, back to this sweet soup recipe, which I named Rice Balls in Ginger Syrup. There are numerous ways to translate its name, including Mochi or Dumplings, but I really like the Rice Balls so I will stick to this name. In Vietnamese, this dessert is called Chè Trôi Nước or Chè Xôi Nước—both meaning "dessert wading in water." These so-called balls are made of mung bean paste covered over glutinous rice dough, and soaked in a syrup made of water, sugar, and grated ginger root. It is best served warm and garnished with sesame seeds and/or coconut sauce. 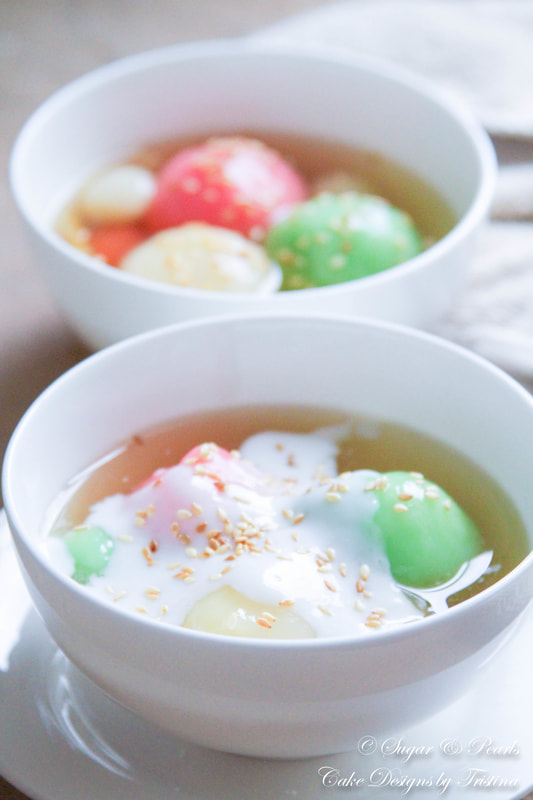 PREPARING AND MAKING THE MUNG BEAN FILLING First, I start out by rinsing the mung beans a few times with water, and then soak them for about 2-3 hours. If you have the time, you may soak them overnight to allow the beans to expand for the best result. Next, I pour the soaked beans into a small sauce saucepan. Here, I add just enough water to cover the beans and cook them over medium-high heat for about 15-20 minutes, or until beans are soften. Once the beans are soft to touch, I pour them into the blender and grind them with granulated sugar for about 3-5 minutes, or until a paste is formed. Then, using the same saucepan, I cook the mung bean paste on low-medium heat with a sprinkle of oil and a tad of coconut milk for about 5 minutes, or until the paste clumps together. I leave the mung bean paste to cool for about 10-15 minutes and then roll the paste into small 1.5-inch balls and set aside. Note that the mung bean filling is ready when the paste is semi-sticky and can hold its shape when pinched or rolled together. PREPARING AND MAKING GLUTINOUS RICE BALLS In a clean mixing bowl, I combine the glutinous rice flour, sugar and water and mix together for about 5 minutes, or until a dough is formed. Here, you may add more water if the dough is too hard to mix. I suggest adding a teaspoon of water at a time to achieve a soft and sticky consistency. Once you have reached to this stage, you can continue to knead for 2-3 minutes to soften the dough. Then, I cover the dough with a damp towel and allow it to rest on the counter for about 30 minutes. Next, I place the dough on a floured-counter and knead it again for another 1-2 minutes. I separate the dough into 3 equal parts and add food coloring to create different rice balls colors. I knead the dough again for a few minutes or until the color is completely mixed and the dough is smooth. You can skip this stage if you are like my mom, who prefers to have the traditional white rice balls. To create the glutinous rice balls, I use about 2 tablespoons of dough and flatten it into thin, round circles. I place one mung bean ball in the center and wrap the dough around the ball gently. I pinch the dough together at the ends to seal the ball. Then, I roll the dough ball on my palms, reshaping it into a ball again. This is to make sure the dough is completely covered the ball to prevent tears during the cooking process. I repeat these steps until all of the mung bean balls are covered with the glutinous rice dough. I also save some leftover dough to make small plain glutinous rice pearls. In a clean medium pot, I add water and cook under high-heat until the water becomes boil. I place the rice balls carefully into the boiling water and cook for about 3-4 minutes, or until they float to the top. Then, I transfer the rice balls with a slotted spoon to a clean bowl of iced water. This cold-water bath helps tighten the outer layer of the dough and creates the chewer balls. MAKING GINGER SYRUP In a different medium pot, I add water, pandan leaves, cane sugar, and brown sugar, and cook over medium-heat for about 5-6 minutes. I add peeled and sliced ginger strips into the pot once the syrup starts to boil. Then, over low-heat, I allow the syrup to simmer for another 3-5 minutes. Here, you should taste test the syrup and add more sugar if you like the syrup to be more sweet. Finally, I add the cooked rice balls into the ginger syrup and cook them on low-heat for another 10-15 minutes. This is to allow the syrup to soak into the balls and give them a sweeter taste. MAKING COCONUT SAUCE I love to add coconut sauce in everything I eat--sweet desserts, that is. In a small saucepan, I combine coconut milk, water sugar and salt and cook over medium-heat for about 2-3 minutes. In a separate bowl, I mix tapioca starch and water together until combined. I add this tapioca liquid mixture into the coconut milk as it becomes bubbly and stir continuously for 2-3 minutes. It is essential to stir quickly to prevent clumps in the sauce. Here, you can adjust the sauce to your liking as well. I like it to taste a little saltier. Then, I remove the coconut sauce from the heat and set it aside. Note that the sauce will become thicker as it cools. MAKING ROASTED SESAME SEEDS The last step is to make the simple roasted sesame seeds for garnishment. I use a handful of raw sesame seeds and rinse them in cold water to remove any grits. I then transfer the sesame seeds to a clean small pan and cook on medium-low heat for about 2-4 minutes, or until the seeds are lightly golden. You do not need to add oil while roasting these seeds. But do make sure you toss them frequently to prevent the seeds from burning. Once the seeds achieved a dark brown color, I transfer them to a clean bowl and allow them to cool. ASSEMBLE RICE BALLS IN GINGER SYRUP DESSERT There are a few ways to serve this sweet dessert. I think it is best eaten warm on a cool, rainy day, especially during the Fall season. Most of those I know would like to top these rice balls with thicken coconut sauce and roasted sesame seeds. However, some do prefer to eat them plain with roasted sesame seeds. It really does not matter how you eat this dessert, it will amaze you with the comfort fragrant of grated ginger soaking in the sweet pandan syrup. And thanks to the glutinous rice flour, you will love that soft, chewy texture of the rice balls in every bite. Along with that, the semi-sweet mung bean paste will balance between the gummy dough to balance each and every bite as you swallow these mochi-like dumplings. 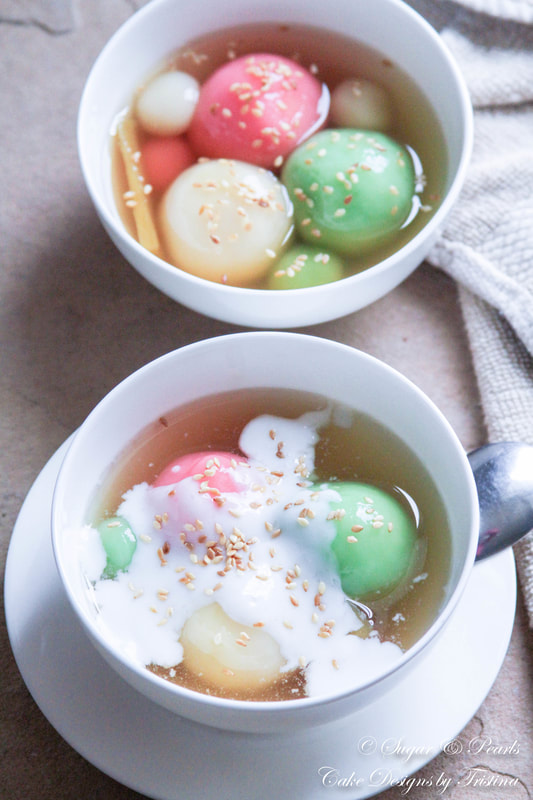 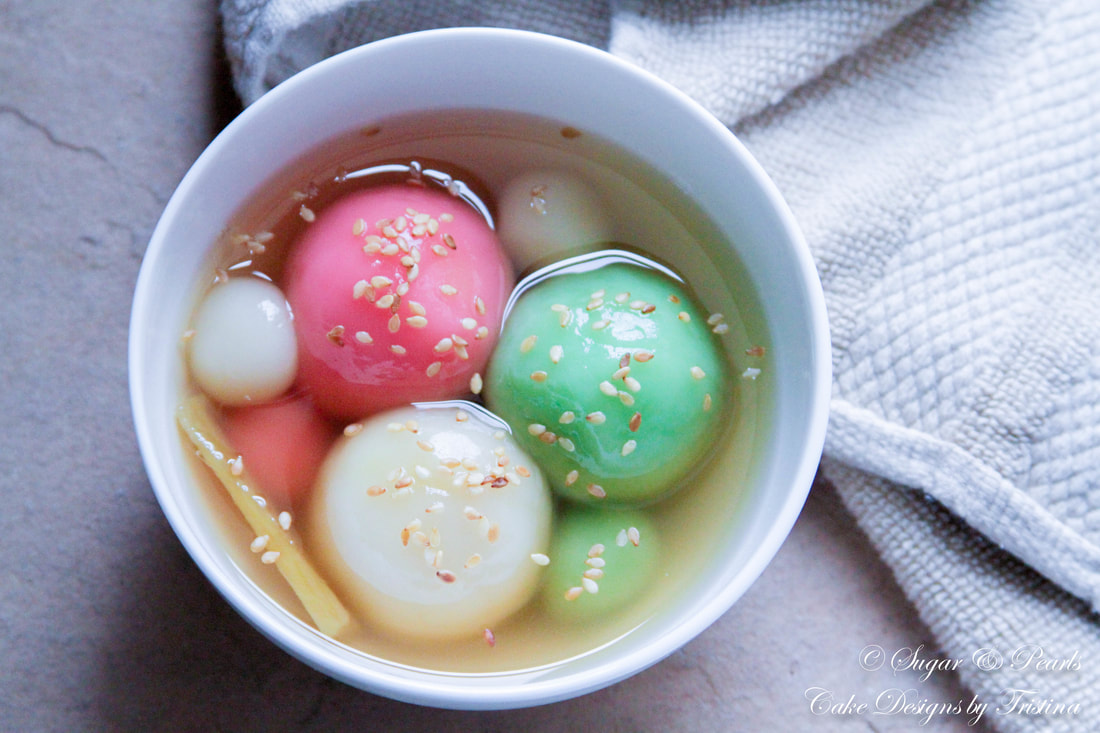 Growing up, I love the small, glutinous rice pearls more than the large balls filled with mung bean paste. I love eating those "chewy pearls" with an overflowed coconut sauce. And, honestly, nothing can beat this dessert when you sip on sweet, "gingery" syrup as you swallow those beautiful rice balls down your throat. Do not be intimidated with this multi-steps recipe. It really does not take you a very long time once you get the hang of making the balls. Although this was my very first time making them, on my second try, I still managed to get the dessert done before dinnertime. You ought to try this authentic Vietnamese dessert, with a modern twist, and what is the best about it, is you can now make them from the comfort of your house. Enjoy! xoxo, Tristina Rice Balls in Ginger Syrup Recipe 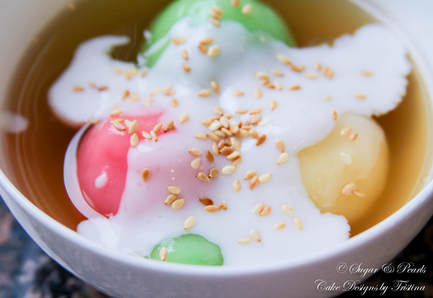 Make: 8-10 servings Total time: 2 hours Ingredients Mung Bean Filling
Glutinous Rice Dough
Ginger Syrup
Coconut Sauce
Roasted Sesame Seeds
Instructions Mung Bean Filling
Glutinous Rice Dough
Ginger Syrup
Coconut Sauce
Roasted Sesame Seeds
Assemble Rice Balls in Ginger Syrup Dessert
*Half of this recipe is adapted from an unknown source. *Recipe was created based on my liking and adjusted from my childhood experience. COPYRIGHT © 2018 - SUGAR & PEARLS ~ CAKE DESIGNS BY TRISTINA
0 Comments
Your comment will be posted after it is approved.
Leave a Reply. |

AboutTristina TiepNhu Nguyen is a pharmacist by weekday and a baker by weekend. She is also a wife and a mother of two children. Free Cake Tutorials!Sign up for my newsletter and you will be the first to know about my new recipes and cake tutorials!
Recent Posts
August 2020
RecipesTutorials |
|
|
sugar & pearls |