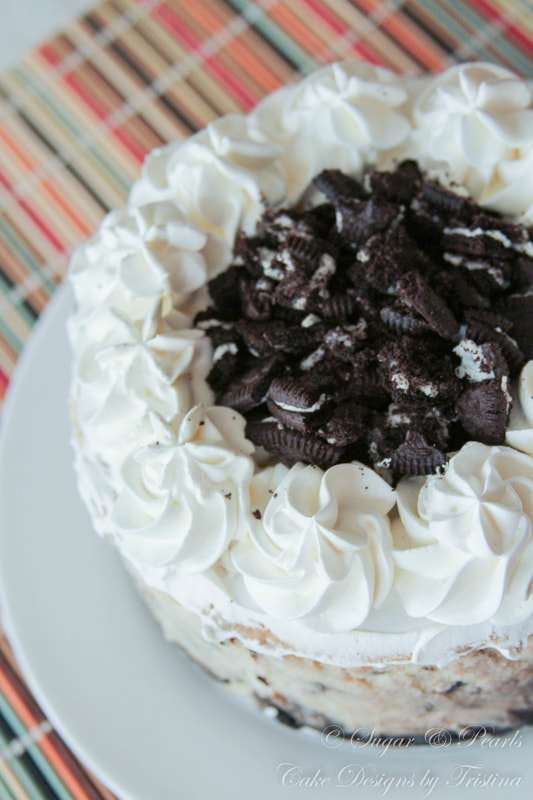
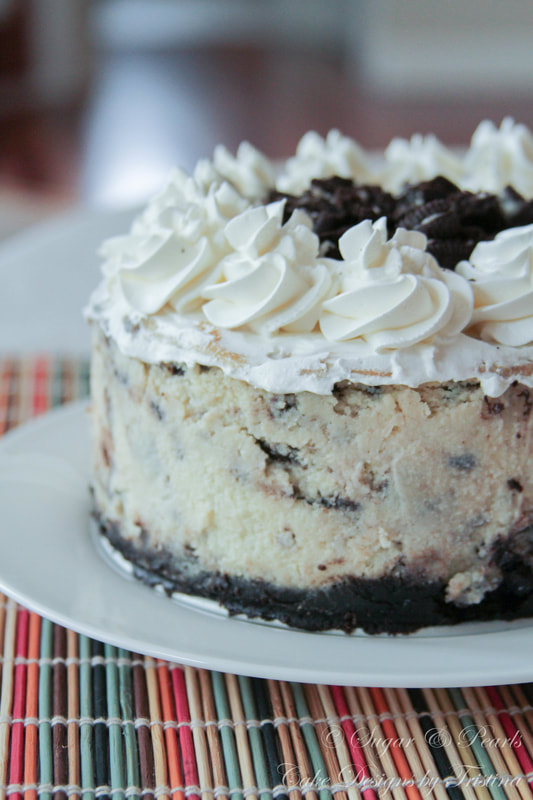
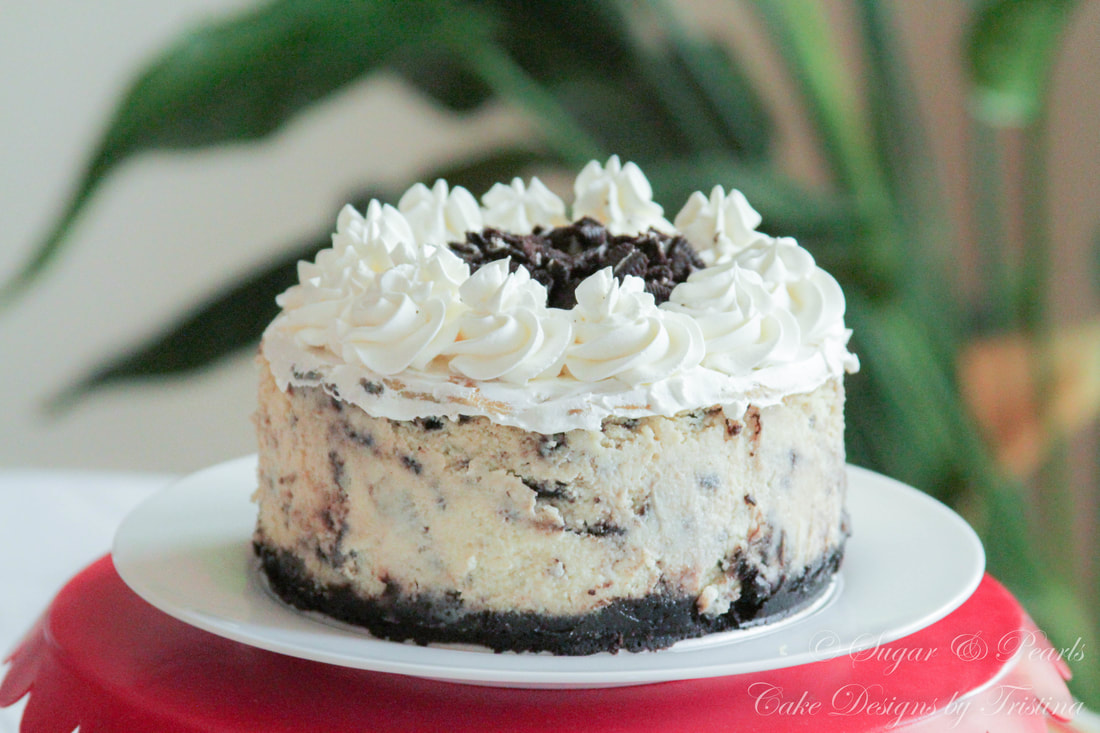
 I made this cheesecake based on my nephew's request for his 12th birthday in September. He is a big fan of cheesecake and, of course, like every kid, Oreo cookies are also his favorite snacks. The funny thing is I don't usually buy Oreo cookies to munch on. I solely keep them in my pantry for the baking purposes. My kids do try to steal one here and there, but most of the times, I'm pretty good at hiding them away from the kids. This Oreo cheesecake is simple to make and it tastes amazing. I love Junior's Cheesecake from New York as well as Cheesecake Factory, and this recipe comes pretty close to those famous cheesecakes. The soft texture along with the richness in every bite of this cheesecake will melt your cravings away.  MAKING OREO CRUST First, I crush the cookies in a bag, and then grind them in my blender until they are fine for about 1-2 minutes. I add about 3 tablespoons of melted unsalted butter and then mix them together until fully combined. I pour it into the cake pan with a removable side and press the crust down using the bottom of a glass or a stainless-steel spoon. I also wrap 2 layers of aluminum foil around the pan to prevent water from seeping into the pan. To add an extra protection, I also wrap a plastic about around the pan first. Once done, I store the crust in the freezer and move on making the cheesecake filling. MAKING CHEESECAKE BATTER For a smooth cheesecake batter, the key is to ensure all the ingredients are at the same temperature. I take the cream cheese, eggs, butter and sour cream out of the fridge about 1 hour before I starting to bake. Using a stand mixer with a paddle attachment, I beat cream cheese and granulated sugar on a medium speed (Speed 4 on a Kitchenaid stand mixer) until smooth and then add the melted butter to the batter and continue to beat at the same speed until combined. Next, I pour in eggs, one at a time, and beat just until the batter is fully incorporated. Then I add some lime juice and corn starch and beat just until combined. The batter is slightly thinner than most cheesecake. If you like your cheesecake to be slightly firmer, add extra 1 tablespoon of corn starch. I finish off by folding the chopped Oreo cookies into the cream cheese batter and then pour the batter into the prepared baking pan. I bake the cheesecake in the water bath at a 325 degrees F for about 1 hour. The cheesecake is done when the top has a light brown color. It should also jiggle at the center of the cheesecake with a slight shake. I leave the cake in the pan and store it in the fridge overnight before removing it from the pan. MAKING WHIPPED CREAM For the topping, I combine heavy whipping cream, powdered sugar and meringue powder, and beat for about 2-3 minutes or until soft peak formed. Next, I add vanilla extract and then beat for another 1-2 minutes or until medium peak formed. I pour the whipped cream into a piping bag that has been prepared with a large Wilton 2D Drop FLower tip. ASSEMBLING OREO CHEESECAKE Once the cheesecake is completely cool or slightly chilled in the fridge, I spread a thin layer of whipped heavy cream over the top of the cake using a small spatula. Then I pipe swirls around on the top of the cheesecake using the prepared whipped cream,. Don't you think the swirls look pretty on the cheesecake? The key to make stable heavy whipped cream for me is using a little bit of meringue powder that I normally used in my sugar cookies royal icing recipe. This hardens the whipped cream and allows it to hold their shape for hours at room temperature. 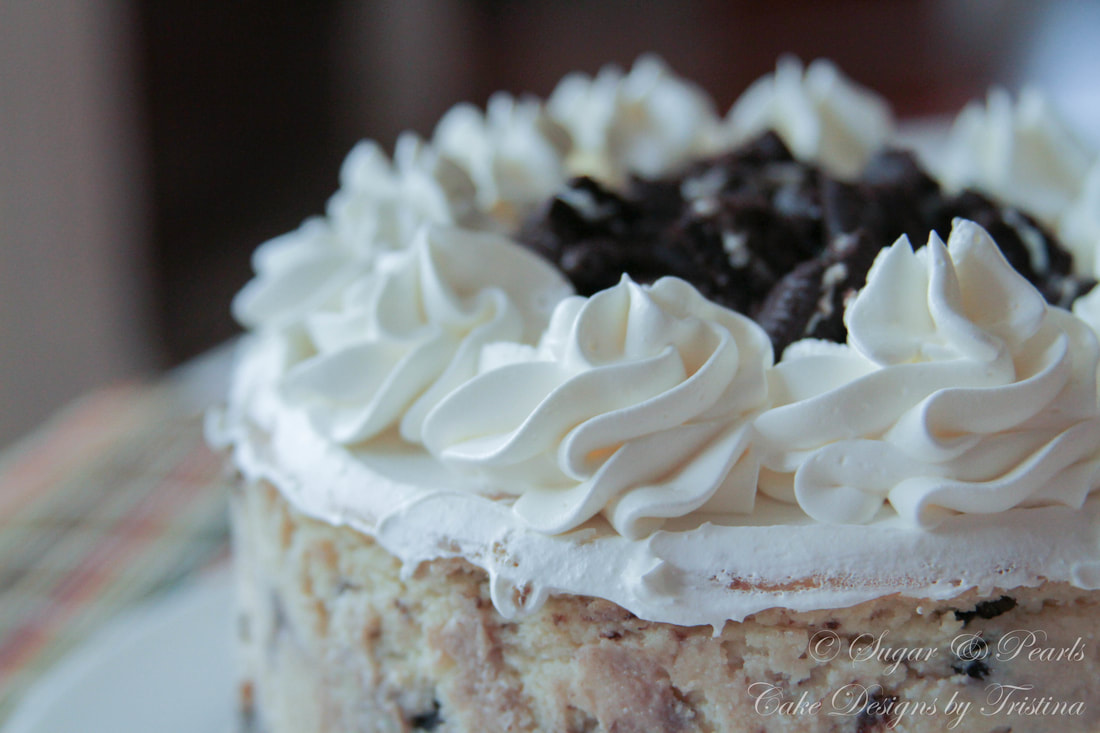 Once I am done piping the swirls around the cake, I also add about another half cup of chopped Oreo cookies in the center of the cheesecake.
Cheesecakes are relatively easy to decorate once they are completely baked. You may want to drizzle some caramelized sauce over a slice of this Oreo cheesecake, and I promise you will not regret it. Enjoy! If you like this cheesecake, you may also want to try my version of Blueberry Cheesecake Recipe. xoxo, Tristina Oreo Cheesecake Recipe Make: one 6-inch cake Total time: 1.5 hours Ingredients Crust
Filling
Whipped Heavy Cream Frosting and Topping
Instructions Crust
Filling
Whipped Heavy Cream Frosting and Topping
COPYRIGHT © 2017 - SUGAR & PEARLS ~ CAKE DESIGNS BY TRISTINA
0 Comments
Your comment will be posted after it is approved.
Leave a Reply. |

AboutTristina TiepNhu Nguyen is a pharmacist by weekday and a baker by weekend. She is also a wife and a mother of two children. Free Cake Tutorials!Sign up for my newsletter and you will be the first to know about my new recipes and cake tutorials!
Recent Posts
August 2020
RecipesTutorials |
|
|
sugar & pearls |