 Happy New Year! I cannot believe today is the first day of 2018. Time really flies when you are having fun. There has been so much going on the last couple of weeks that I was not able to do much for this New Year (as I did for last year). Honestly, I woke up yesterday morning, planning to make some type of desserts to ring in the New Year with, but I let that plan slide and took half of the day to hang out with my husband and my daughter. It was a beautiful, sunny well-spent afternoon over tasty waffles brunch followed by furniture shopping. And now, as Im sitting here with a cup of homemade coffee, looking out at the sunrise this early New Year morning, I feel peaceful—a feeling of serenity—conquering over the house. I don't get “this luxury” often as a mom of two little kids, so I savor every second of moments like this. This past year has been an interesting year for me. I got to check off a few things on my bucket list, including visited Punta Cana where we swam with the dolphins and tasted some of the best food, and took a road trip along the Oregon Coast. I have grown into a more, well...let just say, flexible person. And I suppose that is a good thing. I think my husband would agree to this if you were to ask him. Some of a few bittersweet moments I experienced were to say farewell to my paternal grandfather, and to watch both of my no-longer-toddler kids gained an additional year to their ages. On a positive note, I am looking forward to an even more exciting year that 2018 has in store for us. I have tons of things planned for the family (immediate and extended), the kids, and myself. I realized one of a few good things about growing older is that you can finally look pass the shortcomings and focus on better things, in almost every situation. Not because you know that there is always a rainbow waiting at the end of each rainfall, but you just learn how to "dance with the rain." And it is not always light that you see at the end of each tunnel, you just feel the light from within and from the people around you—especially your loved ones. 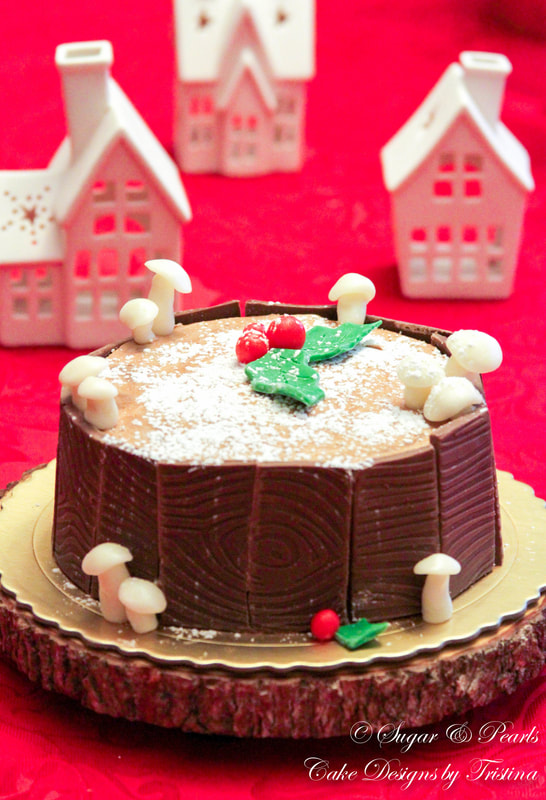 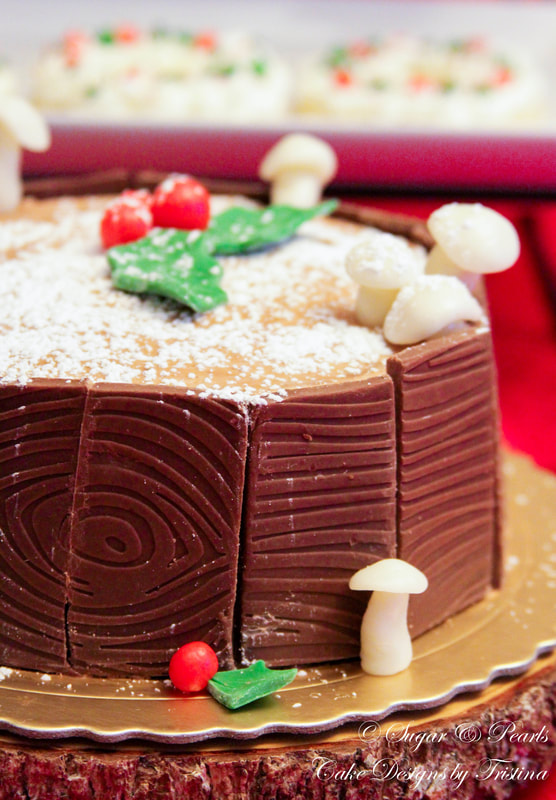 PREPARING AND BAKING CHOCOLATE SPONGE CAKE For this recipe, I altered a few things from my Sponge Cake recipe and create a soft chocolaty-cake like this one. As usual, I removed the eggs and half-and-half from the fridge and left them on the counter for about 30-60 minutes before using them. This is so they can reach room temperature and create a homogeneous cake batter. Then, I preheated the oven on at 320 degrees F and positioned the oven rack to the lowest level. I also lined the bottom of the baking pan with the parchment paper. Next, I prepared the dry and wet ingredients. I mixed all-purpose flour, corn starch, cocoa powder and salt together in one bowl and then I measured the vegetable oil, milk and coffee extract, and whisk them together in another bowl. I set these ingredient mixtures aside. In a clean mixing bowl, I beat the egg yolks and 1/3 of the granulated sugar until light and fluffy with a whisk attachment for about 2 minutes on medium speed (Speed 4 on a Kitchenaid stand mixer). I reduced the speed to low as I added in the wet mixture of milk, vegetable oil and coffee extract and beat for another 30 seconds. Then, I sifted the dry ingredients over the egg batter in 3 additions, beating on medium speed for about 30 seconds in between each addition or until well-combined. I removed the bowl from the stand mixer and set aside. In another clean mixing bowl, I beat the egg whites until foamy on medium speed with a whisk attachment for about 1 minute. Without stopping the mixer, I added a pinch of tartar and continued to beat the egg whites at the same speed until soft peak forms. I added the rest of the granulated sugar and continued to beat the egg whites at high speed (Speed 6 on a Kitchenaid stand mixer) just till before medium peak forms. Using a spatula, I folded the white eggs gently into the egg yolk mixture, over 3-4 additions, in circular motion to prevent deflation. Once the cake batter appeared smooth and homogeneous, I poured it into the prepared cake pan and tapped on the counter lightly to remove any large bubbles. I baked the cake in a preheated oven at 320 degrees F for about 30-35 minutes. Make sure the rack is positioned on the lowest level to prevent burning. And it depends on your oven and the type of baking pan, the baking time can be adjusted accordingly. The cake is good when a toothpick inserted comes out clean. Just stay nearby your oven when you start to smell the chocolate aroma enticing the kitchen zone. For a moist cake, it is essential to remove the cake as soon as it is done. ***Noted for a cake roll, you would need to prepare a clean towel sprinkled with powdered sugar for ease of rolling up the cake immediately after you take it out from the oven. I used a parchment paper here to avoid the mess. WRONG! It was more difficult to flip the towel over, so you can certainly skip the parchment. The towel alone will do the trick. MAKING VANILLA WHIPPED CREAM FILLING I removed the cool whip from the freezer and let it thaw for about 10 minutes. In a clean mixing bowl, I whisked the thawed cool whip on medium-high speed (Speed 6 on a KitchenAid standmixer) for about 2-3 minutes. Then I added powdered sugar, vanilla pudding and vanilla extract, and beat for another 1 minute until it reached the desired consistency. This filling can be stored in the fridge for 1-2 hours or use immediately if the cake is cool to touch.
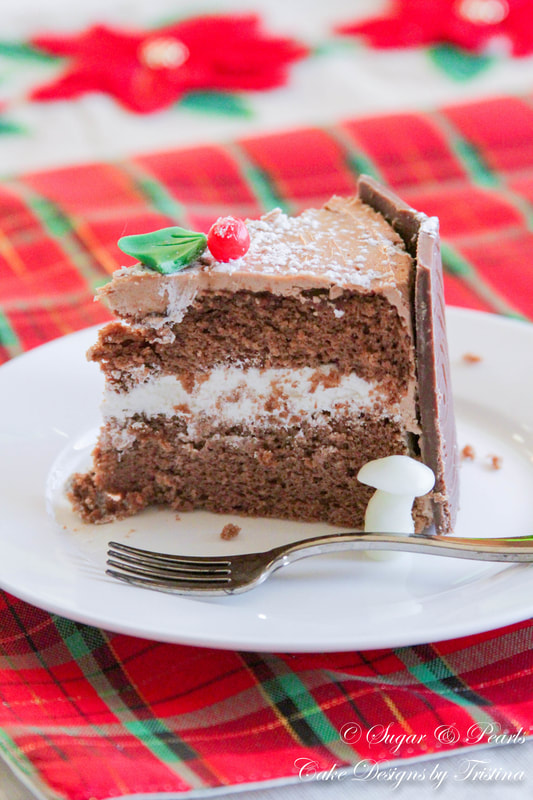
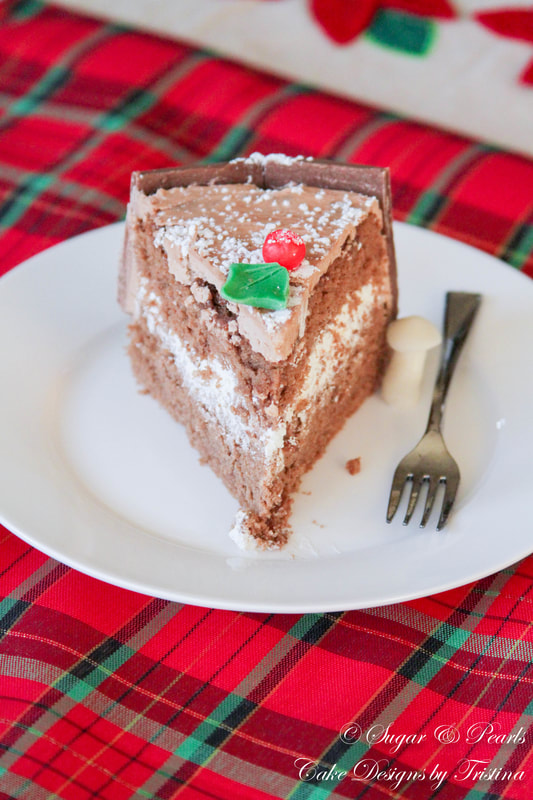
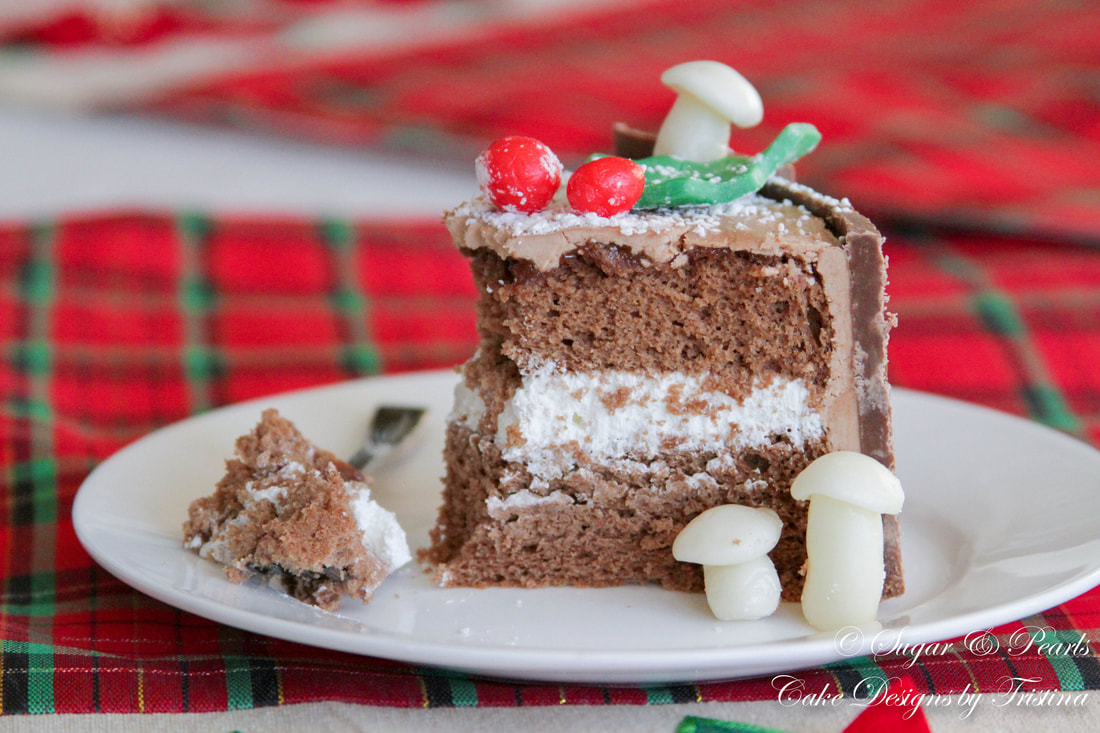
You can paired this Chocolate Sponge Cake with any fillings you like. For this particular project, I have used the basic vanilla whipped cream to create the snowy look on my dark "chocolaty cake." You can refer to my previous recipe, Lavender Velvet Swiss Roll, for the details of how to whip up the light, fluffy and delicious Vanilla Whipped Cream filling. 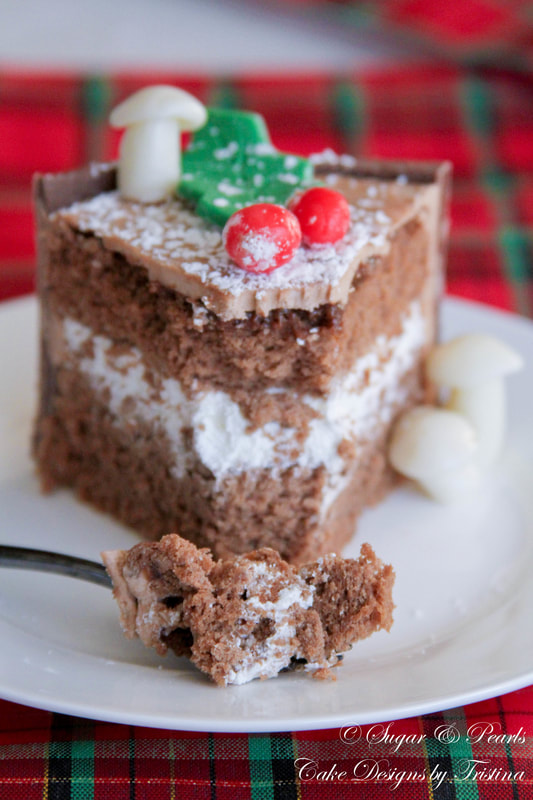 You may notice that I started out making a rectangular cake and ended up with a round cake. I doubled this recipe to make two cakes over the Holiday weekend. But if you follow this recipe, you can definitely make a rolled cake or an 8-inch round cake, if desired. Oh boy, I love how moist and fluffy this Chocolate Sponge Cake turned out. Now that I have made this in chocolate flavor, I am planning on trying some other exotic flavors including green tea and passion fruit in the near future. xoxo, Tristina Chocolate Sponge Cake Recipe Make: one 12 x 9-inch roll cake (about 1 inch tall) one 8-inch round cake (about 3 inches tall) two 6-inch round cake (about 2 inches tall) Total time: 1 hour Ingredients
Instructions
Vanilla Whipped Cream Filling Recipe Vanilla Whipped Filling
Vanilla Whipped Filling
COPYRIGHT © 2018 - SUGAR & PEARLS ~ CAKE DESIGNS BY TRISTINA
0 Comments
Your comment will be posted after it is approved.
Leave a Reply. |

AboutTristina TiepNhu Nguyen is a pharmacist by weekday and a baker by weekend. She is also a wife and a mother of two children. Free Cake Tutorials!Sign up for my newsletter and you will be the first to know about my new recipes and cake tutorials!
Recent Posts
August 2020
RecipesTutorials |
|
|
sugar & pearls |