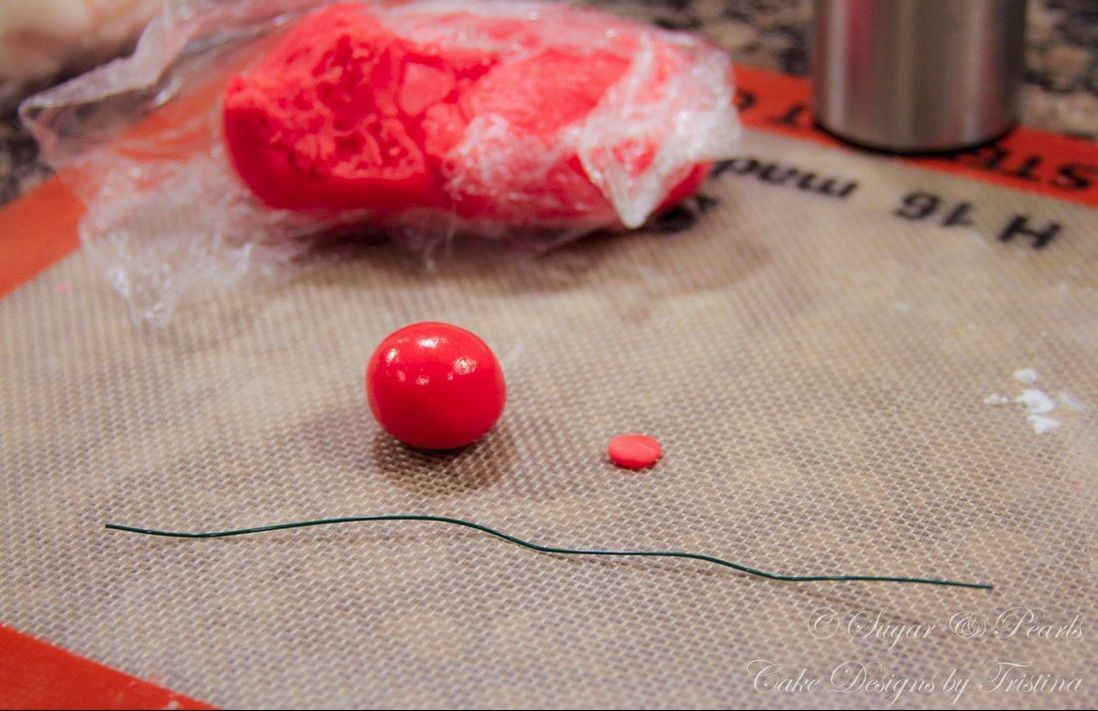
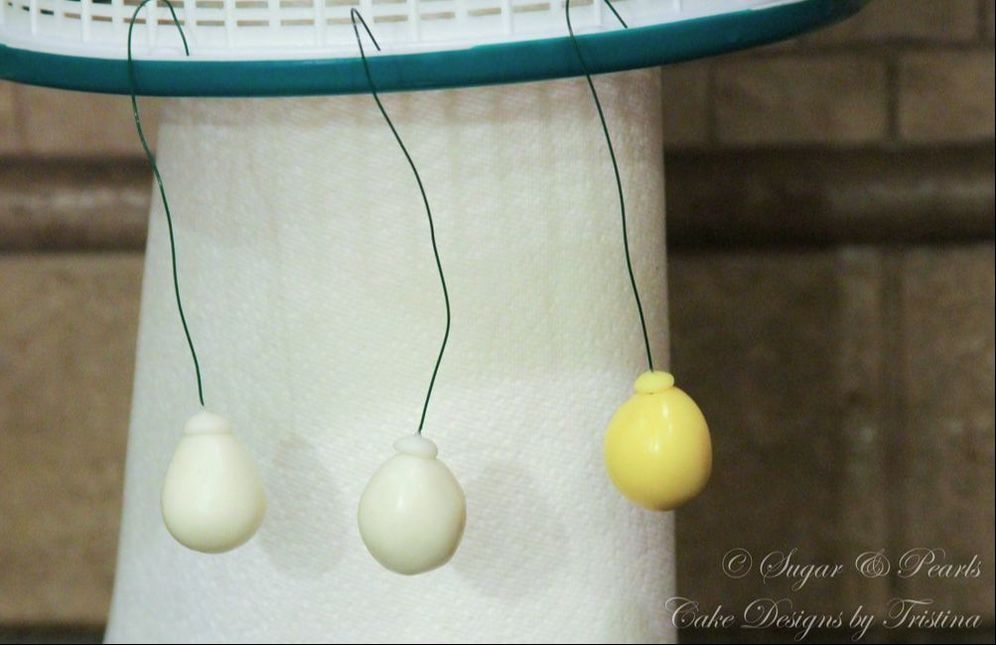
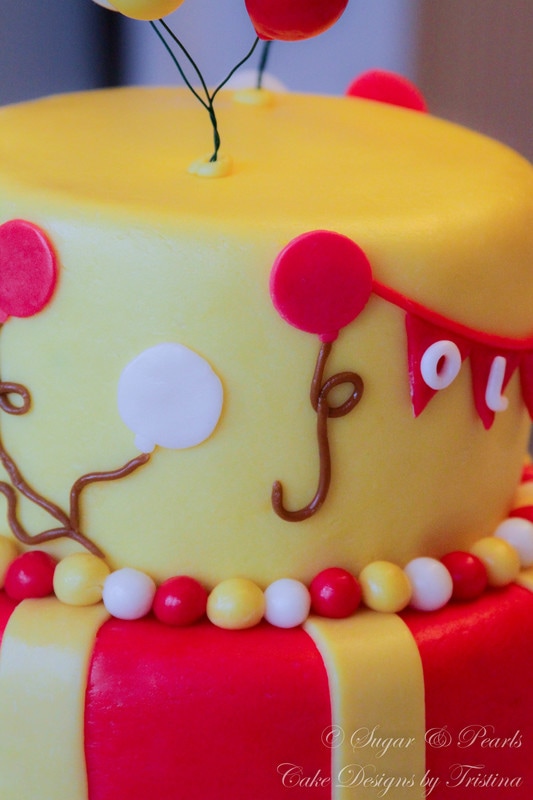
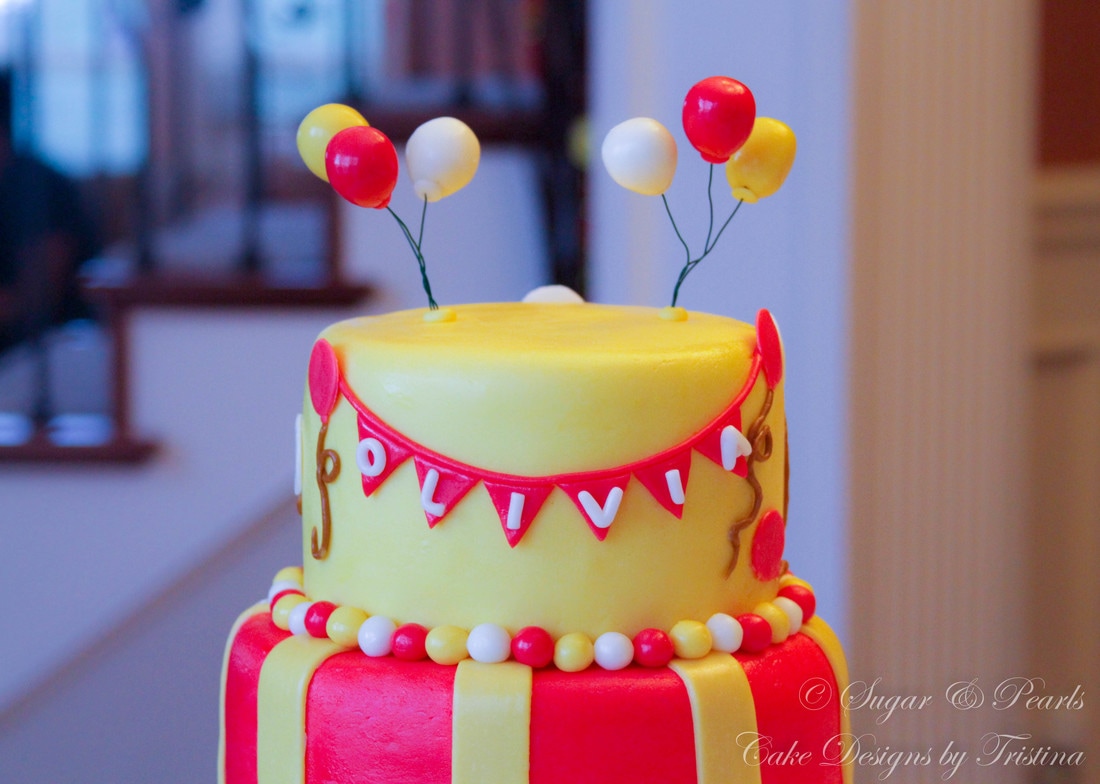
 Red. Yellow. Balloons. You guessed it right, this is a Curious George Inspired Cake that I did for a client a few weeks ago. This cake would have been perfect with a monkey fondant figurine topper in the middle, but unfortunately I did not have time to make one. So, this is it! However, I still think the cake itself is pretty cute. It may look like a simple cake yet it requires multiple steps in preparations in which you will see below. For me, one exciting thing about making this cake is making the three-dimension balloons for the top tier. It is indeed my first time creating the free flowing fondant figurines using the support of green floral wires. In addition, another fun aspect is that this post will embrace two different cake tutorials: a birthday cake and a smash cake. I cannot express how much I love this simple, yet elegant smash cake. I thought the color and the design come together perfectly. I could still remember the moment of debate between keeping the cake background plain or quilted, and I am so glad I pursued the latter. 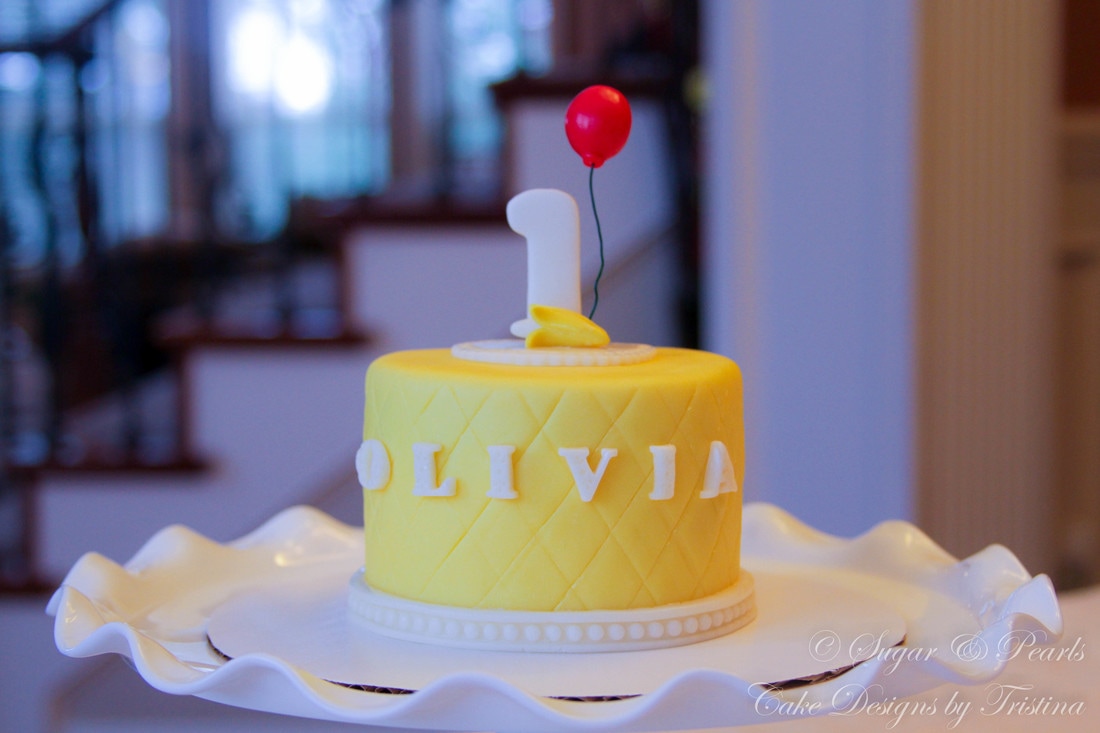 DECORATIONS PREPARATION For this cake, I start out making the 3-D balloons for the cake toppers about 1 week before the event (Photo 1). This is to allow enough drying time so the balloons could hold up their shape. To make a 3-D balloon, I use a small amount of red fondant and roll it into a smooth round ball and gently shape it into an egg shape. I brush the top of the green floral wire with a bit of water and insert it into the balloon. I cut another tiny, flat circle red fondant and insert it into the bottom part of the balloon to make the “balloon end.” Here, I re-shape the balloon slightly and hang it upside down to dry (Photo 2). I repeat the same process for the white and yellow balloons.
To give a shiny finishing touch for these balloons, I mix a 50/50 mixture of Vodka and corn syrup and brush it on the balloons (Photo 3 and 4). I leave these 3-D balloons for at least 4-5 days to dry.
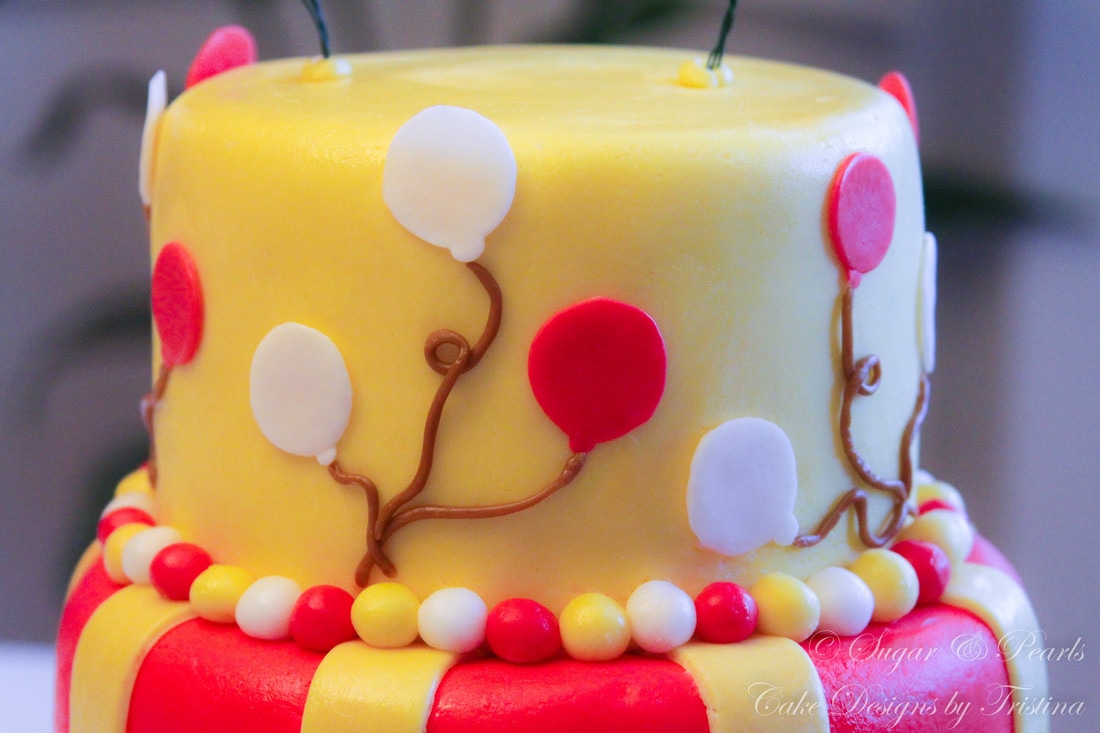
Next, I create the 2-D balloons that would be placed around the cake (Photo 5). I use the end of a large Wilton drop flower decorating tip (#2D) to punch out the round red and white fondant circles. Then, I use the top of a standard Wilton round decorating tip (#12) to punch smaller circles, which are cut in half and attached to the large circle to make the balloon ends. I use a light brown fondant string and glue it to each balloon to make the balloon string. I make 12 balloons to cover the top tier of this cake. These 2-D balloons can be made one day before assembling the cake.
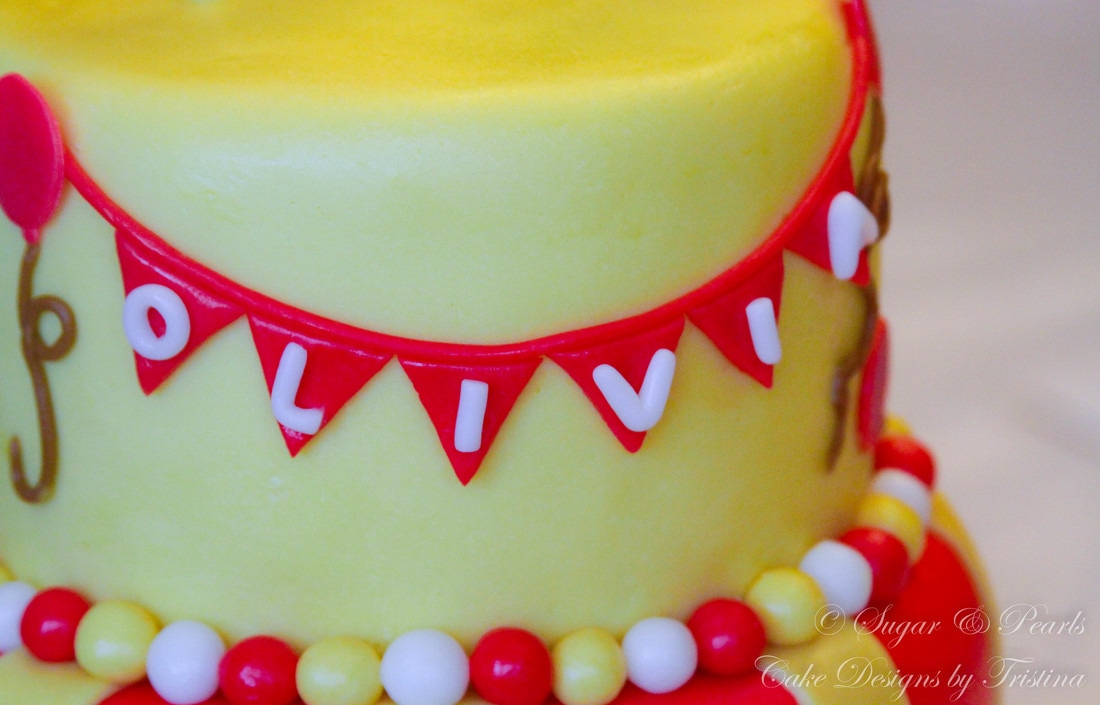
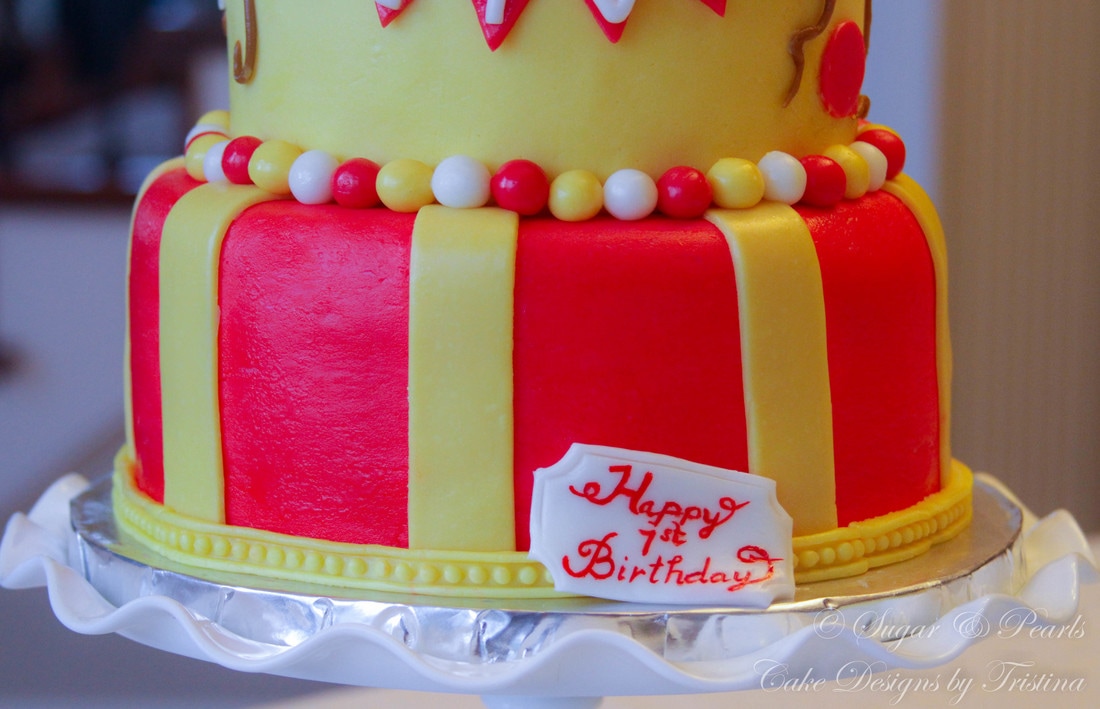
The third thing I make is the name triangle banner (Photo 6). I first roll out a long string of red fondant. Using the puncher, I create 6 red fondant triangles and glue them to the string. Then, I roll a thin strip of white fondant and shape them into letters to create the birthday's girl's name. I stick these letters onto each triangle and leave them overnight to dry. Following this, I create the birthday tag which is placed on the bottom tier of the cake (Photo 7). I cut out a white rectangular fondant and I cut the four corners, using the round end of a Wilton round decorating tip (#12), to create a "ticket" shape. Using a saw cutting fondant tool, I trace around this ticket tag to form a fancier look. Once it is dried overnight, I write "Happy 1st Birthday" on the tag using red food color with a painting brush.
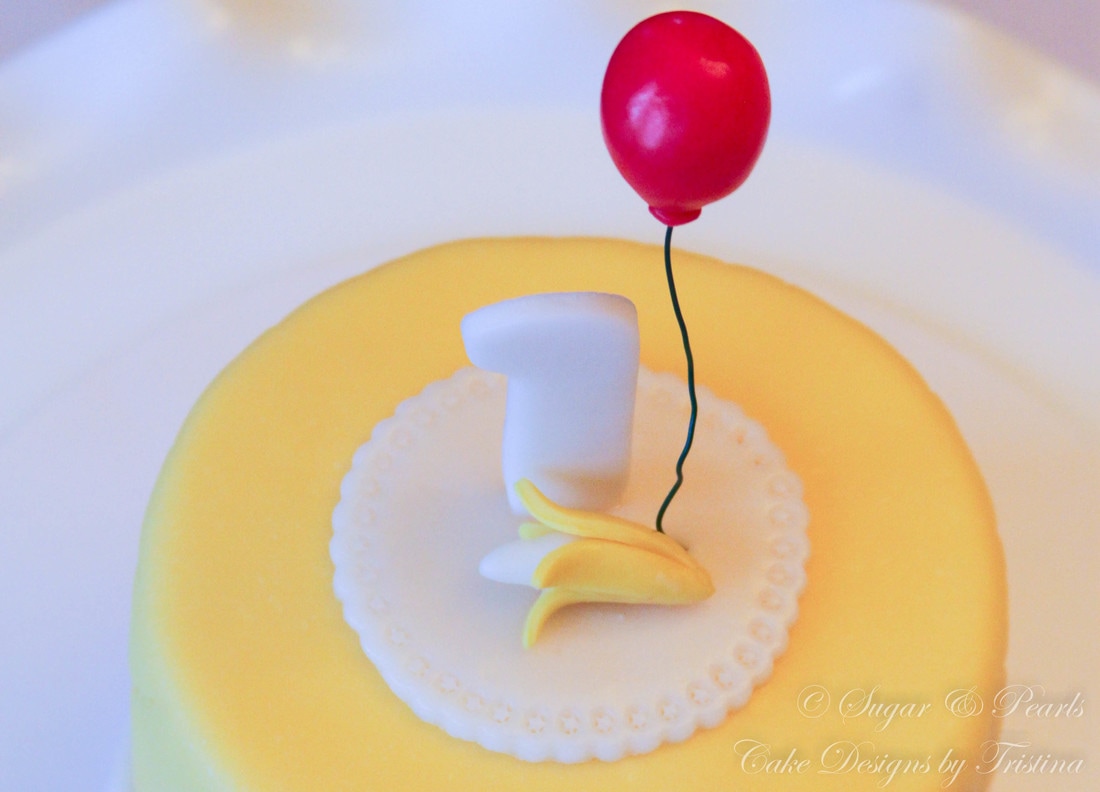
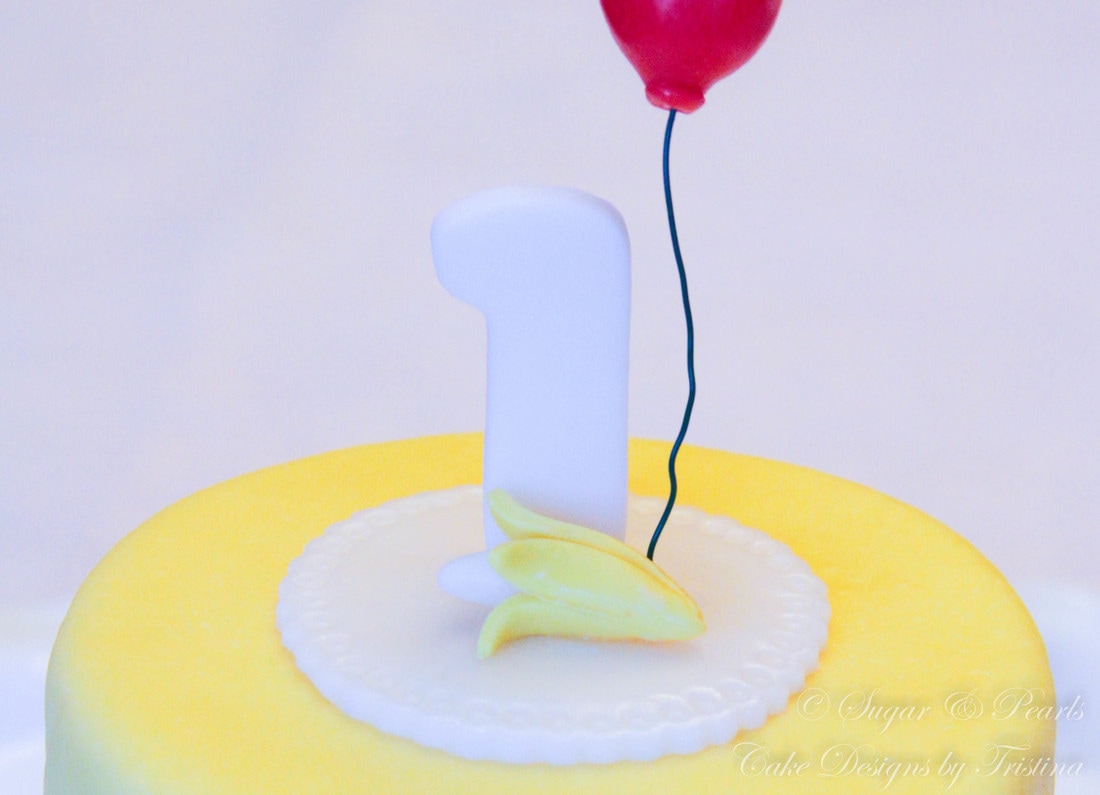
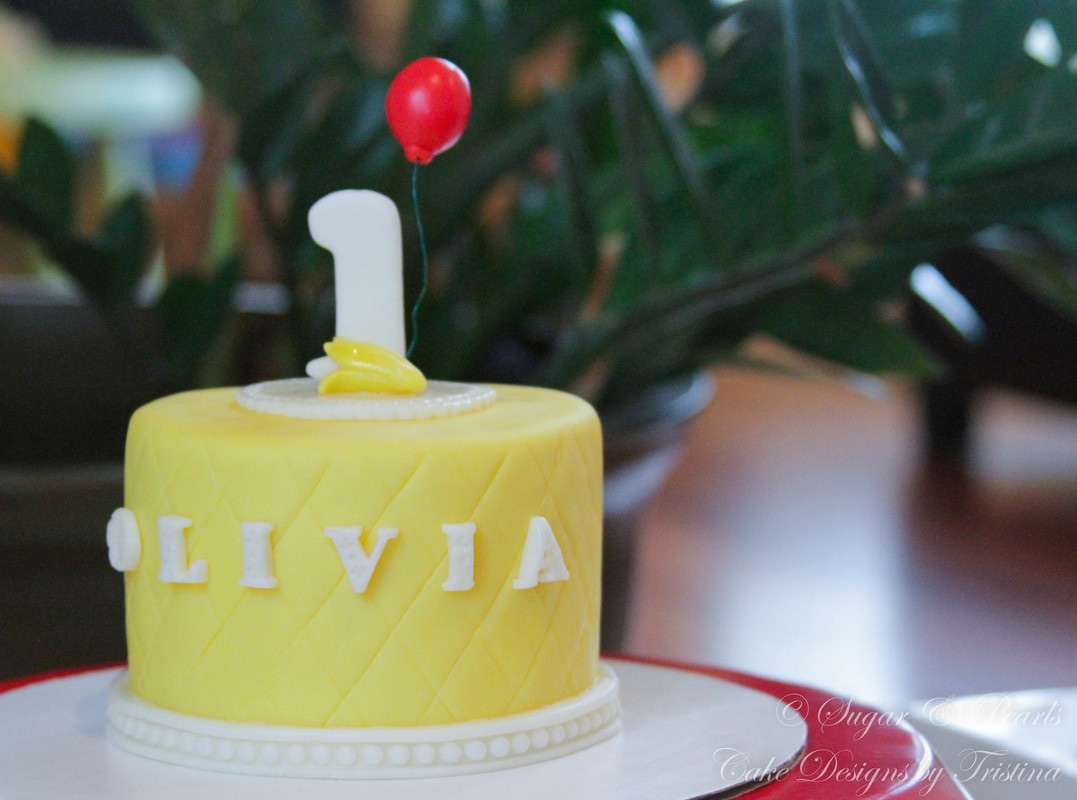
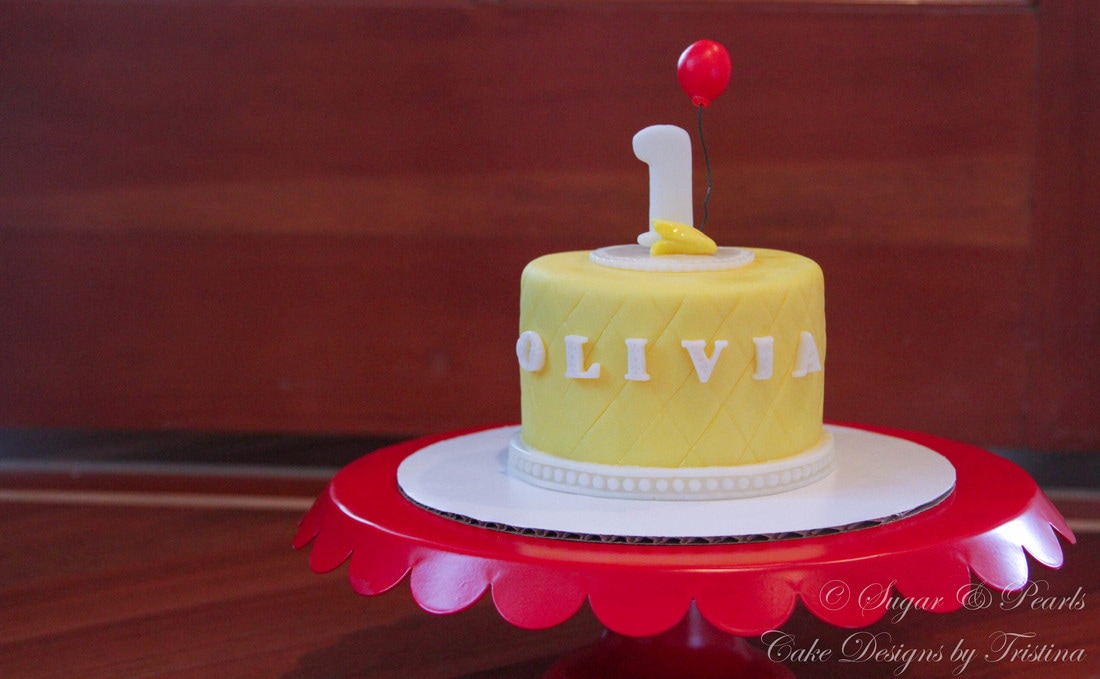
The last thing I make is the banana for the smash cake topper. The last thing I make is the banana for the smash cake topper. Using my round cookie cutter, I punch a white fondant circle which I use to hold the "number 1," a single 3-D balloon, and a banana. I also use a Wilton star tip (#18) and punch stars around the circle to create a lace-like appearance (Photo 8). To make a banana, I use a small, thick white fondant roll to make the banana meat. Then, I use my flower petal cutter and cut 4 petals out and attach them around the white meat to create the skin of a "peeled banana" (Photo 9).
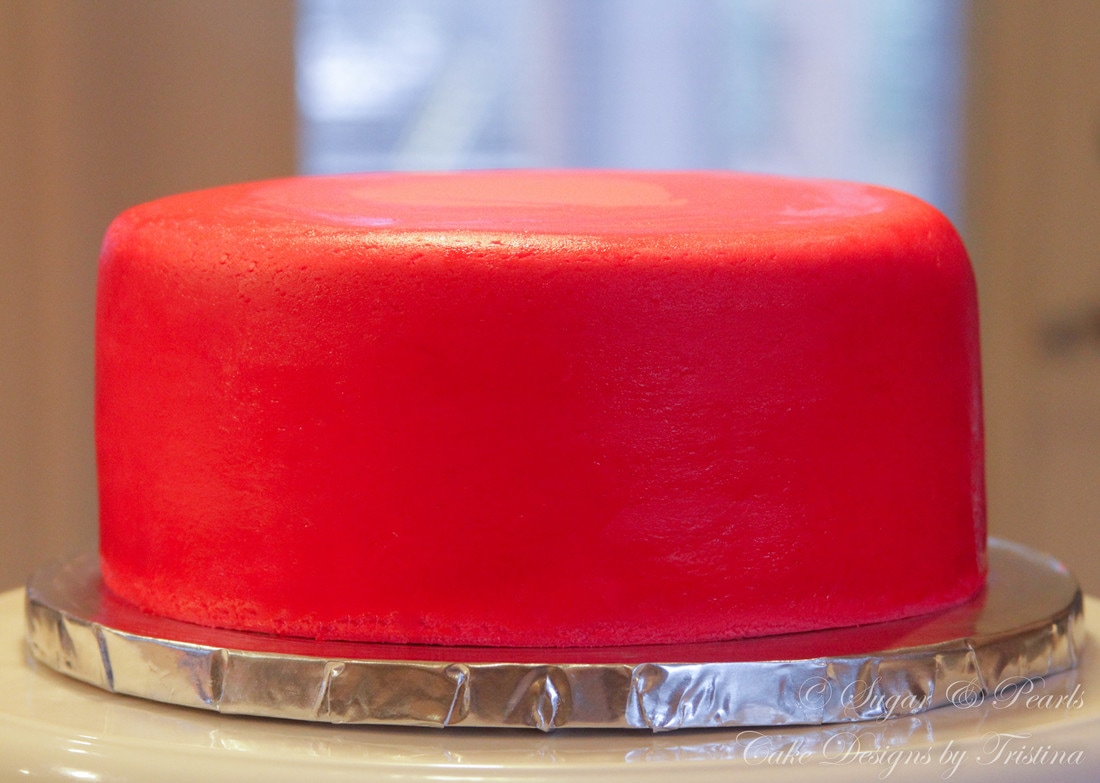
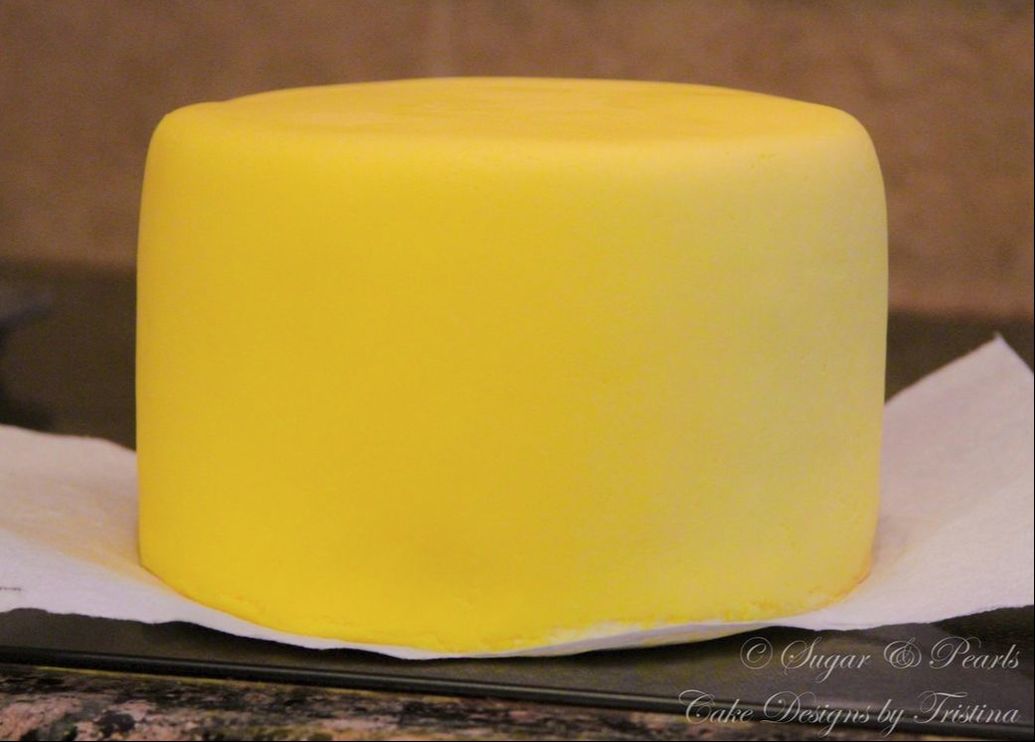
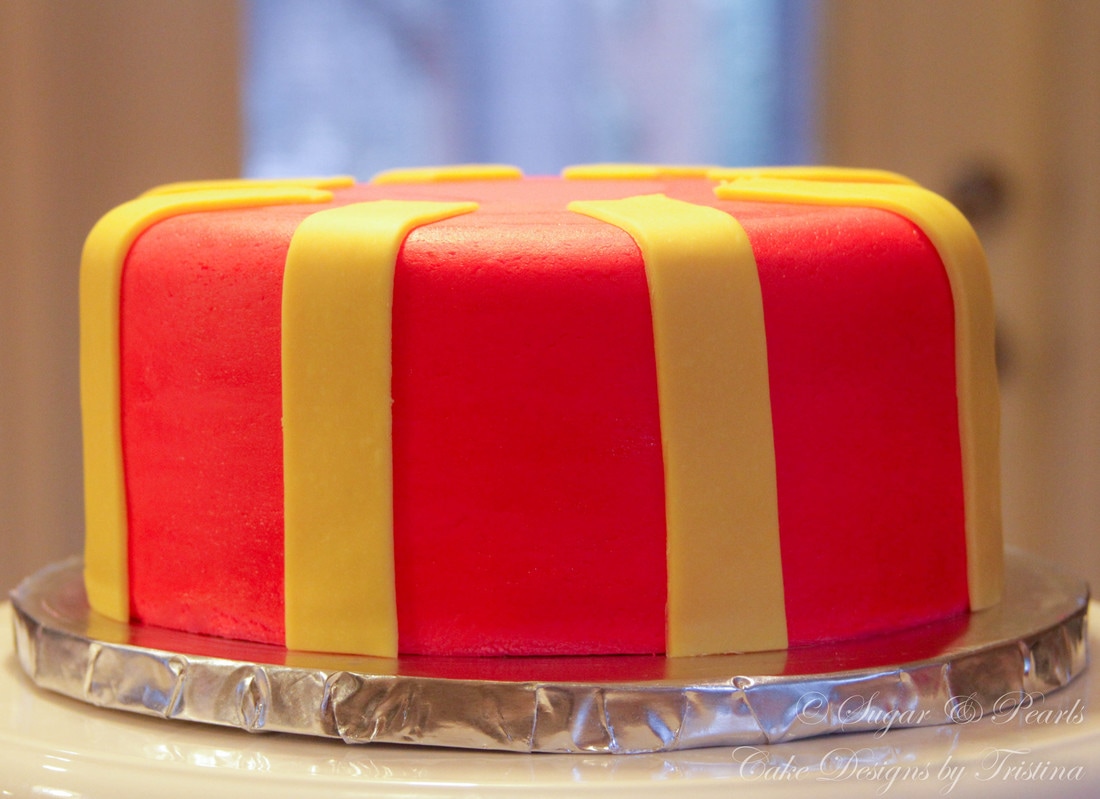
ASSEMBLE THE CAKE This cake is made using a 6-inch vanilla cake with vanilla pudding filling, stacking on an 8-inch chocolate cake with chocolate buttercream filling. I start out by covering the 8-inch cake with red fondant (Photo 10) and the 6-inch cake with yellow fondant (Photo 11). Noted the yellow covering fondant cake is set on a paper towel, which is for ease of transition and stacking the cake.
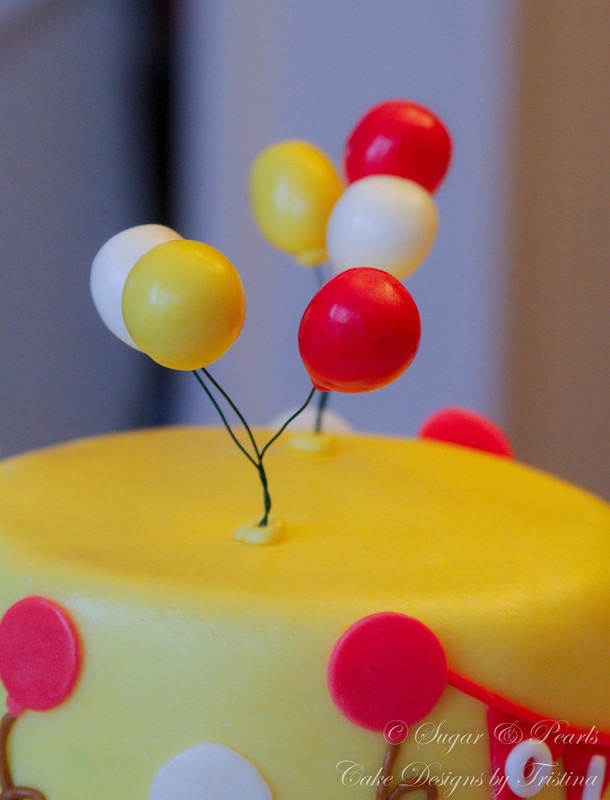
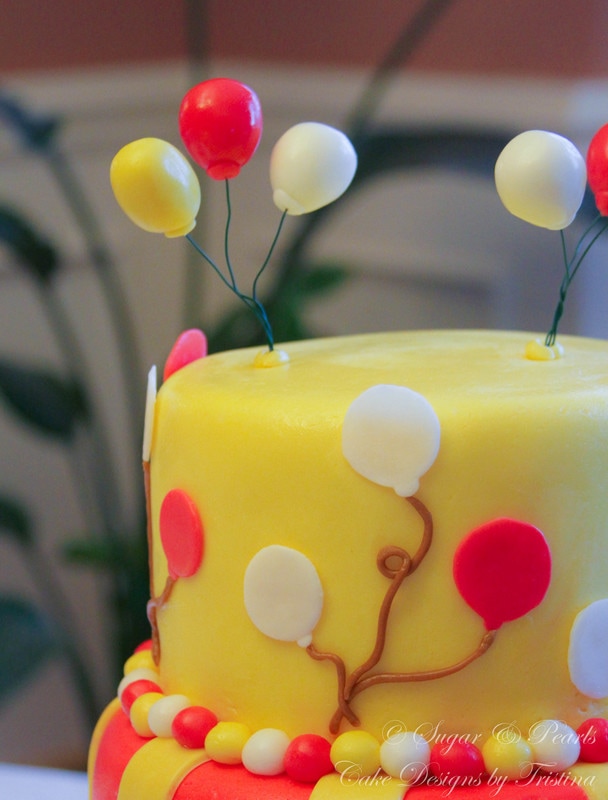
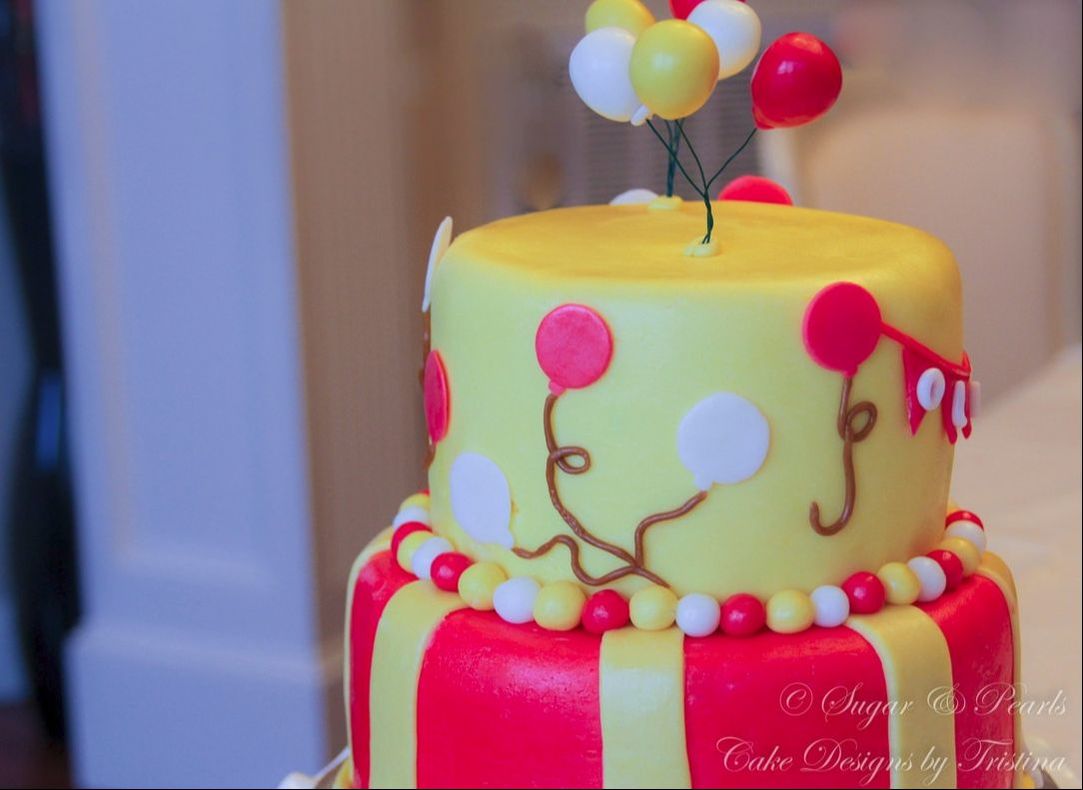
To make a gift box look around the bottom tier, I cut 8 thin strips of yellow fondant and line them evenly around the cake. Then I trim around the top to leave enough space for the top tier to sit on (Photo 12). Using a Wilton baroque mold, I roll yellow fondant out to create the small pearl chain around the bottom tier. Next, I place the yellow covering fondant cake on top of the red fondant cake. Finally, I roll many small round fondant balls in red, yellow and white and line them around the trim of the top tier (Photo 13). I then scatter the 2-D balloons round the cake and line the triangle name banner in the middle between two red 2-D balloons. I complete the cake by placing two bunches of the 3-D balloons on top of the cake.
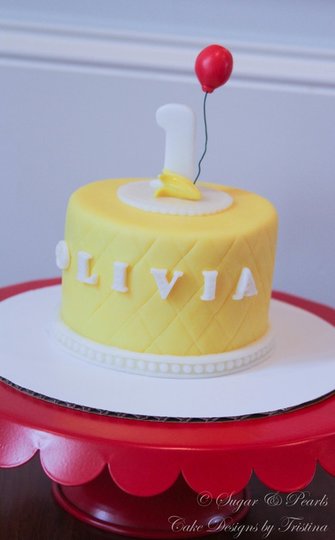
To enhance the 3-D balloons structure and stability, I add a small yellow fondant around the green floral wires where they meet the cake. I finish the it by placing the birthday tag slightly to the side of the bottom tier of the cake. 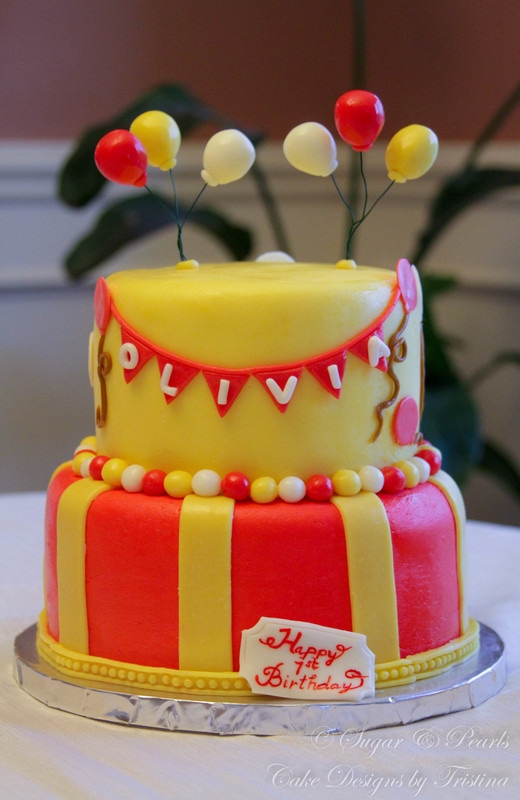 I make a 4-inch banana cake with vanilla pudding filling for the smash cake. I cover it with yellow fondant and then add a small pearl string around the bottom edges of the cake. I create the quilted pattern around the cake using a Cake Boss quilted imprint mat. Once I have the guided lines from the mat, I darken these lines with the saw-cutting fondant tool. I finish the cake by placing the white round fondant topper with star-lace in the middle of the cake, following by the number 1, a red 3D balloon and a banana. Here, the banana is an essential item that ties the Curious George theme between the two cakes. Isn't it the most adorable cake? I love it.
And after so many steps, the cake is finally done! See how I told you from the beginning of this posting that a simple cake may not be so simple to re-create. The level of difficulty is medium, but the work of making many small decorations ahead of the time is what will get to you. Another thing I find challenging about this cake is the stacking the cake. With the strips around the bottom tier so even a slight alignment can cause a tilted cake. However, I did fine at stacking the cake this time. So, what do you think about the cake? I think the cake would have been more complete with the monkey topper, don't you? xoxo, Tristina COPYRIGHT © 2016 - SUGAR & PEARLS ~ CAKE DESIGNS BY TRISTINA
0 Comments
Your comment will be posted after it is approved.
Leave a Reply. |
AboutTristina TiepNhu Nguyen is a pharmacist by weekday and a baker by weekend. She is also a wife and a mother of two children. Free Cake Tutorials!Sign up for my newsletter and you will be the first to know about my new recipes and cake tutorials!
Recent Posts
August 2020
RecipesTutorials |
|
|
sugar & pearls |